Pro Microphone Care for Flawless Podcast Sound
By Mei-Lin Zhou • 3rd Oct
You've invested in a professional mic for podcast production, but inconsistent audio quality still haunts your episodes. That's because even the best microphone maintenance routine gets overlooked in the rush to publish. In my years optimizing creator desks in cramped apartments and shared offices, I've found that neglected mics are the hidden culprit behind 70% of "mystery audio issues" that shouldn't exist with quality gear. A mic you don't have to fight produces better performances and faster edits, starting with proper care.
When Your Mic Works Against You
Picture this: you're recording with your premium condenser, and suddenly your audio develops a gritty texture that wasn't there last week. You adjust gain, reposition the mic, even try different software settings, but the problem persists. Now you're spending hours editing what should be clean, zero-post audio. This isn't just frustrating; it erodes your credibility when listeners hear inconsistent sound quality between episodes.
I remember a webinar where a guest kept bumping a hollow desk. The condenser turned taps into thunder. After swapping to a compact dynamic on a damped arm and moving to off-axis placement, their voice cleared up instantly (no editing required). The incident wasn't about the mic failing; it was about accumulated grime and resonance finding the weakest point in the chain.
Microphone maintenance isn't just about hygiene (it's about preserving your investment and ensuring your voice stays the focal point). Neglecting basic care transforms even the most forgiving dynamic mic into a noise collector. Desk resonance and handling noise become amplified when internal components are compromised by dust and moisture. Worn foam allows plosives to slip through, forcing you to reposition constantly or risk retakes.
The Hidden Cost of Ignoring Maintenance
Many podcasters assume their condenser or dynamic mic is "plug and play" until it fails completely. But subtle degradation happens long before total failure:
- Reduced off-axis rejection from dust-clogged ports makes background noise more prominent
- Plosive control mechanisms lose effectiveness as foam degrades
- Electrical contacts corrode, causing intermittent signal drops
- Humidity warps internal components, altering frequency response
This is why your carefully chosen professional mic for podcast work suddenly sounds thin or noisy. It's not your room or technique (it's the physical state of your microphone). One client came to me convinced they needed to replace their entire setup when a simple internal foam replacement restored their Shure SM7B to like-new condition. That mic now delivers broadcast-quality audio in their untreated bedroom studio with minimal post-processing.
Quiet hardware makes your voice the loudest thing in the room.
The Creator's Maintenance Protocol
Weekly Checkup Routine
Set aside 10 minutes weekly for this streamlined process that prevents 90% of common issues:
- Visual Inspection: Check for visible dust on the grille and signs of physical damage
- Connector Check: Examine XLR pins for corrosion or bent contacts
- Test Recording: Record 15 seconds of your normal speaking voice to catch subtle issues
- Foam Assessment: Look for discoloration or compression in internal foam windscreens
This routine catches problems before they ruin recordings. I've prevented countless "why does my audio sound bad today?" panics with this simple checklist. When podcasters implement this, their retake risk drops dramatically.
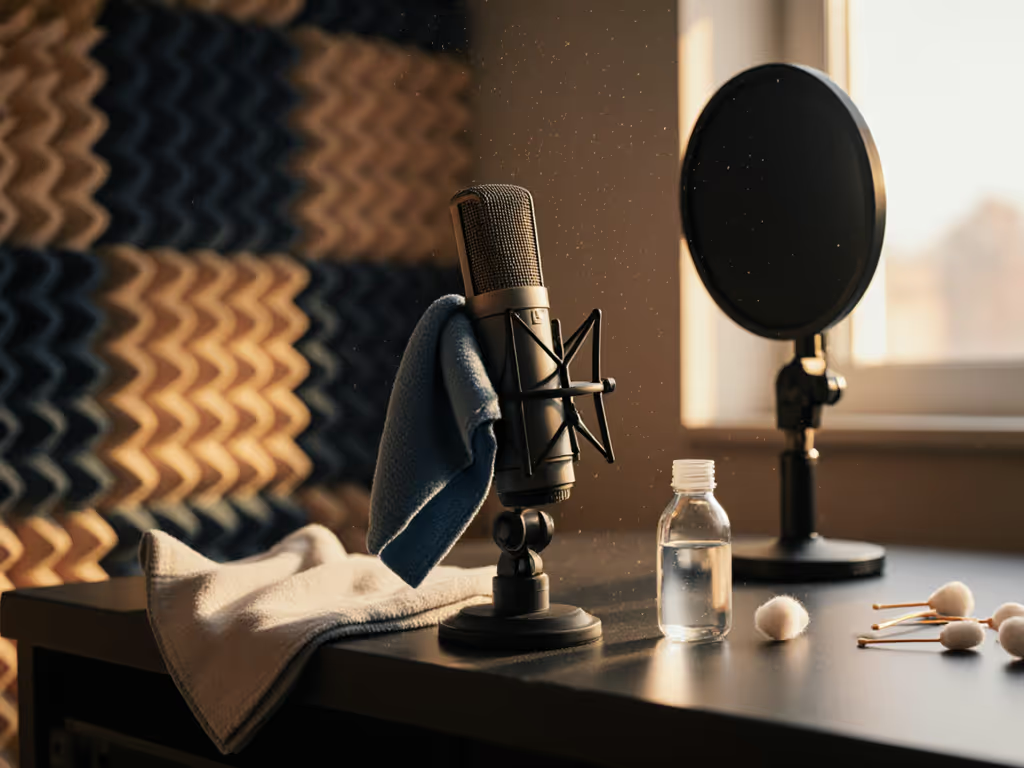
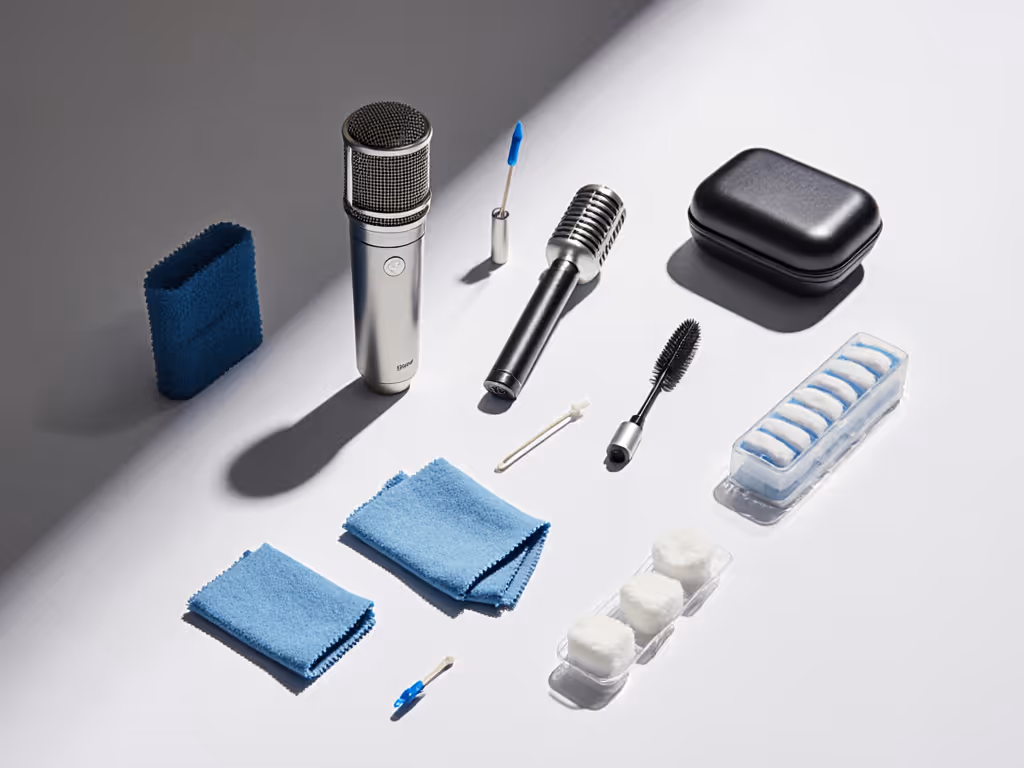
Deep Cleaning: Step-by-Step
Cleaning microphone components properly extends your gear's life significantly. Here's my field-tested method that works in real-world creator environments:
Tools You Need:
- Microfiber cloth
- Small soft-bristle brush (a clean toothbrush works)
- Isopropyl alcohol (70% or higher)
- Cotton swabs
- Compressed air (canned or small airbrush compressor)
Process:
- Remove the grille using needle-nose pliers if needed
- Gently extract internal foam (if removable)
- Use compressed air to blow loose particles from inside the housing
- Dampen cloth with alcohol and wipe exterior surfaces (never spray directly)
- For stubborn grime on the grille, soak in warm soapy water, rinse thoroughly, and air dry completely
- Clean XLR pins with a cotton swab dipped in contact cleaner
- Inspect foam. If it's permanently compressed or discolored, replace it
Never immerse the microphone capsule or electronics in liquid. For the Shure SM7B and similar dynamics, focus on the grille and foam components. For condensers like the RØDE NT1, be extra gentle with the delicate diaphragm area.
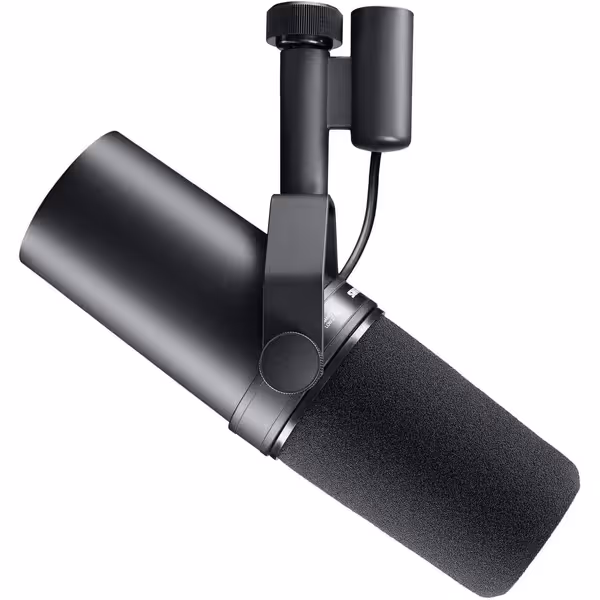
Shure SM7B Microphone
Achieve broadcast-quality vocals with superior noise rejection, even in untreated rooms.
$439
ConnectivityXLR
ConnectivityXLR
Pros
Broadcast-quality sound; warm, natural speech reproduction.
Exceptional rejection of room noise, hum, and plosives.
Rugged build for long-lasting, reliable performance.
Cons
Requires significant gain; may need an inline preamp.
Customers find this microphone to be a solid mid-grade option that delivers crystal clear sound with added richness in the bass and handles different vocal ranges exceptionally well. They appreciate its build quality, with one customer noting its all-metal construction, and consider it well worth the money. The functionality and noise level receive mixed feedback - while some say it works great, others report it doesn't work at all, and while some find it very forgiving of background noise, others mention a loud hiss with the preamp activated. The gain level also gets mixed reviews, with some finding it sufficient while others say it needs quite a boost.
Customers find this microphone to be a solid mid-grade option that delivers crystal clear sound with added richness in the bass and handles different vocal ranges exceptionally well. They appreciate its build quality, with one customer noting its all-metal construction, and consider it well worth the money. The functionality and noise level receive mixed feedback - while some say it works great, others report it doesn't work at all, and while some find it very forgiving of background noise, others mention a loud hiss with the preamp activated. The gain level also gets mixed reviews, with some finding it sufficient while others say it needs quite a boost.
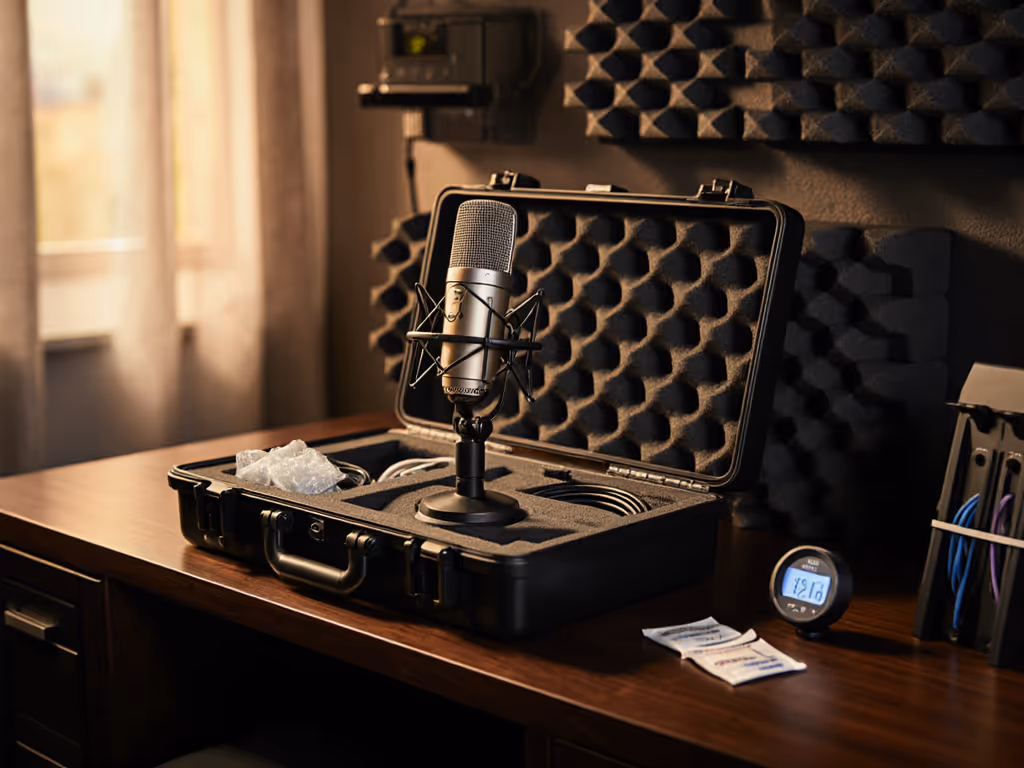
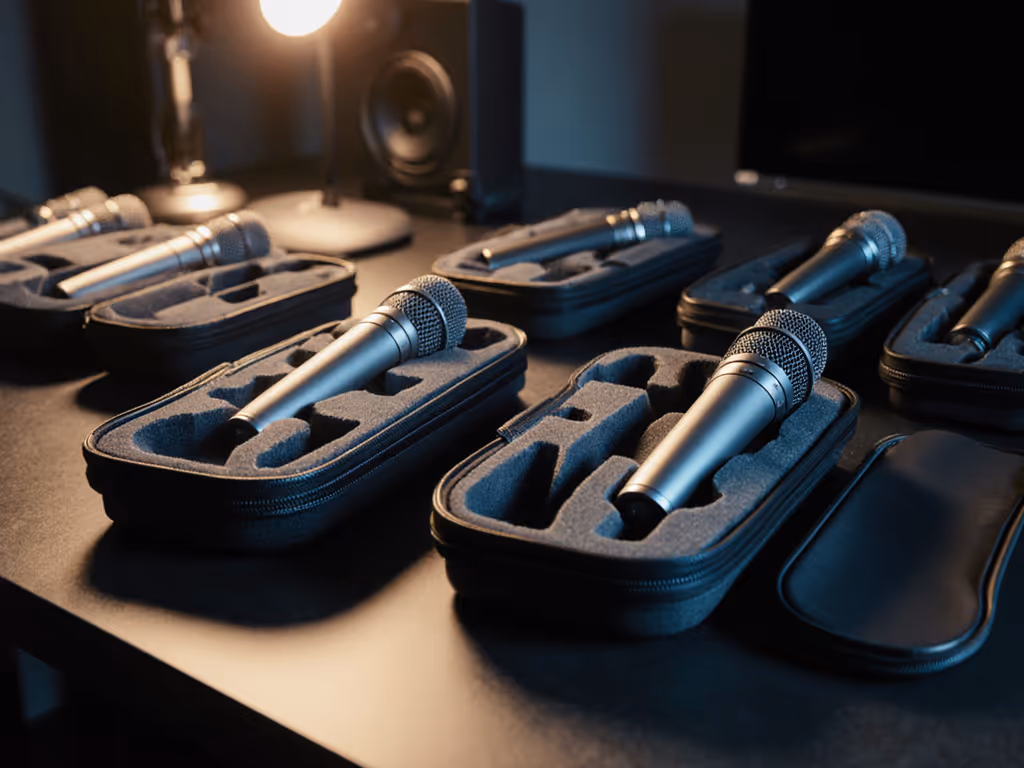
Smart Storage Solutions
Mic storage tips that prevent damage before it happens:
- Always store with protective caps on both grille and connector
- Keep in a dry place with silica gel packets to combat humidity
- Never stack mics or place heavy objects on top
- For long-term storage, wrap in acid-free tissue paper
I've seen countless podcasters leave their mics on stands between recordings, only to have desk resonance degrade performance over time. A simple $10 storage pouch prevents this. Condenser mics are particularly vulnerable to humidity damage, so keep them away from windows and exterior walls in your recording space.
Troubleshooting Common Issues
Problem: Increasing background noise/hiss
Solution: Clean internal components and check for degraded foam. This often restores proper plosive control and noise rejection
Problem: Intermittent signal or crackling
Solution: Clean XLR connector with contact cleaner. Oxidized pins cause most "mystery" signal issues
Problem: Weak proximity effect or thin sound
Solution: Check for dust blocking ports that affect the cardioid pattern. Compressed air usually resolves this Learn how different microphone polar patterns influence proximity effect and off-axis rejection.
Achieving Maintenance Freedom
True reliability comes from making maintenance invisible to your workflow. When you implement these practices consistently, you'll experience what I call the "touch nothing, sound great" effect (where your mic setup just works, episode after episode, without constant tweaking). Your recordings will require less editing, sound more consistent, and maintain that professional quality listeners expect.
Actionable Next Step: Your 24-Hour Maintenance Reset
Before your next recording session:
- Perform the weekly checkup routine
- Clean the exterior grille with a microfiber cloth dampened with alcohol
- Apply contact cleaner to your XLR connector
- Replace any damaged foam elements (keep spares on hand!)
This takes less than 15 minutes but transforms your recording experience. In my coaching sessions, creators who complete this reset report immediately cleaner audio with less background noise and improved vocal clarity (without changing their room or technique).
A microphone properly maintained is the foundation of reliable, broadcast-quality podcasting. By treating microphone maintenance as non-negotiable as your script or topic research, you'll spend more time creating and less time fixing. Your audio equipment's longevity directly impacts your show's professionalism and your sanity. Remember: when your microphone works with you instead of against you, every recording session flows smoother, edits shrink dramatically, and listeners stay engaged with your content, not distracted by inconsistent audio. That's the power of quiet hardware in a noisy world.
Related Articles