Stop Podcast Mic Issues: Fix Noise Volume Connectivity
By Jakob Steiner • 10th Oct
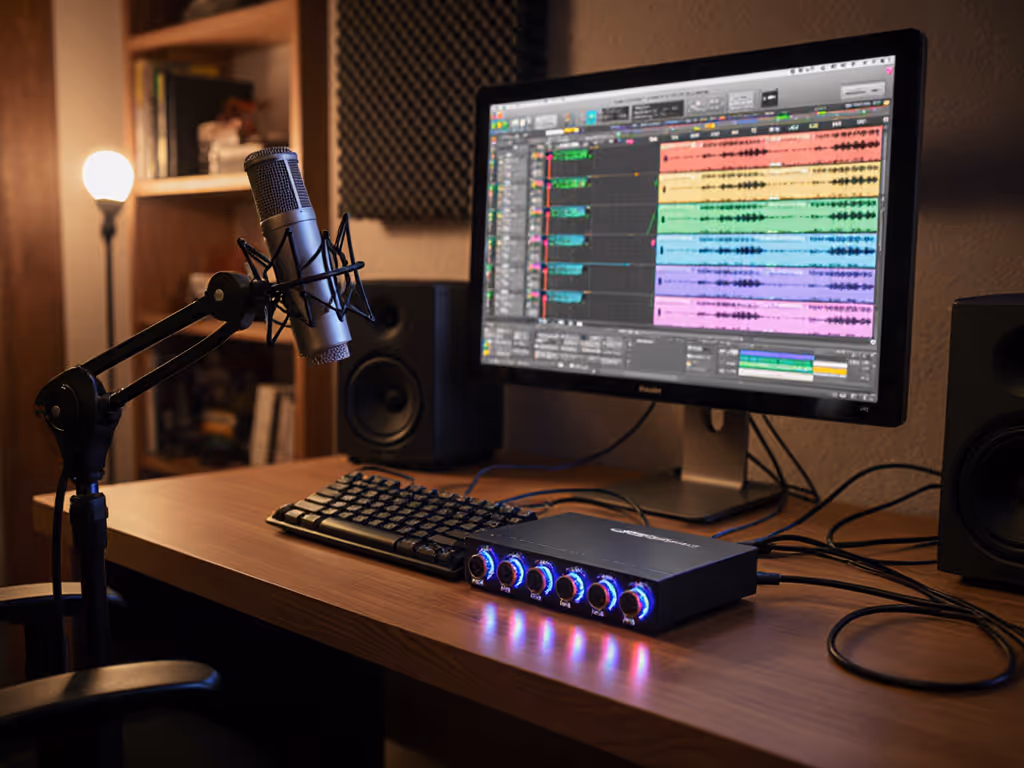
For podcasters, your podcast microphone is your voice to the world. Yet too many creators waste hours trying to fix microphone problems after recording rather than solving them at the source. The hard truth? Clean capture beats corrective processing every time. You can't fix fundamentally flawed audio in post, no matter how advanced your noise reduction plugins claim to be. I've seen national clients hemorrhage budget on "fixing" audio that only needed better chain discipline from the start.
Capture clean, commit early, and keep sponsors breathing between words.
Why Your Podcast Audio Sounds "Off"
Most podcasters approach mic issues reactively, applying fixes after problems manifest. But true audio quality stems from preventing issues before you press record. When I consulted for a national client whose "muddy" roundtable kept failing sponsor approval, the problem wasn't faulty mics, it was an untreated room combined with inadequate preamp headroom. We moved chairs, tightened polar patterns, added two gobos, and optimized gain staging. Suddenly, sponsor reads snapped into focus, and editing became assembly, not surgery.
The Three Core Failure Points
Most audio issues fall into three buckets. Understanding these categories saves hours of troubleshooting:
1. Noise Floor Contamination
- Background noise fix attempts fail because they don't address the root cause: poor off-axis rejection and inappropriate polar patterns for untreated rooms
- Typical symptoms: HVAC hum, computer fan noise, neighbor sounds bleeding through your recording
- Most common mistake: Using omnidirectional patterns in reflective spaces
2. Volume Dynamics Collapse
- Mic volume issues arise from mismatched gain staging and mic sensitivity
- Symptoms: Whispered sections drown in noise floor while loud moments clip preamp headroom
- Critical oversight: Not matching mic output to interface capabilities (e.g., expecting adequate clean gain from USB interfaces with low-output dynamics)
3. Connectivity Black Holes
- USB mic not working scenarios often stem from overlooked power requirements or driver conflicts
- USB-specific symptoms: Audio dropouts, inconsistent monitoring, sudden signal loss during recording
- Hidden culprit: Insufficient USB bandwidth allocation (especially on laptops running multiple peripherals)
The Chain Discipline Framework
Rather than chasing symptoms, implement this three-tier approach that prevents problems before they occur. My decade engineering multi-host panels taught me that chain discipline (matching components to your specific voice and room) creates fixable, not fatal, problems.
Tier 1: Room & Pattern Management (Pre-Recording)
Your room is your first filter. Before touching any gear:
- Combat ambient noise with directional control: Position cardioid mics 90° off-axis from noise sources (HVAC vents, windows). This leverages the mic's natural null point for background noise fix without processing.
- Deploy strategic absorption: Two 24"x48" foam panels at first reflection points typically cut early reflections by 8-10dB, more effective than any noise reduction plugin.
- Manage proximity: Keep consistent 4-6" distance for dynamics like the Shure SM7B to control bass buildup. Condensers (including quality USB mics like the NT-USB+) need 6-8" to avoid proximity exaggeration.
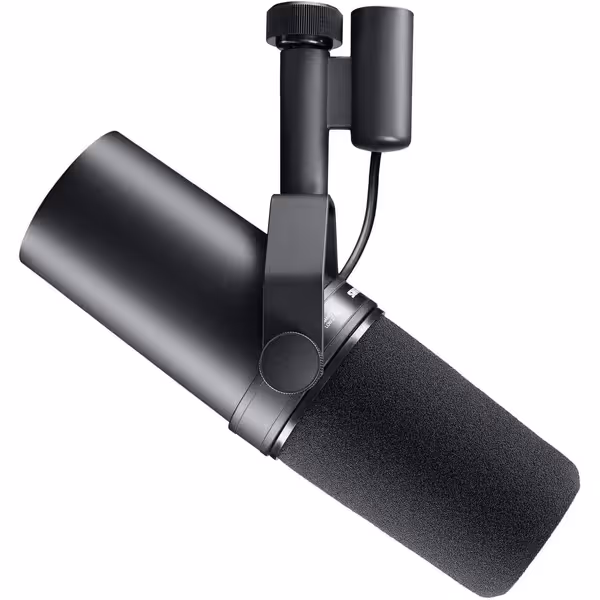
Shure SM7B Microphone
Achieve broadcast-quality vocals with superior noise rejection, even in untreated rooms.
$439
ConnectivityXLR
ConnectivityXLR
Pros
Broadcast-quality sound; warm, natural speech reproduction.
Exceptional rejection of room noise, hum, and plosives.
Rugged build for long-lasting, reliable performance.
Cons
Requires significant gain; may need an inline preamp.
Customers find this microphone to be a solid mid-grade option that delivers crystal clear sound with added richness in the bass and handles different vocal ranges exceptionally well. They appreciate its build quality, with one customer noting its all-metal construction, and consider it well worth the money. The functionality and noise level receive mixed feedback - while some say it works great, others report it doesn't work at all, and while some find it very forgiving of background noise, others mention a loud hiss with the preamp activated. The gain level also gets mixed reviews, with some finding it sufficient while others say it needs quite a boost.
Customers find this microphone to be a solid mid-grade option that delivers crystal clear sound with added richness in the bass and handles different vocal ranges exceptionally well. They appreciate its build quality, with one customer noting its all-metal construction, and consider it well worth the money. The functionality and noise level receive mixed feedback - while some say it works great, others report it doesn't work at all, and while some find it very forgiving of background noise, others mention a loud hiss with the preamp activated. The gain level also gets mixed reviews, with some finding it sufficient while others say it needs quite a boost.
Tier 2: Signal Path Optimization (Gain Staging)
Preamp headroom separates professional from amateur recordings. Follow this bulletproof workflow:
- Set interface gain at 50-75% of max with speakers at normal level (watch for red clipping lights)
- Verify noise floor by recording 10 seconds of silence, which should register below -50dB
- Check the presence region (2-5kHz) isn't harsh; reduce gain 3-6dB if sibilance appears before compression
For USB setups, recognize their hard limits. Most provide only 40-55dB of usable gain. If your mic demands more (like the SM7B), you'll get noise floor contamination. This explains why many report "USB mic not working" issues, because they're pushing the interface beyond clean gain capacity.
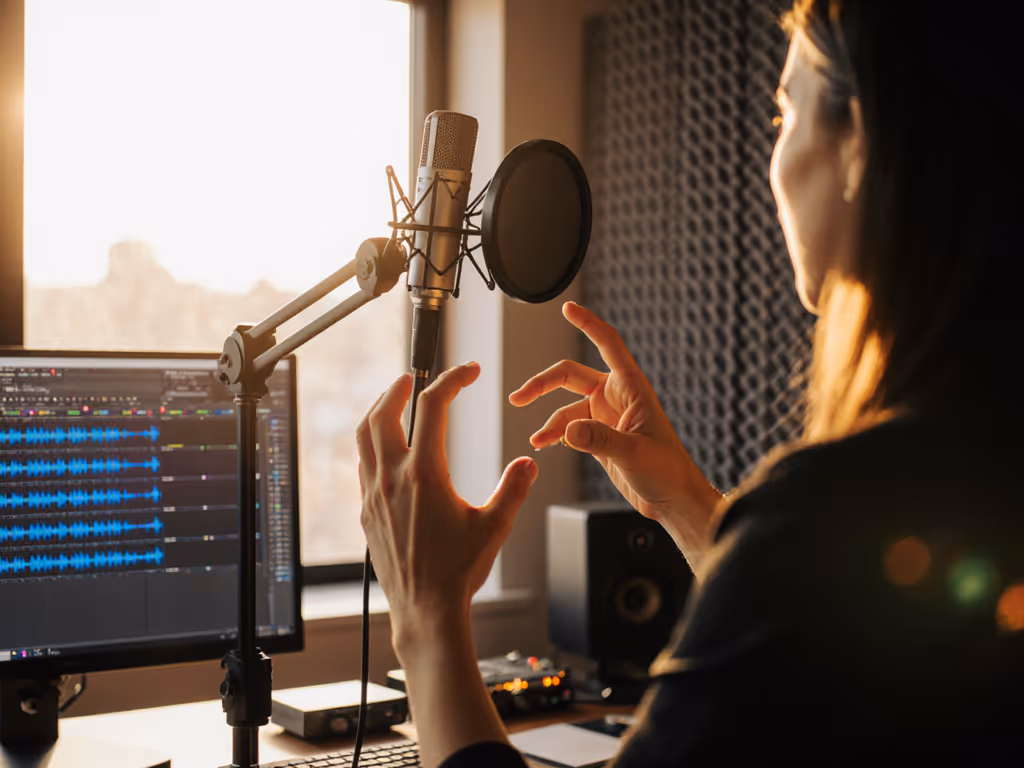
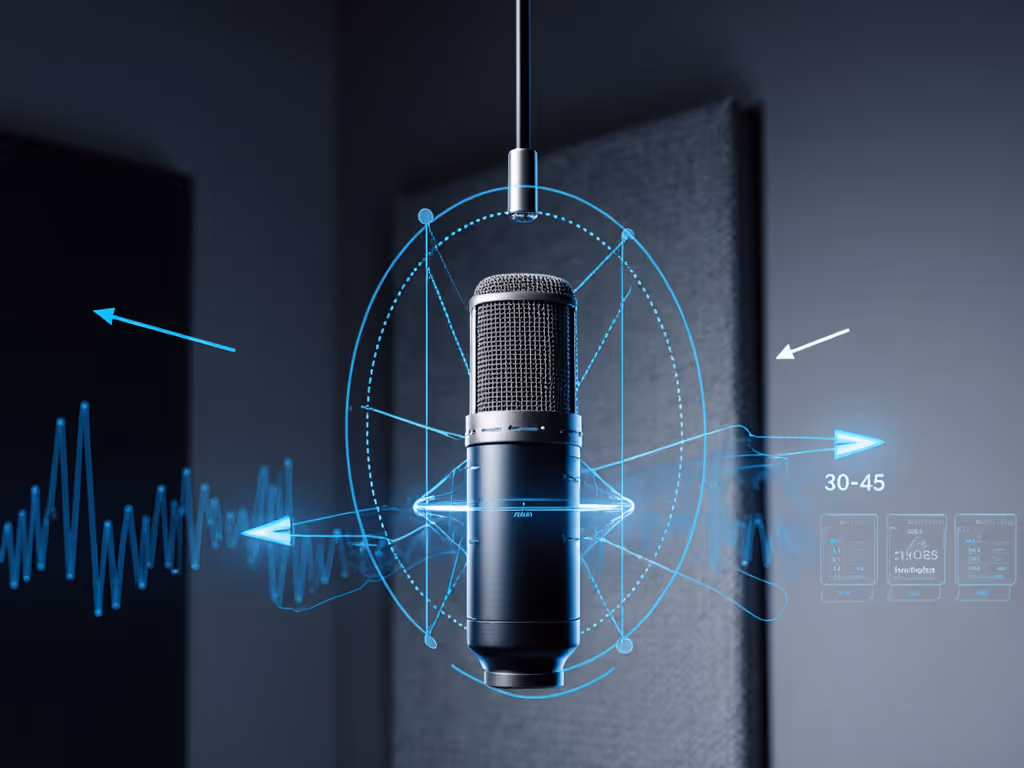
Tier 3: Pop Filter Solutions & Technique (Performance)
Plosives aren't just "p-pops", they are pressure spikes that overload preamps. Go beyond basic pop filters:
- Double-layer defense: Use a nylon pop filter plus position the mic slightly off-axis (30-45° from mouth)
- Breath management: Record "s" sounds while slightly turning your head away, and this simple technique eliminates 70% of de-essing needs
- Volume consistency: Maintain a 1:4 dB speaking-to-peak ratio (e.g., -18dB average with -14dB peaks) to preserve headroom for emotional emphasis
Minimum Viable Chain vs. Advanced Options
Budget Chain ($200)
- Mic: Audio-Technica ATR2500x-USB (condenser with 192kHz conversion)
- Placement: 6" from mouth, 30° off-axis
- Gain: 60% on interface
- Room: Desk with quilt draped behind mic to absorb early reflections
- Tradeoff: Limited off-axis rejection requires a quieter recording environment
Advanced Chain ($800)
- Mic: Shure SM7B with Cloudlifter (40dB clean gain boost)
- Interface: Focusrite Scarlett 2i2 (adequate preamp headroom)
- Placement: 4" on shock mount, 20° off-axis, with foam on desk
- Room: Two portable gobos at 45° angles to absorb side reflections
- Tradeoff: Requires more gain staging precision, but yields studio-grade off-axis rejection
The Fix-Proof Mindset
Here's what separates pros from hobbyists: They don't just record, they capture. The creators producing sponsor-ready audio understand their podcast microphone isn't just a tool, but part of an ecosystem where every component must support clean signal flow. When you prioritize off-axis rejection matching your room and maintain healthy preamp headroom, you eliminate the need for aggressive post-processing that degrades audio quality.
Your goal shouldn't be "fixing microphone problems", but preventing them through disciplined signal chain management. This means committing to optimal gain staging before recording, not after. It also means choosing mics that complement (not fight) your room acoustics.
Remember that national client? Their "muddy" audio disappeared not through fancy plugins, but by moving chairs, tightening patterns, and optimizing gain. Their editing time dropped 60%, and sponsor retention increased because the voice had presence and clarity that required minimal sweetening.
Next time you face background noise or volume issues, ask: "What in my chain caused this before recording?" Then, capture clean, commit early. Your future self, and your sponsors, will thank you when you're assembling content rather than performing surgery on audio.
Related Articles