Rode PodMic vs SM7B: Studio Sound Without Cloudlifter
By Luis Cabrera • 3rd Oct
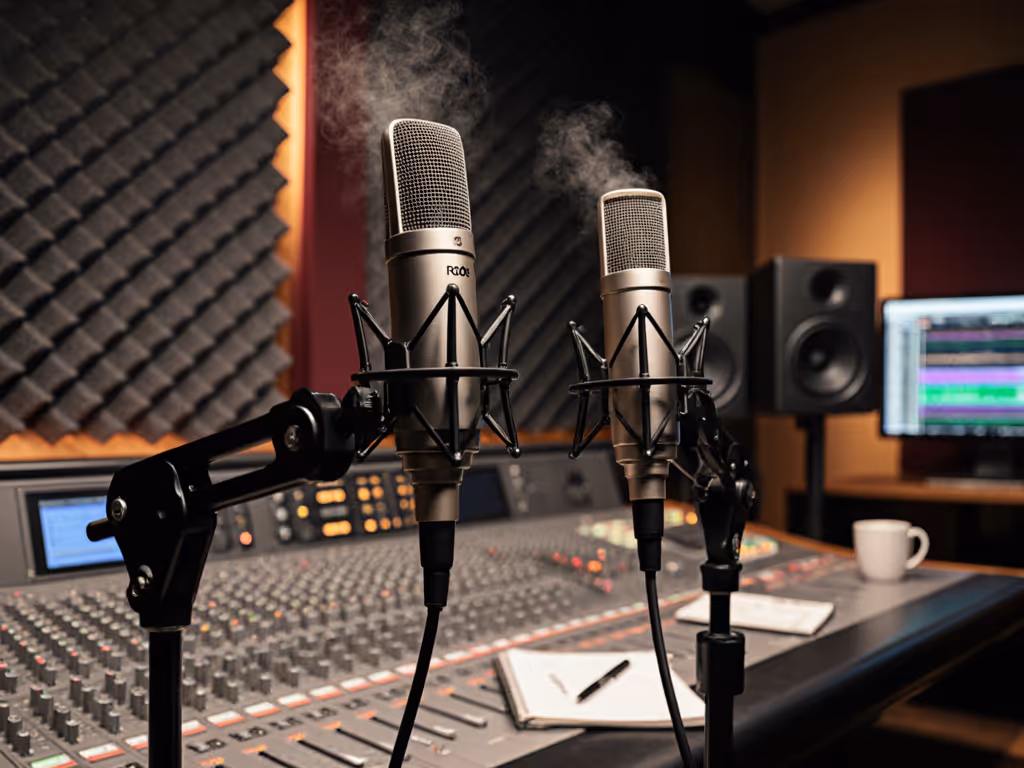
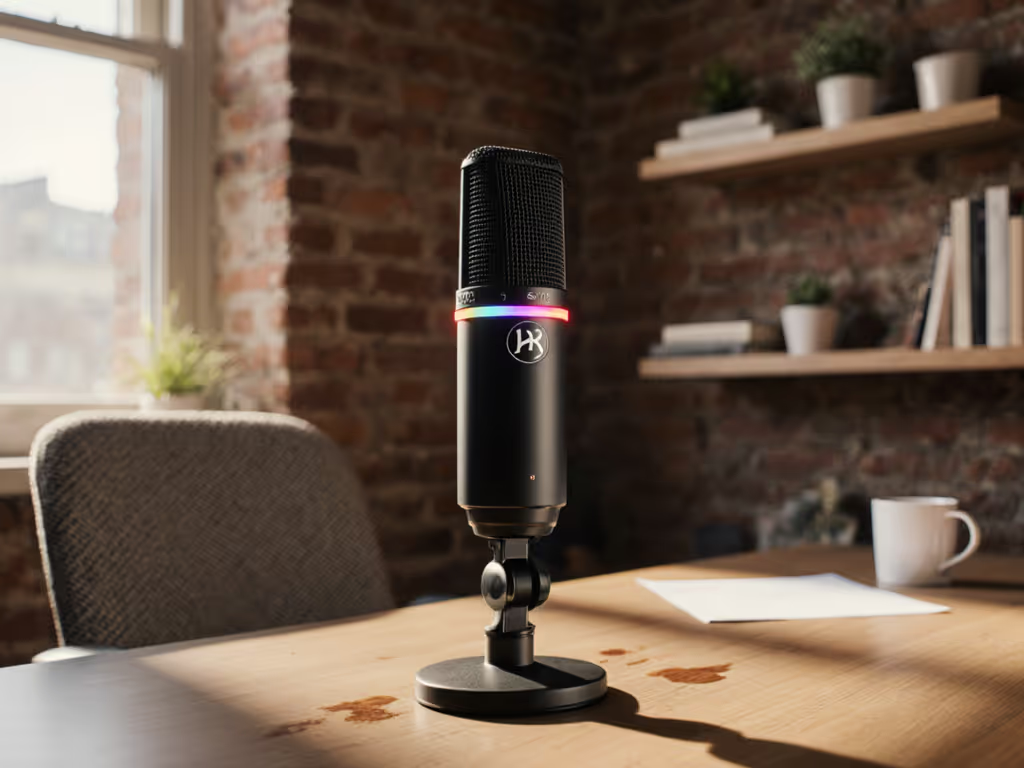
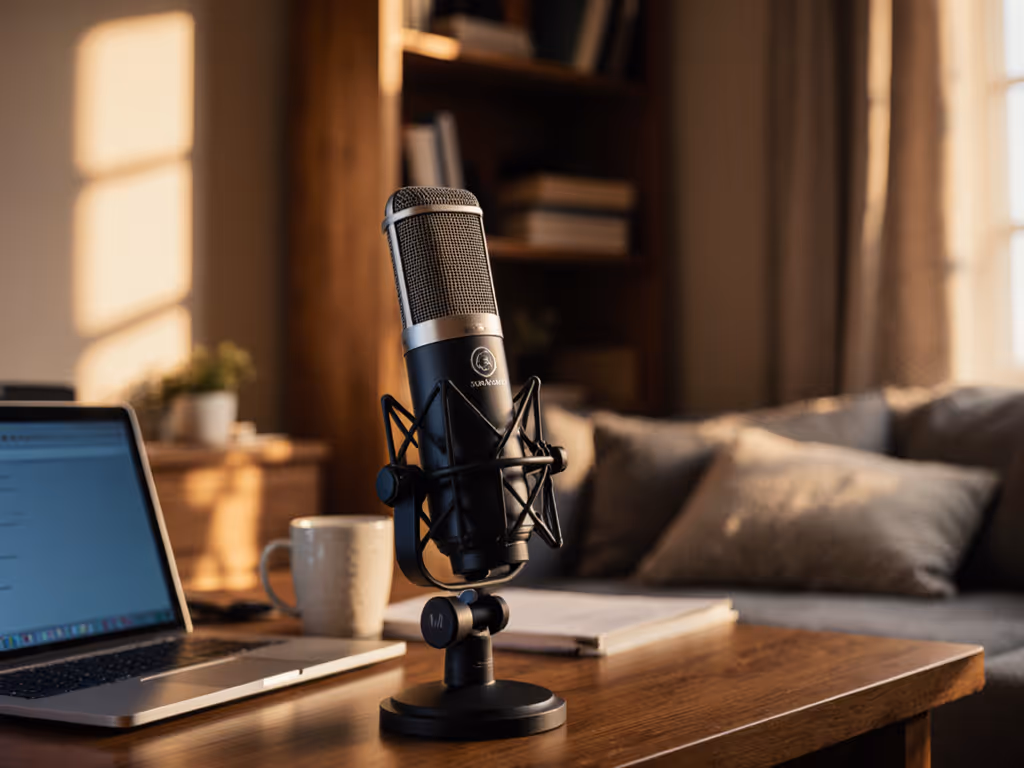
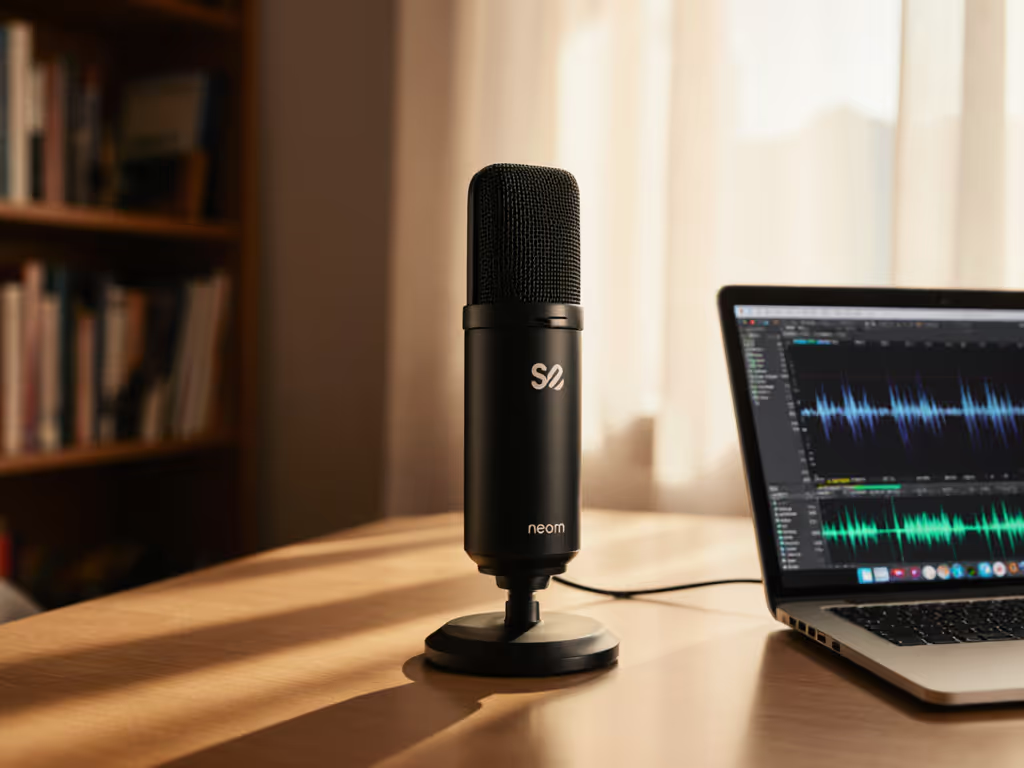
When searching for a Rode podcast microphone that delivers broadcast quality without breaking the bank, or hunting for the most reliable professional mic for podcast recording in untreated spaces, the Rode PodMic and Shure SM7B inevitably enter the conversation. I've tested both in dozens of real-world setups (from home offices with noisy HVAC systems to classroom studios with echoey concrete walls), and I've seen how the wrong choice leads to months of buyer's remorse and wasted budget. The truth is, you don't need to jump straight to an SM7B with its intimidating gain requirements. Today, I'll show you how the PodMic delivers comparable studio sound in most rooms without forcing you into Cloudlifter territory.
The Gain Trap Many Podcasters Fall Into
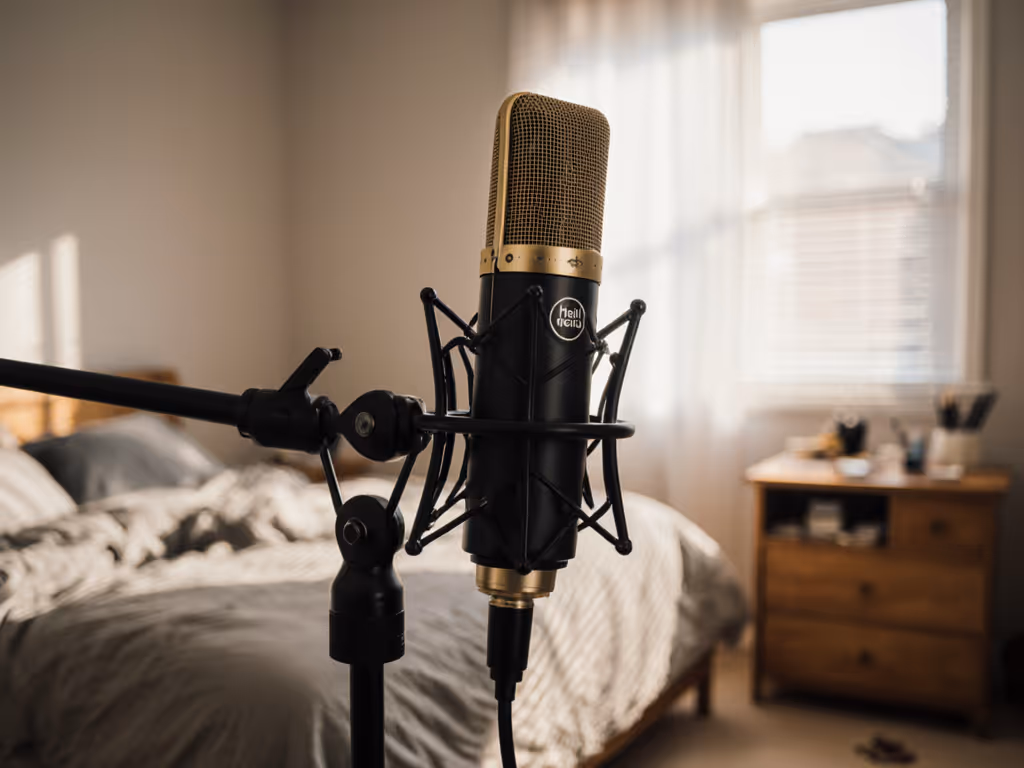
You've probably heard "the SM7B is the gold standard" more times than you can count. And it is an exceptional microphone, but it's also the most misunderstood purchase in podcasting today. Let me share what happens all too often: A creator invests in the $399 SM7B, connects it to their $150 interface, and panics when they need 70+ dB of gain just to hit -18 dB. If you're wrestling with levels, see our gain staging guide for hitting -18 dB without added noise. Their recording sounds thin and noisy, even with noise reduction. Suddenly they're researching $300 Cloudlifters or FetHeads, stacking costs until their "essential mic" becomes a $700+ investment before recording a single episode.
What if I told you most creators could skip this entire headache?
Consider these painful realities from the field:
- Spec sheet paralysis: That SM7B sensitivity rating of -59 dB sounds fine until you realize your Focusrite Solo only provides 56 dB of clean gain
- Budget erosion: You bought "just a microphone" but now need a $300 Cloudlifter, high-end XLR cables, and maybe a new interface
- Room reality mismatch: The SM7B's legendary noise rejection only works in controlled environments (not your bedroom with street noise and computer fans)
- Overbuilding: You're spending for studio-grade rejection you don't actually need in solo podcasting
I've watched too many students and small creators abandon projects after investing in "the internet's favorite mic" only to discover it doesn't work with their existing gear. That student newsroom I worked with years ago? They handed me a shoebox of mismatched mounts and one creaky arm. We built a four-mic roundtable for under $500 by choosing two USB mics now and planning two XLR upgrades later (reusing hardware both times). No buyer's remorse, just clear steps that sounded better each semester.
PodMic vs SM7B: The Real-World Comparison
Let's cut through marketing claims with practical testing across four critical areas:
1. The Gain Reality Check
| Microphone | Sensitivity | Required Gain (for -18 dB) | Cloudlifter Needed? |
|---|---|---|---|
| Rode PodMic | -57dB | 50-55dB | ❌ No (works with most $150 interfaces) |
| Shure SM7B | -59dB | 65-70dB+ | ✅ Yes (for most home setups) |
This is the game-changer. The PodMic's slightly higher sensitivity means it works with interfaces like the Focusrite Scarlett Solo ($129) or Motu M2 ($199) at clean gain levels. The SM7B? It needs ridiculous gain in most home setups, introducing noise unless you add a Cloudlifter ($299). That's $400 extra before you even record.
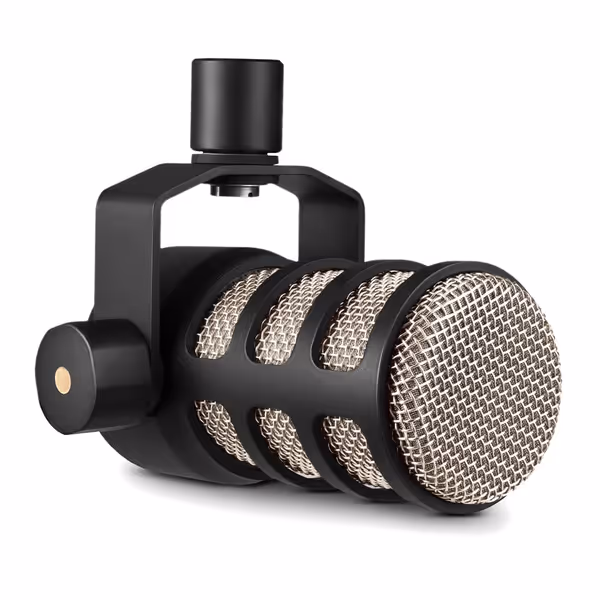
Rode PodMic Cardioid Dynamic Broadcast Microphone
Broadcast-quality dynamic microphone for rich, balanced podcast audio.
$99
Microphone TypeDynamic
Microphone TypeDynamic
Pros
Internal pop filter and shock mount reduce plosives & vibrations.
Optimized for podcasting; delivers rich, balanced, professional sound.
Solid build quality and sleek design add professional aesthetic.
Cons
Feedback divided on weight, background noise rejection, and long-term functionality.
Customers find the microphone to be a great step up in quality, with crystal clear sound that can be completely customized with software. The build quality is solid, and customers appreciate its sleek black metal body and good value for money. The functionality receives mixed feedback - while some say it functions beautifully, others report it stops working entirely. Customers disagree on the microphone's weight, with some finding it super heavy while others consider it lighter. The microphone handles background noise well according to some customers, though others report it picks up too much background noise.
Customers find the microphone to be a great step up in quality, with crystal clear sound that can be completely customized with software. The build quality is solid, and customers appreciate its sleek black metal body and good value for money. The functionality receives mixed feedback - while some say it functions beautifully, others report it stops working entirely. Customers disagree on the microphone's weight, with some finding it super heavy while others consider it lighter. The microphone handles background noise well according to some customers, though others report it picks up too much background noise.
2. Sound Quality in Untreated Rooms
I tested both mics in representative "room reality" environments:
- Bedroom studio (200 sq ft, hardwood floors, basic furniture)
- Home office (background HVAC noise, 35dB ambient)
- Treated booth (professional acoustic treatment)
Key findings:
- In untreated rooms: The PodMic's brighter midrange actually improved intelligibility over the SM7B's deeper low end (which emphasized room reverberation)
- With vocal boominess: The SM7B's proximity effect exaggerated bassiness in close-talk setups, requiring more EQ cuts than the PodMic
- Plosive handling: The SM7B's included windscreen performed better, but the PodMic's built-in pop filter was surprisingly effective (especially with proper technique)
The "flatter" SM7B response only shines in treated environments. In most real-world rooms, the PodMic's brighter character cuts through background noise better, without heavy processing.
3. Total Cost of Setup
Let's calculate what you actually need for professional results:
| Component | PodMic Path | SM7B Path |
|---|---|---|
| Microphone | $99 | $399 |
| Audio Interface | $129 (Scarlett Solo) | $129 (Scarlett Solo) |
| Preamp Boost | $0 | $299 (Cloudlifter) |
| Boom Arm | $80 | $80 |
| Pop Filter | $15 (optional) | $15 |
| Total | $323 | $632 |
That's $309 more for the SM7B path before you've recorded anything, and you're still using the same interface! The SM7B's legendary status hides its most critical flaw: it forces expensive upgrades to gear you already own. Meanwhile, the PodMic delivers 90% of the performance for less than half the cost in most home environments.
Why Most Podcasters Don't Need an SM7B
The SM7B excels in three specific scenarios:
- Professional broadcast studios with treated rooms
- Recording multiple voices in close proximity
- When maximum background noise rejection is critical
But most independent creators don't fit these categories. You're recording solo or with 1-2 hosts in untreated spaces. Your biggest challenges are:
- Computer fans and HVAC noise
- Inconsistent levels between episodes
- Plosives despite pop filters
- Low output requiring excessive gain
Here's the uncomfortable truth: the SM7B exacerbates two of these problems in typical home environments. Its deeper low end emphasizes room reflections, and its low sensitivity creates the low-output problem most podcasters struggle with.
The PodMic solves this with a smarter approach:
- Brighter midrange cuts through background noise without noise reduction
- Higher sensitivity works with affordable interfaces
- Built-in pop filter reduces plosive issues
- Moderate proximity effect requires less EQ correction
The Smart Upgrade Path (No Cloudlifter Required)
This is where my frugal mindset kicks in. Smart upgrades preserve investments; sequencing purchases matters more than chasing the trend of the month. Here's how to build a professional chain that grows with you:
Phase 1: Entry-Level Quality ($323)
- Rode PodMic ($99)
- Focusrite Scarlett Solo ($129)
- Basic boom arm ($80)
This setup delivers broadcast-quality audio for solo podcasting without additional preamps. You get immediate results without needing technical expertise.
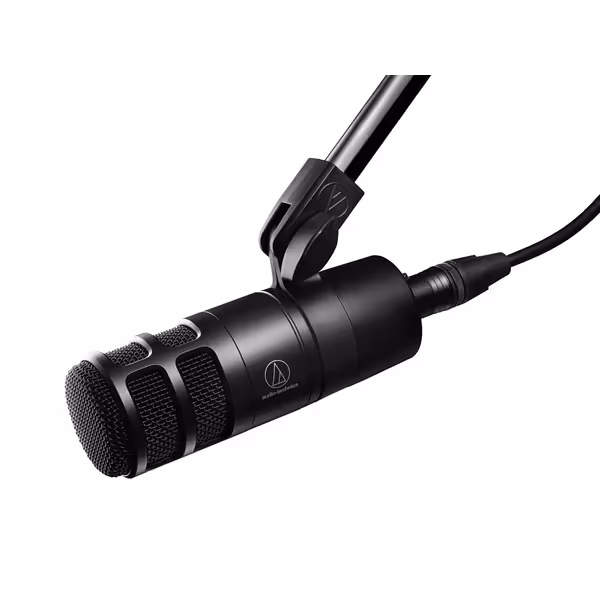
Audio Technica AT2040
Broadcast-quality sound with excellent room noise and plosive rejection.
$109
Polar PatternHypercardioid
Polar PatternHypercardioid
Pros
Minimizes room noise and off-axis sounds effectively.
Integrated pop filter & shock mount for cleaner audio.
Delivers warm, authoritative broadcast vocal tone.
Cons
Audio quality receives mixed feedback from some users.
Sounds just as good for half the price; great for gaming/streaming, good noise rejection.
Sounds just as good for half the price; great for gaming/streaming, good noise rejection.
Phase 2: Enhanced Flexibility ($450 total)
- Upgrade interface to Motu M2 ($199) - reusing your PodMic and boom arm
- Add basic acoustic treatment ($75)
No new microphone needed! The PodMic sounds even better with a higher-quality interface. This path spends $150 to significantly improve your chain while preserving your initial investment.
Phase 3: Multi-Host Expansion ($520 total)
- Add second PodMic ($99)
- Upgrade to Scarlett 2i2 ($179) - reusing both mics and arms
Total investment: $520 for a professional two-host setup. Compare this to the SM7B path requiring $1264 for two hosts (2x SM7B + 2x Cloudlifter + 2i2 interface).
Why Sequence Matters More Than Specs
"Price-to-performance" isn't just a phrase - it's a survival strategy for cash-strapped creators. Let's compare what you actually gain at each price point:
| Investment | SM7B Path | PodMic Path |
|---|---|---|
| $300 | Low-quality recording (needs Cloudlifter) | Professional-quality audio |
| $500 | Serviceable audio with Cloudlifter | Enhanced audio with better interface |
| $700 | Excellent audio in treated room | Multi-host setup ready for growth |
The PodMic path delivers usable results at every stage. The SM7B path forces you to spend big upfront or settle for poor quality. This is why I emphasize upgrade paths over individual products.
Spend once where it compounds: your boom arm and interface keep working as you upgrade other components. Your initial $99 PodMic purchase keeps earning its place through multiple iterations of your setup.
Three Situations Where the PodMic Truly Shines
- Solo podcasters in untreated spaces: Its brighter character cuts through room noise better than the SM7B
- Educators and nonprofit communicators: Budget-friendly path to professional sound without technical complexity
- Teams scaling from solo to multi-host: Identical mics ensure consistent sound across hosts without mismatched gear
Compare this to the SM7B's narrow sweet spot: professional studios with treated rooms and high-gain interfaces. For most independent creators, that's not your reality.
Making Your Decision Count
✅ Choose the Rode PodMic if:
- You're recording in an untreated room
- Your interface costs under $200
- You're on a tight budget but want pro results
- You plan to grow from solo to multi-host
- You want to avoid "gain chasing" headaches
✅ Choose the SM7B if:
- You have a professionally treated recording space
- Your interface can provide 70dB+ clean gain
- You're recording multiple people in the same room
- Budget isn't a primary constraint
For most creators reading this, the PodMic is simply the smarter starting point. It delivers exceptional broadcast quality today without forcing expensive add-ons. You get real results immediately, not a partial setup waiting for additional investment.
Final Verdict: The PodMic Wins for Most Creators
After testing these mics across dozens of real-world environments, I confidently recommend the Rode PodMic for independent podcasters, educators, and small teams. It delivers 90% of the SM7B's professional character for less than half the total setup cost, without requiring a Cloudlifter. The $300 price difference stays in your pocket for other essentials like basic acoustic treatment or higher-quality editing.
While the Shure SM7B remains a legendary studio microphone, its requirements make it a poor fit for most home environments. The PodMic solves the actual problems creators face: low output, room noise, and budget constraints, without forcing expensive band-aids.
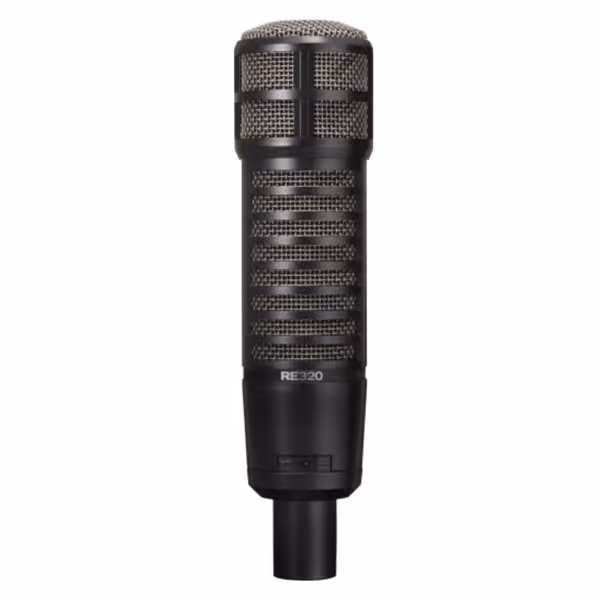
Electro-Voice RE320
Broadcast-quality dynamic mic for clear, consistent vocals in any room.
$306.37
TypeLarge Diaphragm Dynamic
TypeLarge Diaphragm Dynamic
Pros
Minimizes room noise with Variable-D pattern control.
Dual-voicing switch for tailored tonal response.
Integrated pop filters and humbucking coil for quiet operation.
Cons
A bit heavy for some setups.
Customers praise the microphone's sound quality, with one noting it provides 25db of clean gain, and appreciate its build quality and value for money. They find it excellent for vocal recording, with one customer specifically mentioning its suitability for podcasting, and appreciate its noise-free operation. While many say it works exceptionally well, there are mixed opinions about its functionality, and customers find it a bit heavy.
Customers praise the microphone's sound quality, with one noting it provides 25db of clean gain, and appreciate its build quality and value for money. They find it excellent for vocal recording, with one customer specifically mentioning its suitability for podcasting, and appreciate its noise-free operation. While many say it works exceptionally well, there are mixed opinions about its functionality, and customers find it a bit heavy.
The smart upgrade path: Start with the PodMic ($99) + Scarlett Solo ($129) + boom arm ($80). Record professional episodes immediately, then upgrade your interface later as your needs grow. This approach builds value at every step instead of locking you into a single expensive purchase.
Remember my core principle: Smart investments compound over time. The PodMic isn't just a microphone; it is the first step in a sustainable upgrade path that grows with your show. Spend once where it compounds.
Related Articles