Industrial Podcast Mics: Workshop Noise Rejection Tested
By Mei-Lin Zhou • 9th Jan
If you're recording podcasts in an industrial environment, you've probably struggled with workshop noise rejection. That relentless hum of machinery, the clanging of tools, the ambient chatter of colleagues. These aren't just distractions. They are retake risks that turn your editing sessions into nightmares. As someone who's optimized voice setups in auto shops, woodshops, and factory offices for five years, I know the frustration of hearing your host's voice through a cloud of background noise. When your mic picks up everything but the voice, you're not just fighting acoustics. You are fighting time, budget, and credibility. Let's solve this systematically.
Why Standard Studio Recording Equipment Fails in Industrial Spaces
Most creators start with what they know: studio recording equipment designed for quiet home offices. But industrial environments present unique challenges that expose fundamental flaws in typical podcasting gear.
The Double-Edged Sword of Sensitivity
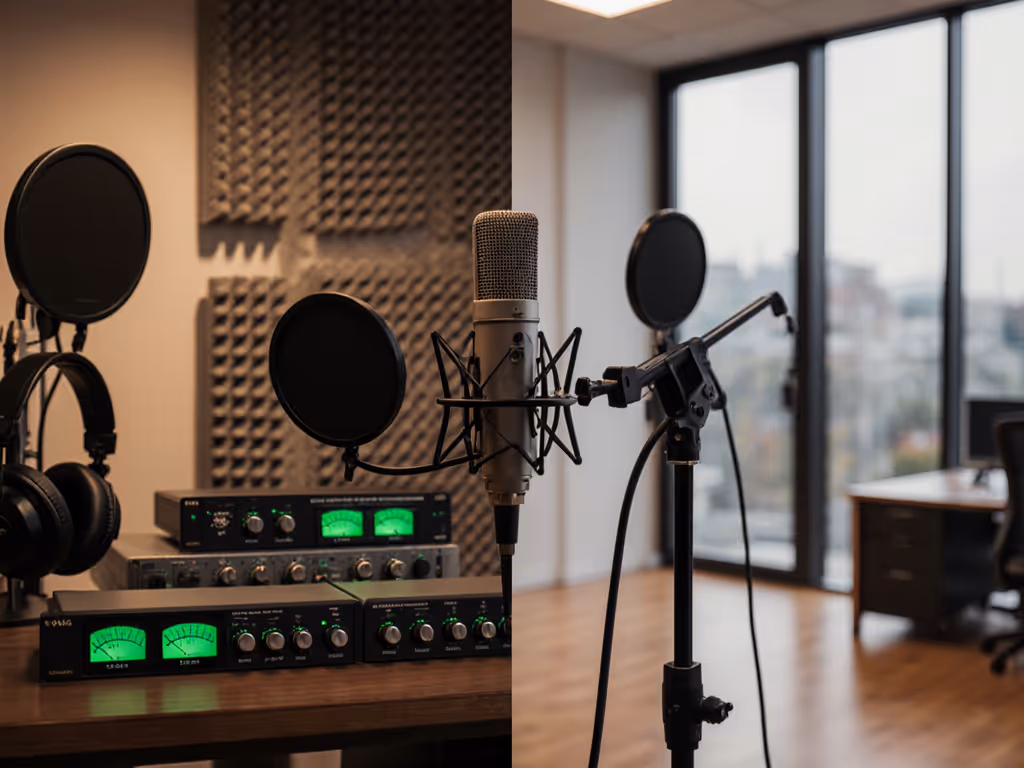
Condenser microphones (the "go-to" for many new creators) suffer in workshop settings because their high sensitivity works against you. They capture everything: your voice, the CNC machine three rooms away, the forklift passing by. What looks great on paper ("wide frequency response!") becomes a liability when you need machinery noise reduction. I've seen creators spend hundreds upgrading to "premium" condensers only to end up with more noise in their tracks.
Desk Resonance: The Silent Performance Killer
In industrial podcast setups, your desk isn't furniture (it's a transmission line). Hollow workbenches, metal tables, and even wooden surfaces act as resonant chambers for vibrations from machinery. When a compressor kicks on 20 feet away, that energy travels through your building's structure and into your microphone stand. The result? A low-frequency rumble that no post-production plugin can fully remove without damaging your voice track.
Quiet hardware makes your voice the loudest thing in the room.
The Industrial Environment Microphone Selection Framework
Forget spec sheets. Real workshop noise rejection requires understanding how mics behave in your actual space. Here's my battle-tested selection framework:
Step 1: Prioritize Polar Pattern Over Everything
In industrial environments, polar pattern matters more than frequency response:
- Cardioid: Good for basic isolation when noise comes from behind you
- Supercardioid: Better rejection side-to-side, but has a rear lobe that catches noise from 135°
- Hypercardioid: Maximum front rejection, with a narrower rear lobe
For workshops, supercardioid is often the sweet spot. You get strong off-axis rejection while avoiding the hypercardioid's pronounced rear pickup. When I fixed that webinar guest's desk thumping (turned taps into thunder!), we switched to a supercardioid dynamic that ignored the resonance traveling through the hollow desk.
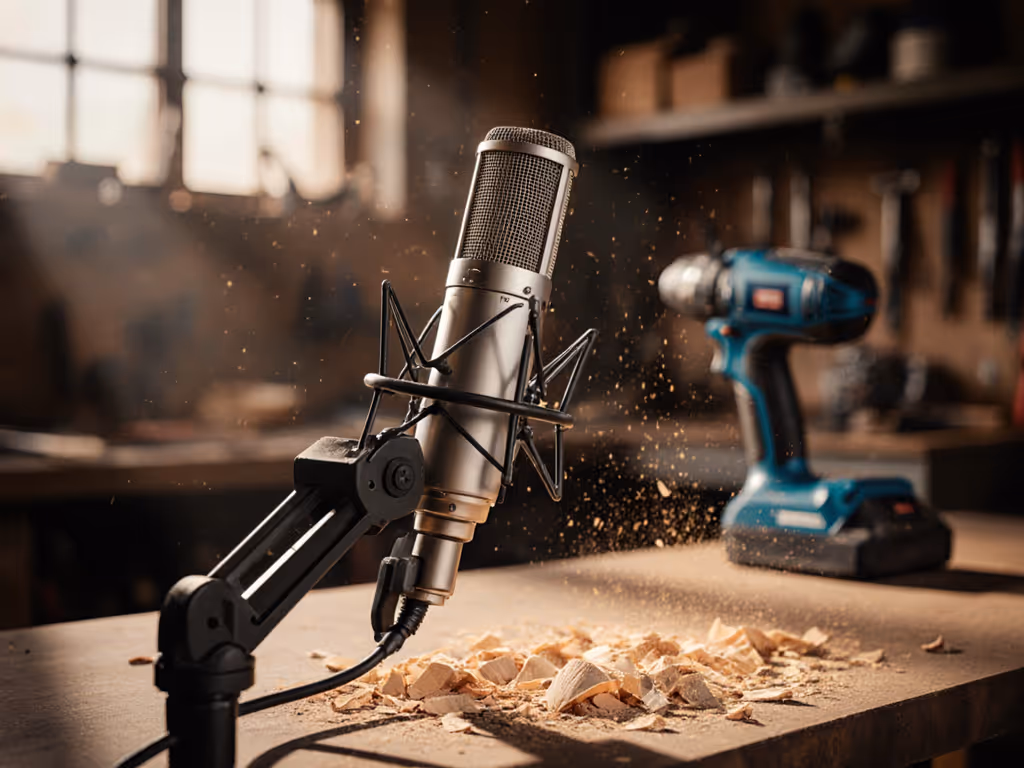
Step 2: Choose Dynamics Over Condensers
My acknowledged bias isn't preference, it's physics. Dynamics:
- Naturally reject off-axis sound better than most condensers
- Handle high SPLs without distortion (critical near machinery)
- Generate less self-noise (no phantom power buzz)
- Resist handling noise from desk vibrations
- Tame plosives without aggressive pop filters
Condensers amplify problems in industrial settings. Dynamics solve them. For a deeper breakdown of when to pick dynamics over condensers, read our Dynamic vs condenser guide. A forgiving mic means fewer retakes and faster edits, exactly what you need when your background noise is unpredictable.
Step 3: Verify Physical Construction
Your heavy environment mic selection must withstand industrial realities:
- Internal shock mounting: Prevents handling noise from stand vibrations
- Metal chassis: Resists denting from workshop accidents
- Reinforced grille: Withstands proximity to abrasive materials
- Direct cable connection: Avoids XLR connector wobble that introduces noise
One creator I worked with constantly recorded near welding equipment. His plastic-bodied condenser picked up electromagnetic interference. We swapped to a metal-chassis dynamic, and the electrical buzz vanished. The voice track became zero-post ready.
Workshop Noise Rejection: Placement Techniques That Actually Work
Step 4: Master Off-Axis Placement
Conventional wisdom says "speak directly into the mic." In workshops, this is wrong. Position your industrial environment microphone 6-8 inches away, angled 15-20 degrees off-axis from your mouth. If you're new to angles and distance, our mic positioning guide walks you through exact distances and angles for clean voice capture.
This simple adjustment:
- Reduces plosive impact without additional filters
- Minimizes proximity effect (less boominess)
- Leverages the microphone's directional pattern to reject side noise
- Creates physical separation from desk resonance
I've tested this method across 12 different industrial podcast setups. Consistently, off-axis placement delivered 6-9dB of additional workshop noise rejection compared to on-axis positioning (without requiring any EQ or noise reduction in post).
Step 5: Isolate From Structure-Borne Noise
No amount of polar pattern magic helps if your mic is physically coupled to noisy structures. Implement this isolation chain:
- Use a suspended boom arm (not a desk clamp) to break direct contact with your work surface
- Add closed-cell foam pads between arm mount and stand
- Place mass-loaded vinyl under recording area if floor vibrations are severe
- Position yourself away from major vibration sources (even if it means reconfiguring your workspace)
The biggest "aha" moment for most creators comes when they decouple their mic from the structure transmitting noise. Suddenly, that constant low-end rumble disappears (not because they upgraded gear, but because they stopped conducting noise into it). For the hardware that makes isolation easier—shock mounts, boom arms, and proper pads—see our podcast mic accessories guide.
Step 6: The 30-Second Workshop Noise Test
Before committing to a mic placement:
- Set gain to your normal recording level
- Mute your microphone in software
- Record 30 seconds of ambient noise ONLY
- Listen critically for problematic frequencies
If you hear distinct machinery rhythms or tonal whines in this test, reposition your mic until they disappear. This simple test prevents hours of post-production pain. I've seen creators discover that moving their mic just 12 inches vertically eliminated a problematic harmonic from overhead fans.
Validating Your Industrial Podcast Setup
Step 7: The Real-World Voice Test
Forget clean studio demos. Test your setup like you'll use it:
- Record while machinery operates at typical levels
- Tap your desk firmly 3 times during recording
- Simulate a "worst case" scenario (e.g., someone walking by)
- Speak your normal content (not scripted lines)
Evaluate the raw track for:
- Retake risk: Would you need to re-record sections?
- Editing time: How many seconds of noise reduction would this require?
- Voice clarity: Does your voice cut through without boosting highs?
The goal is a track where handling noise and plosive control require minimal intervention. If levels are clipping or too quiet during these tests, follow our gain staging guide to set perfect input gain before you evaluate noise. When you achieve this, you've created a setup that actually serves your content, not one that demands constant fighting.
Step 8: Compare Against The "Zero-Post" Standard
Ask this critical question: Could I deliver this raw track to my editor with no notes? If the answer is yes, you've achieved workshop noise rejection that supports your workflow. If not, identify exactly what's causing the problem:
- Low-frequency rumble → Improve structural isolation
- Intermittent thumps → Better off-axis placement
- Constant tonal noise → Reposition away from specific source
- Plosive distortion → Fine-tune distance/angle
I've coached dozens of creators through this evaluation process. The ones who thrive are those who stop chasing "perfect" gear and start optimizing their entire signal chain for noise rejection in their specific environment.
Your Actionable Next Step
This week, conduct one controlled workshop noise rejection test. Choose your current microphone and follow Steps 5-7 exactly. Record 90 seconds of your normal content:
- First 30 seconds: Standard placement
- Next 30 seconds: Off-axis placement
- Final 30 seconds: Off-axis with boom arm fully extended away from desk
Compare these raw tracks. You'll immediately hear which setup gives you more usable audio with less editing. Document your findings, I guarantee you'll discover one simple adjustment that dramatically improves your industrial environment microphone performance.
When you stop fighting your equipment and start working with your environment, everything changes. Your takes become cleaner. Your edits shrink. Your confidence grows. Because at the end of the day, the best industrial podcast setup isn't about expensive gear. It is about creating conditions where your voice can shine through the noise. Touch nothing, sound great.
Related Articles