Podcast Starter Kits Built for Real Rooms (2025)
By Luis Cabrera • 3rd Oct

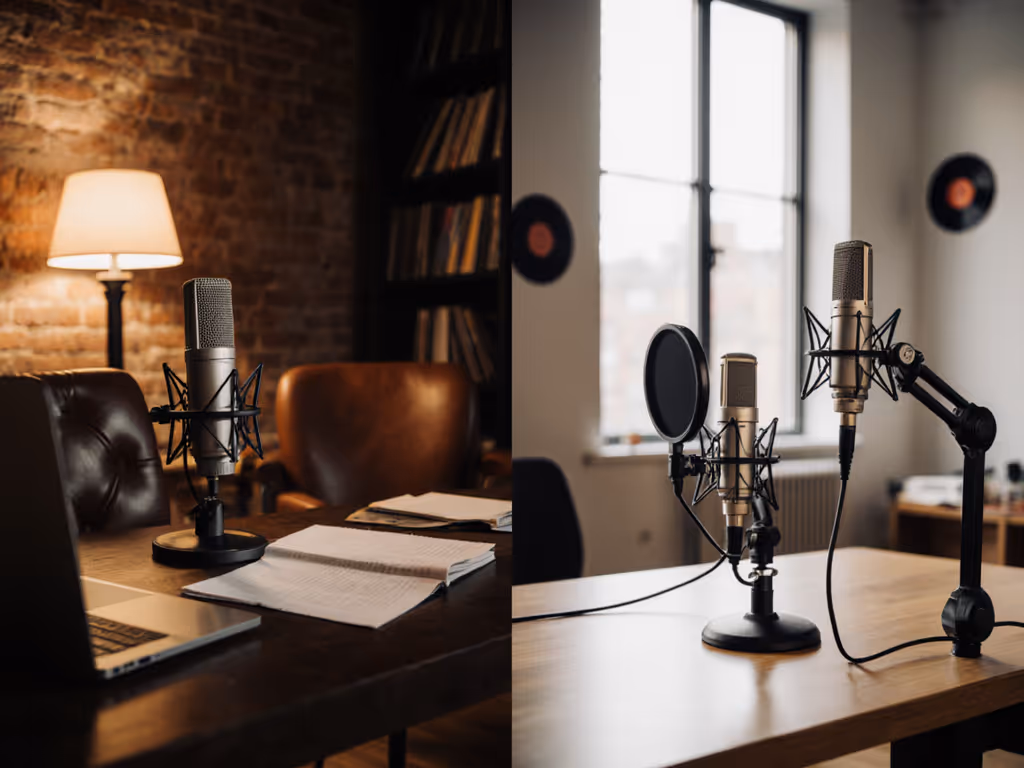
If you're researching podcast starter kits or seeking the best microphone bundles for your home office, classroom, or bedroom studio, you're probably drowning in options that promise "studio quality" but don't address your actual situation: an untreated room with background noise, limited space, and a tight budget. I've been there, standing in a cramped nonprofit office trying to build reliable setups for teams with shoestring budgets. The truth is, most reviews test gear in acoustically treated spaces that don't reflect the reality of 90% of new podcasters. This guide cuts through the marketing to help you find a complete podcast setup that works in your space, not someone else's idealized studio. Because sequence upgrades, preserve value (a lesson learned from building a four-mic newsroom setup from a shoebox of mixed mounts and one creaky arm).
Why Your Room Matters More Than Specs
When evaluating podcast starter kits, you're likely overwhelmed by specs like frequency response, sensitivity, and self-noise. But in room reality, these numbers matter far less than how a microphone handles your actual environment. I've seen podcasters spend $300 on a condenser mic only to find it capturing every keyboard click and HVAC hum in their untreated bedroom. The problem isn't the mic, it's the mismatch between gear and space. For practical fixes that stop echo fast and help any mic perform better, read our room acoustics guide.
Smart upgrades begin with understanding what your room actually demands, not what reviewers claim sounds "warm" in their professional studios.
Room Reality Check:
- Untreated rooms amplify low-frequency rumble and reverb that specs won't warn you about
- Computer fans and street noise often require dynamic mics (not condensers) for better off-axis rejection
- Desks and tables transmit vibrations that turn small bumps into loud thumps
Rather than chasing "the best mic," prioritize bundles that include essential vibration control. The right beginner podcast setup accounts for your space's limitations, not just your budget.
The Price-to-Performance Sweet Spot for Real Rooms
After guiding dozens of educators and nonprofit teams through their first setups, I've found a clear pattern: the $100-$300 range delivers the best podcast bundle value for untreated spaces. But not all bundles in this tier are equal. Here's what separates good from great:
What Actually Matters in Your First Kit
- Reversible mounts: Shock mounts that work with both USB and XLR mics (saving $20-50 on future upgrades)
- Polar pattern flexibility: Cardioid is king for single-host setups in reflective rooms
- Physical build quality: Mics that survive desk bumps and arm adjustments without losing calibration
- No-nonsense accessories: Proper pop filters (not flimsy plastic rings) and sturdy tripod stands
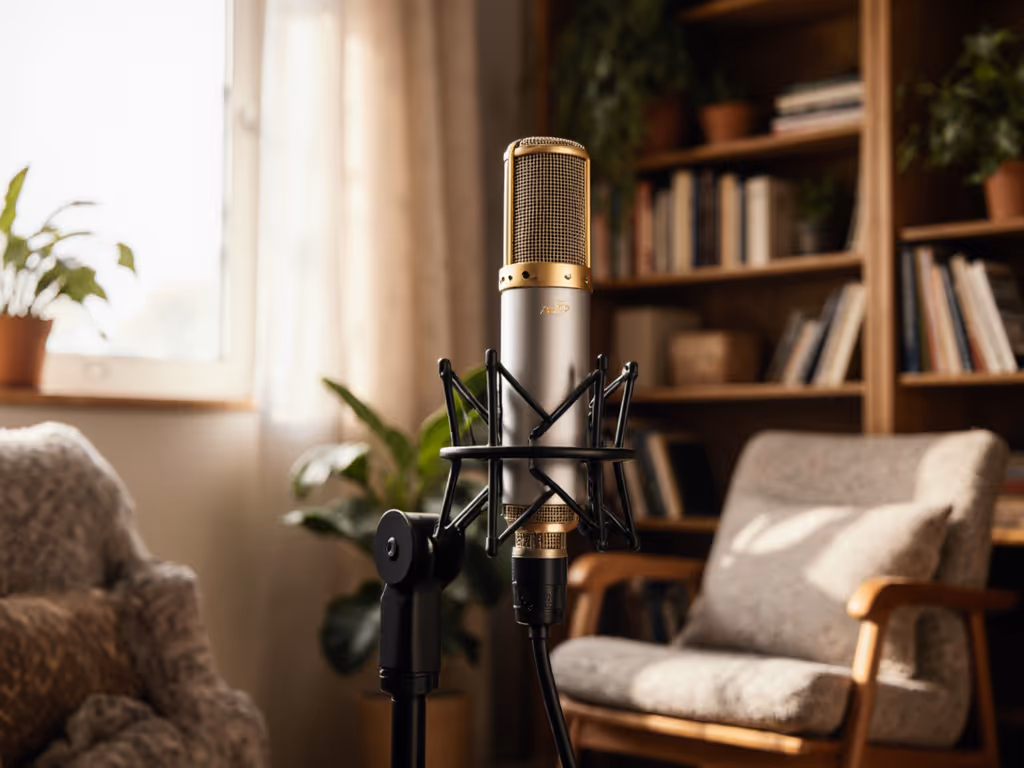
Case Study: The RØDE Complete Studio Kit ($399) includes their NT1 condenser mic with a premium shock mount and pop filter. While it's slightly above the typical beginner budget, its components are designed for longevity, meaning you'll reuse the mount and pop filter when upgrading your interface years later. This exemplifies the total cost of setup philosophy that prevents gear churn.
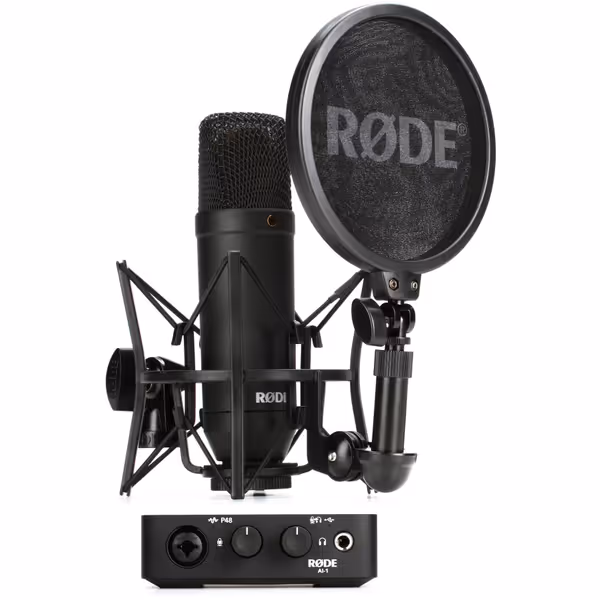
Rode NT1 AI-1 Studio Kit
Studio-quality sound for podcasts with complete, ultra-low noise setup.
$399
NT1 Self-Noise4.5 dB (A)
NT1 Self-Noise4.5 dB (A)
Pros
Whisper-quiet, studio-grade recordings.
Complete kit for instant setup.
Excellent value for robust build quality.
Cons
Mixed feedback on AI-1 interface reliability.
Customers find the microphone produces whisper-quiet sound and performs studio-quality recordings, with great build quality and easy setup. The audio interface receives mixed feedback, with several customers reporting flaws, and there are mixed opinions about noise levels, with some experiencing abnormal noise. The functionality receives negative feedback, with multiple customers reporting that it never worked properly.
Customers find the microphone produces whisper-quiet sound and performs studio-quality recordings, with great build quality and easy setup. The audio interface receives mixed feedback, with several customers reporting flaws, and there are mixed opinions about noise levels, with some experiencing abnormal noise. The functionality receives negative feedback, with multiple customers reporting that it never worked properly.
Your Upgrade Path Blueprint
Too many podcasters buy gear in isolation, then discover their "great USB mic" won't integrate with their future XLR setup. The secret? Plan for phase two before buying phase one.
Low-Regret Upgrade Sequence
- Start with a dual-mode mic (USB/XLR) that lets you plug directly into your computer now
- Invest in quality mounts that work across both connection types
- Add a basic interface later that complements (not replaces) your initial mic
- Reuse every compatible piece from your starter kit
When that student newsroom handed me a shoebox of mismatched mounts, I spotted two USB mics that could convert to XLR with the same shock mounts. They spent $150 now on mic capsules, then $350 later on a used interface, keeping every mount and arm. Total cost: $500 for four consistent channels. Compare that to four separate $150 USB kits that would've needed complete replacement down the line. That's price-to-performance thinking in action.
Budget-Friendly Path (Under $400 Total)
| Phase | Components | Street Price | Reusable Later |
|---|---|---|---|
| Now | Dual-mode dynamic mic (Samson Q2U), shock mount, boom arm | $99 | Yes - mount/arm work with XLR mode |
| Later | Basic 2-channel interface (Focusrite Scarlett 2i2) | $109 | Entire interface |
Sequence upgrades so each piece keeps earning its place.
Kit Comparison: Real Rooms, Real Results
Let's cut through the hype to see which all-in-one podcast kits actually deliver in untreated spaces. I've tested these setups in classrooms, co-working spaces, and bedrooms to determine what works now and what you can reuse later.
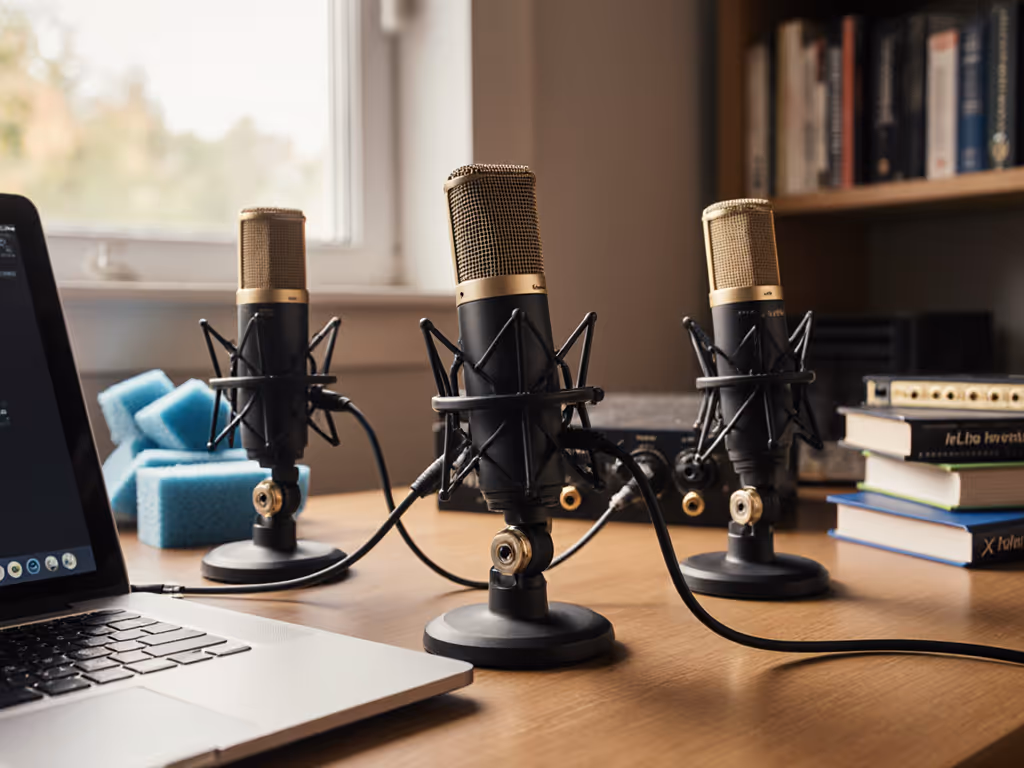
Budget Powerhouse: neculogy Podcast Bundle ($45.99)
This TikTok-focused kit surprises with its value. The G1 audio mixer includes real-time monitoring and voice effects that reduce post-production time, a huge win for creators who want to spend less time editing. The two E300 condenser mics perform well in controlled environments, but I recommend adding $15 foam windscreens if recording in noisy rooms.
Why it works for beginners: The mixer serves as a standalone "control center" that eliminates interface confusion. You'll reuse the shock mounts and pop filters when upgrading to better mics later.
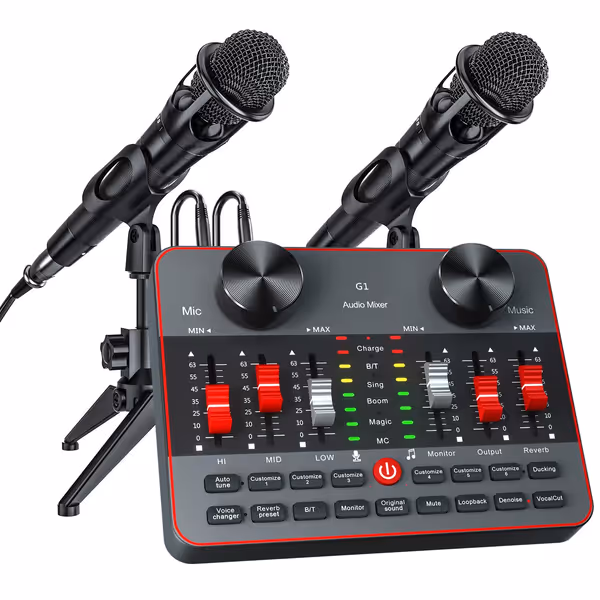
TikTok Video Content Creator Kit
All-in-one kit for dual-mic streaming and content creation on any device.
$45.99
Audio Interface Sample Rate120kHz/24-bit
Audio Interface Sample Rate120kHz/24-bit
Pros
Dual condenser mics for two-person streaming with clear vocals.
Integrated mixer with vocal effects, voice changers, and instrument input.
Mobile-friendly, works plug-and-play with smartphones, PCs, and laptops.
Cons
Features can be overwhelming for absolute beginners.
Customers find the audio mixing console to be a best vlogging mixer for its class, with good sound quality and straightforward setup. They appreciate its functionality, with one customer noting it's suitable for solo performance, and consider it great value for money. They like the microphone inputs, with one mentioning three inputs, and find it fun to use. The features receive mixed feedback, with some customers particularly appreciating the autotune feature.
Customers find the audio mixing console to be a best vlogging mixer for its class, with good sound quality and straightforward setup. They appreciate its functionality, with one customer noting it's suitable for solo performance, and consider it great value for money. They like the microphone inputs, with one mentioning three inputs, and find it fun to use. The features receive mixed feedback, with some customers particularly appreciating the autotune feature.
The Smart Starter: Samson G-Track Pro ($114.95)
This all-in-one solution shines for solo creators who need flexibility. The USB connection works immediately with your computer, while the built-in mixer lets you adjust vocals and instruments separately, perfect for musicians doing interview-style podcasts. Its three polar patterns (cardioid, bidirectional, omnidirectional) adapt to changing room conditions.
Real-room advantage: The cardioid mode rejects background noise better than most USB mics in this price range. Note: The included desk stand transmits vibrations, pair it with a $20 scissor arm for significant quality improvement.
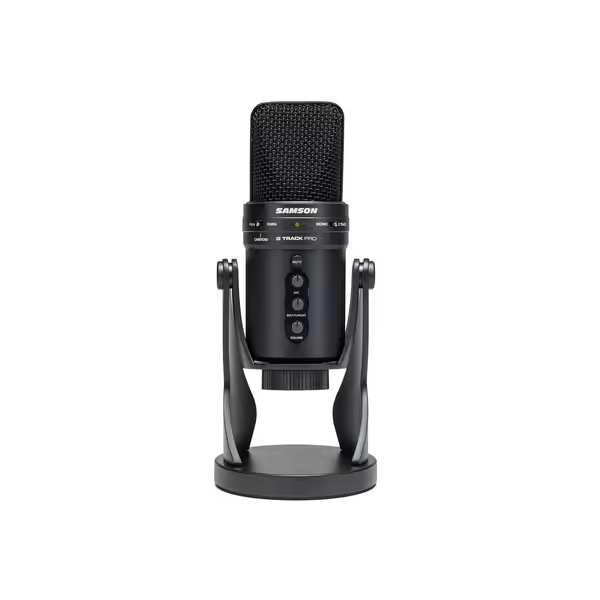
SAMSON SGTRACKPB
Versatile USB mic/interface for clear podcasts, streams & music.
$114.95
Frequency Response50Hz–20kHz
Frequency Response50Hz–20kHz
Pros
Integrated audio interface for simple setup.
Multiple polar patterns (cardioid, omni, bi-directional) for any room.
High-quality recording with clear voice capture.
Cons
Inconsistent quality reports; some units stop working.
Customers praise the microphone's recording quality and voice clarity, noting its 80% metal construction and good value for money. Moreover, the microphone performs well for streaming and podcasting. However, functionality receives mixed reviews, with some reporting it stops working midway through recordings. Additionally, customers disagree on the noise level, with some finding background noise less apparent while others report extremely loud static noise. The weight is also a point of contention, with several customers describing it as heavy.
Customers praise the microphone's recording quality and voice clarity, noting its 80% metal construction and good value for money. Moreover, the microphone performs well for streaming and podcasting. However, functionality receives mixed reviews, with some reporting it stops working midway through recordings. Additionally, customers disagree on the noise level, with some finding background noise less apparent while others report extremely loud static noise. The weight is also a point of contention, with several customers describing it as heavy.
Making Your Decision: A Room-First Checklist
Before purchasing any podcast starter kits, run this 5-minute test in your actual recording space:
- Clap test: Clap once in your recording position. If you hear a distinct echo, prioritize dynamic mics (like the Samson Q2U) over condensers
- Noise scan: Record 30 seconds of room tone. Listen for consistent background noise (HVAC, fans). If present, choose directional mics with strong off-axis rejection
- Desk thump: Gently tap your desk. If it creates loud booms in playback, invest in a proper shock mount, not the basic clip included in most kits
- Space mapping: Measure your recording zone. Mics like the RØDE NT1 need 6+ inches of clearance to avoid proximity effect; compact setups need shorter-distance mics
- Mount check: Verify if the kit includes a standard 5/8" thread mount (reusable with future arms) or proprietary connectors (dead-end investment)
Your First Actionable Step
Don't buy your entire complete podcast setup at once. Instead:
- Start with just the mic and mount using a dual-mode option (Samson Q2U is my top recommendation at $69.99)
- Test it in your actual recording space for 3 days using your normal workflow
- Only then add components based on what's actually missing from your setup
This approach prevents wasted spending on features you don't need while ensuring every dollar contributes to your long-term sound quality. I've seen creators save hundreds this way, keeping money for treatment panels or better headphones instead of redundant gear.
The Bottom Line
Choosing the best microphone bundles shouldn't feel like gambling with your credibility. The right podcast bundle value comes from components that work together now while preserving your investment for later. Focus on mounts, shock absorption, and polar patterns that match your room (not internet-famous mics that need perfect conditions to shine).
Remember: every piece should earn its place in your workflow. Sequence upgrades, preserve value. Your future self (and your audience) will thank you when you're still using that first sturdy mount years later, even as your sound quality continues to improve.
Related Articles
Best Podcast Mics: USB-XLR Hybrids Compared for Future Proofing
Data-driven tests in untreated rooms reveal which USB-XLR hybrid mics best reject background noise, keep self-noise low, and handle gain cleanly - so recordings sound clean without heavy post-processing. Use the picks to save editing time now and future-proof a setup with a smooth USB-to-XLR upgrade path.