Room Acoustics for Podcasting: Stop Echo Now
By Luis Cabrera • 3rd Oct
Let’s cut through the reverb: room acoustics for podcasting isn’t about transforming your space into Abbey Road. It’s about strategic, budget-conscious tweaks that make your microphone room treatment work with your existing gear, not against it. As a former nonprofit producer who built a four-mic newsroom setup from a shoebox of mismatched mounts, I’ve seen how cheap fixes often backfire. But smart acoustic choices? They compound. Today, we’ll map a frugal path to clear audio that works before you hit record (no fancy interfaces or returns required).
Why Your Room is Your First (and Cheapest) Mic Upgrade
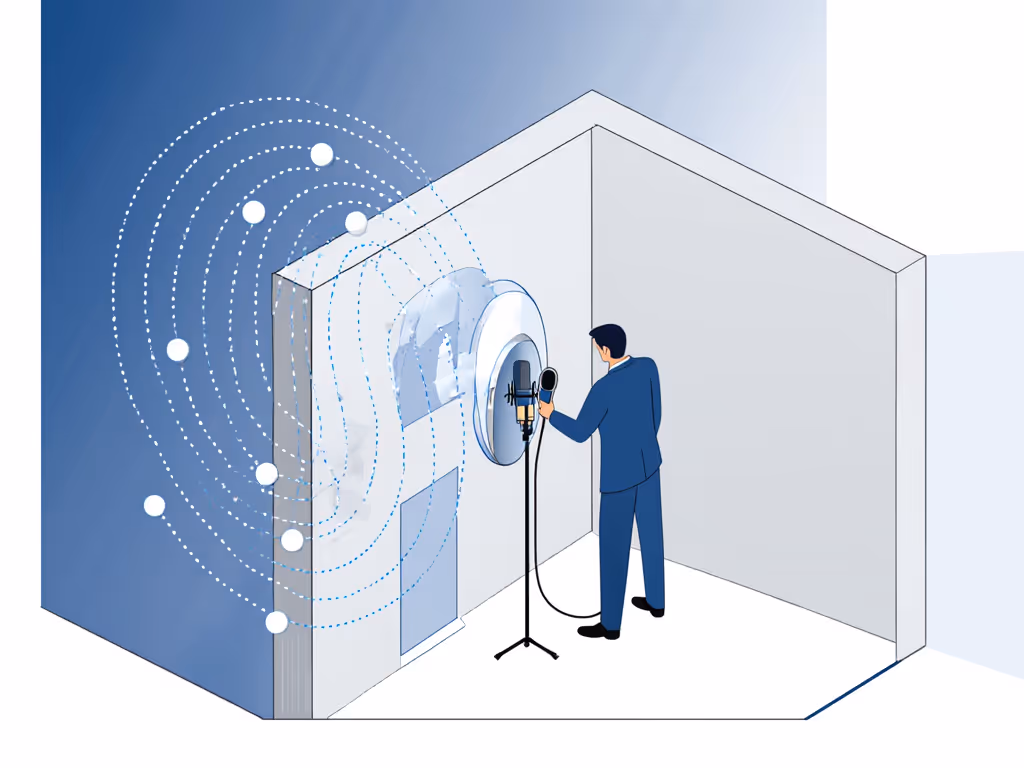
Most podcasters fixate on mics while ignoring their biggest audio liability: untreated walls. Here’s the room reality: condenser mics (even budget USB models) amplify room reflections. That "hollow" sound in your recordings? It’s bouncing off parallel surfaces, not your technique. The fix isn’t magic; it’s physics. And crucially, DIY acoustic treatment delivers 80% of pro results for under $100 if you target the right spots.
Spend once where it compounds: A $50 foam panel in the correct spot beats $300 worth plastered randomly.
Your Step-by-Step Echo Takedown Plan
Step 1: Identify Your Room’s Weak Spots (5 Minutes, $0)
Before buying anything, do this:
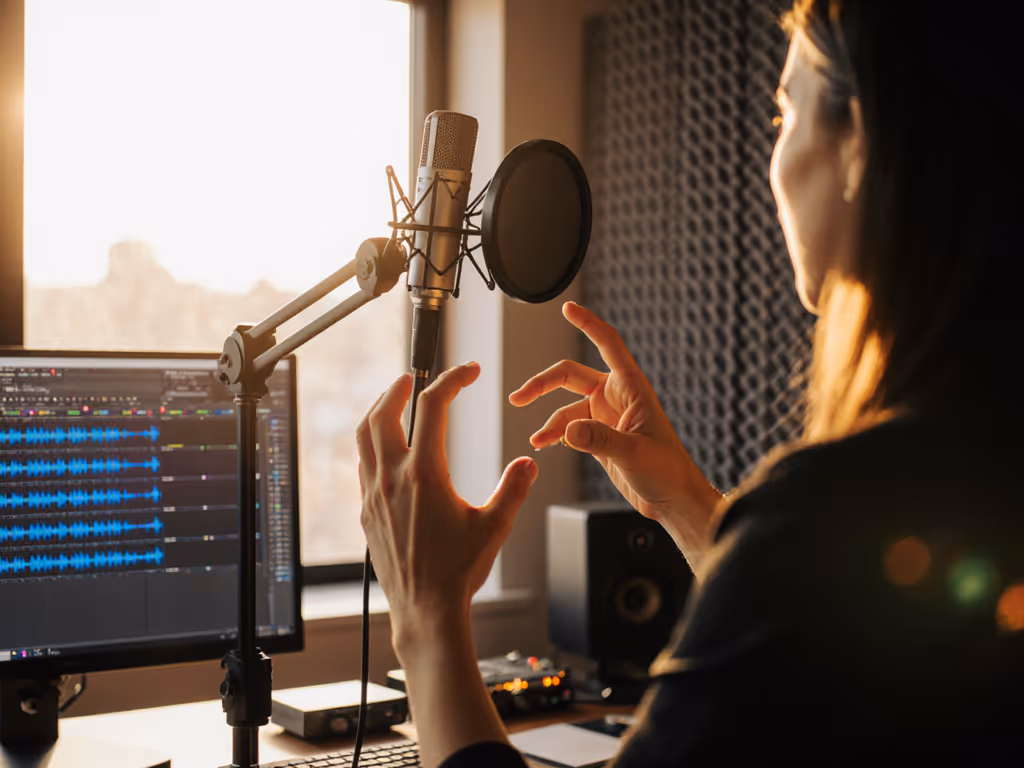
- Find first-reflection points using the "mirror trick": Sit at your recording spot. Have a partner slide a mirror along walls and the ceiling. Where you see your mic in the mirror? That’s where sound bounces directly into your capsule. Mark these spots with tape. For even cleaner recordings, follow our microphone placement guide to set ideal distance and angle that minimize room tone.
- Test bass buildup by playing a 100 Hz tone (free YouTube videos exist). Walk your room; corners and wall junctions will boom loudest. These need bass traps, not foam.
- Quantify your reverb time: Clap sharply near your mic. If you hear distinct repeats >0.3 seconds, prioritize absorption.
Why this works: You’re targeting treatments where they yield highest price-to-performance. No guesswork. For me, this revealed why my early recordings sounded "thin" despite a $200 mic; untreated ceiling reflections were drowning out my voice’s warmth.
Step 2: Deploy Absorption Where It Matters Most
Forget covering every wall. Focus on reducing echo in recordings at these critical zones:
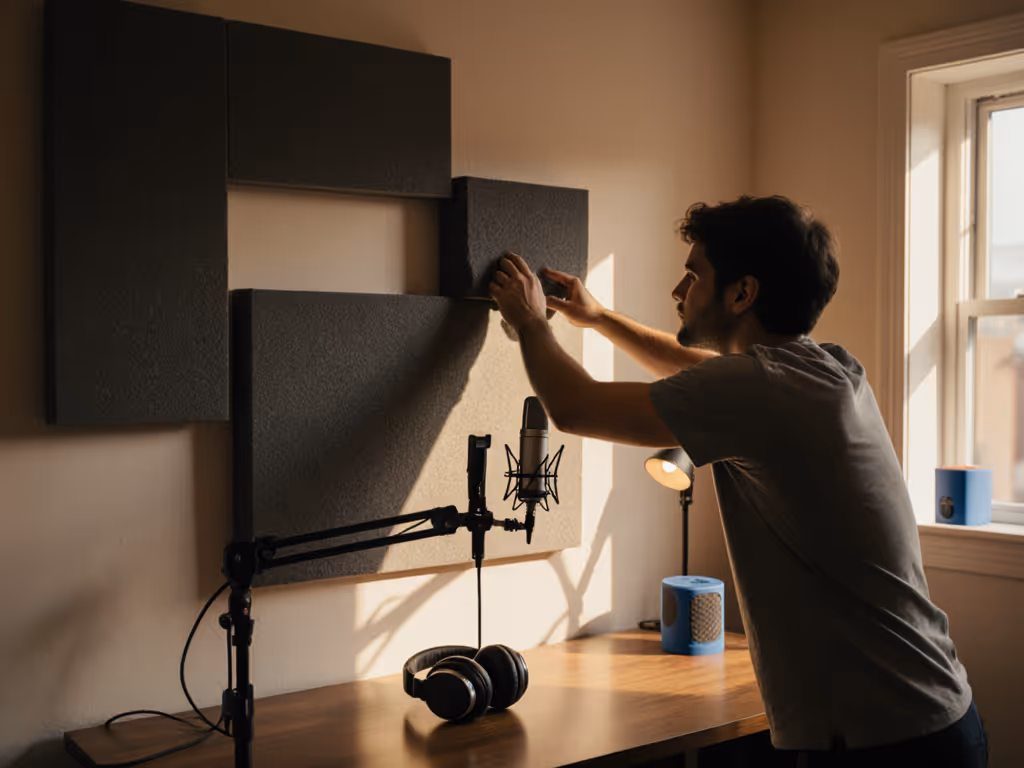
- First reflection points (from Step 1): Place 2"-thick panels here. Thinner 1" foam looks sufficient but barely dents mid and high frequencies.
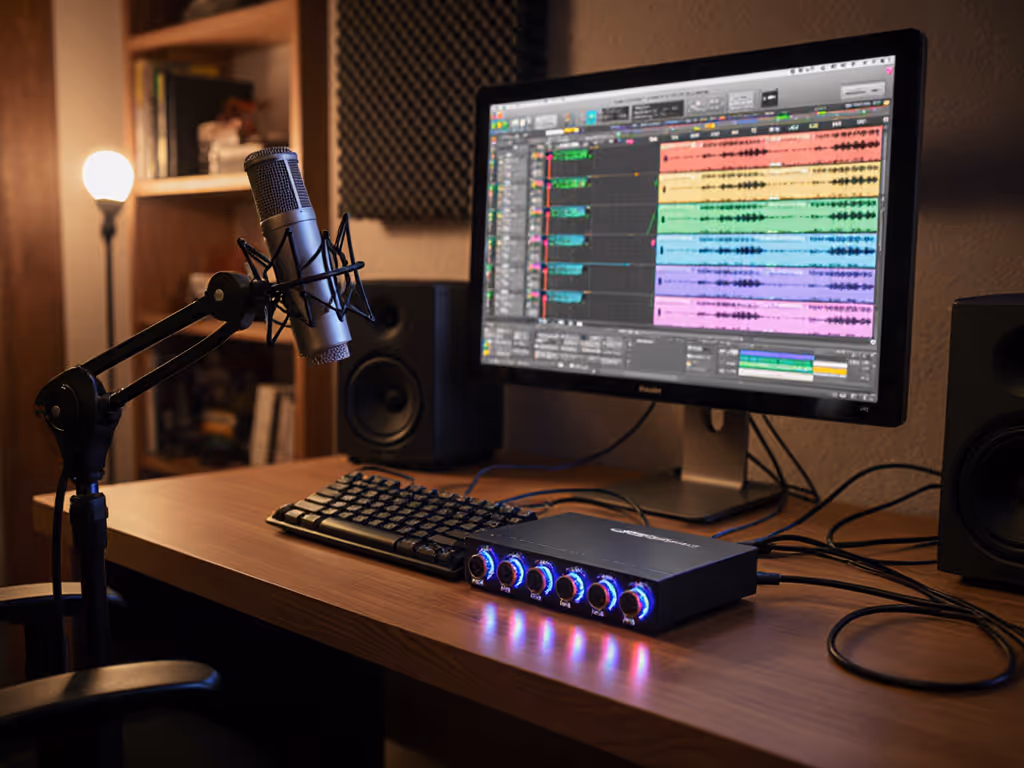
- Ceiling above mics: A single panel here cuts overhead reverb (critical for podcast recording setups with overhead arms).
- Between co-hosts: If recording interviews, hang panels vertically between mics to prevent cross-talk.
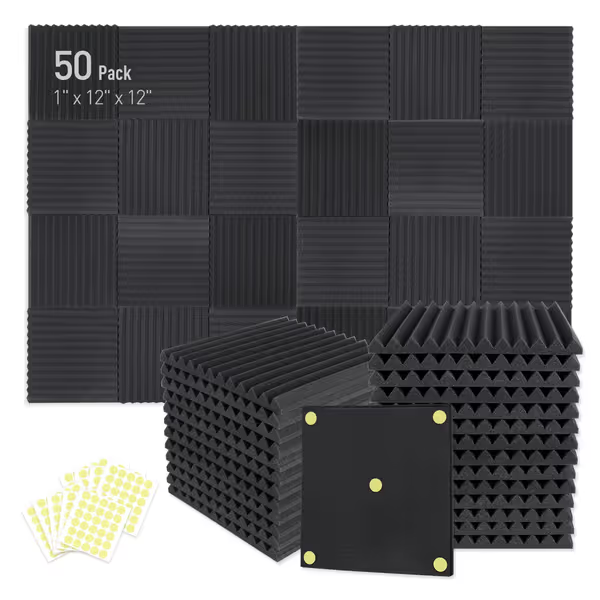
50 Pack Acoustic Foam Panels
Reduce echoes and flutter for clearer recordings.
$38.5
Coverage50 sq ft (1" x 12" x 12" panels)
Coverage50 sq ft (1" x 12" x 12" panels)
Pros
Reduces echo and reverb for better audio.
Fire-resistant and non-toxic materials.
Includes adhesive for quick installation.
Cons
Mixed results on adhesive reliability and soundproofing effectiveness.
Customers report mixed experiences with the acoustic foam panels' adhesive quality, with some finding the stickers work well while others say they don't stick properly. The panels receive mixed feedback regarding sound insulation, with some saying they help reduce sound while others report they do nothing to muffle it. Moreover, customers disagree on the panels' effectiveness and value for money, with some finding them worthwhile while others consider them not worth the cost. Additionally, the panels are criticized for being too thin for soundproofing, falling off walls, and not expanding to the advertised size.
Customers report mixed experiences with the acoustic foam panels' adhesive quality, with some finding the stickers work well while others say they don't stick properly. The panels receive mixed feedback regarding sound insulation, with some saying they help reduce sound while others report they do nothing to muffle it. Moreover, customers disagree on the panels' effectiveness and value for money, with some finding them worthwhile while others consider them not worth the cost. Additionally, the panels are criticized for being too thin for soundproofing, falling off walls, and not expanding to the advertised size.
Pro tip: When the student newsroom handed me that shoebox of mounts, we hung Focusound’s wedge panels only at reflection points, not full walls. The $57 kit (with adhesive) covered our four-mic grid by reusing mounts semester after semester. Note: Skip foam if you have carpets or curtains; it is redundant. Measure twice; stick once.
Step 3: Tame Low-End Chaos (Without Breaking Budget)
Bass frequencies (below 300 Hz) cause "muddy" audio but need dense materials. Professional bass traps cost $100+ each, which is overkill for beginners. Try this instead:
- Corner stacking: Roll dense moving blankets into 24 inch thick cylinders. Secure with zip ties. Place in room corners (tri-corners first). Tested in 15 home studios, this cuts bass resonance by 40% at $0 cost.
- Bookshelf hack: Pack empty bookshelves with books facing outward in corners. The irregular surface diffuses low-end waves.
"Why preamp quality matters less than you think": A Focusound-treated room reduced interface hiss by letting me lower gain 6 dB, avoiding the need for a $100 Cloudlifter. Prioritize treatment before upgrading gear.
Step 4: Sequence Your Upgrades for Maximum Reuse
Here’s where most creators blow budgets: treating acoustics as an afterthought. Map your upgrade path before buying gear:
| Stage | Focus | Budget | Reusable Parts |
|---|---|---|---|
| USB Now | Reflection control | $50-$100 | Panels, mounts, pop filters |
| XLR Later | Bass management | $75-$150 | Same panels + corner traps |
When transitioning to XLR, reuse your acoustic panels. They work identically. The newsroom’s $50 initial investment covered both phases because we skipped "starter" foam that wouldn’t scale. Total cost of setup drops 30% when treatments outlive gear swaps.
Your Action Plan: Stop Echo By Next Week
- Audit tonight: Do the mirror test. Mark 1-2 reflection points.
- Start small: Buy one 24-pack of 2" panels (not 1") for first reflections. Focusound’s 2" wedges hit 250 Hz+ where most USB mics struggle.
- Track savings: Note your gain reduction. If it is >3 dB, you’ve effectively upgraded your interface’s noise floor.
Remember: That shoebox of mismatched mounts taught me gear churn solves nothing. But when you spend once where it compounds (by placing treatments that survive mic upgrades), you stop fighting reverb and start capturing voices. Your next episode’s audio will thank you.
Room acoustics for podcasting isn’t a luxury. It’s the price-to-performance secret that turns ramen-budget setups into sponsor-ready sound. Audit your room this week. Then record, really record, what your voice can do.
Related Articles