Budget Podcast Mics That Capture Kids' High Voices
By Nora Adeyemi • 18th Nov
If you're trying to capture your child's sparkling storytelling or record classroom projects with clear audio, you need a cheap podcast microphone that handles young voice recording without breaking the bank. Kids' voices sit higher in the frequency range than adult voices, making them prone to harshness or thinness with the wrong gear. But here's the good news: you don't need studio-grade equipment to get broadcast-quality results. As a podcast starter mentor who's helped dozens of parents and educators record with children, I've learned that confidence comes from a simple, repeatable setup (not expensive gear). Small, repeatable wins turn scary red lights into green.
Why Kids' Voices Need Special Attention
Children's vocal cords produce higher frequencies than adults (sometimes up to 10,000 Hz compared to the typical 300 to 3500 Hz range of adult conversation). This makes their voices more susceptible to sounding shrill or "tinny" with the wrong microphone choice. For an easy explainer on why certain mics sound bright or harsh, see our mic frequency response guide. Add in natural movement, sudden volume spikes from giggles or excitement, and inconsistent distance from the mic, and you've got a perfect storm for audio frustration.
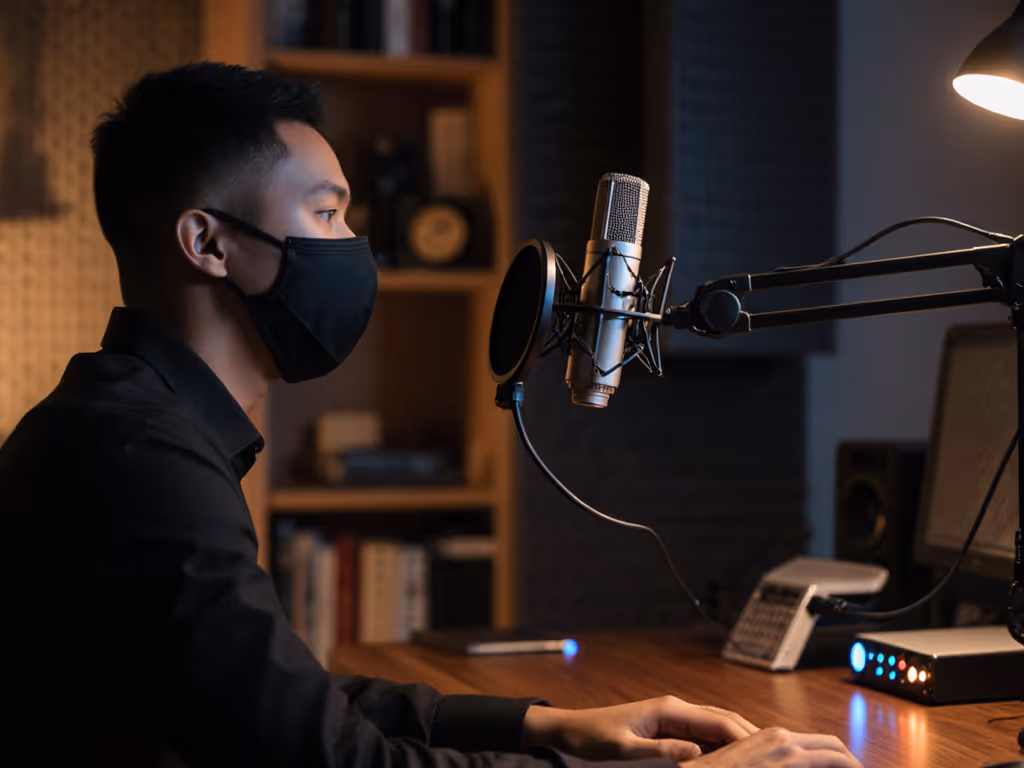
I once watched a kindergarten teacher try to record student poetry readings. The cheap podcast microphone she'd grabbed off a deal site captured every "s" sound like a balloon losing air. Her shoulders were tense, and the kids kept backing away from the scary-looking mic. We moved to a simpler setup, adjusted her expectations, and suddenly those tiny voices sounded present and warm (not perfect, but authentically them).
Your Step-by-Step Kid-Friendly Recording System
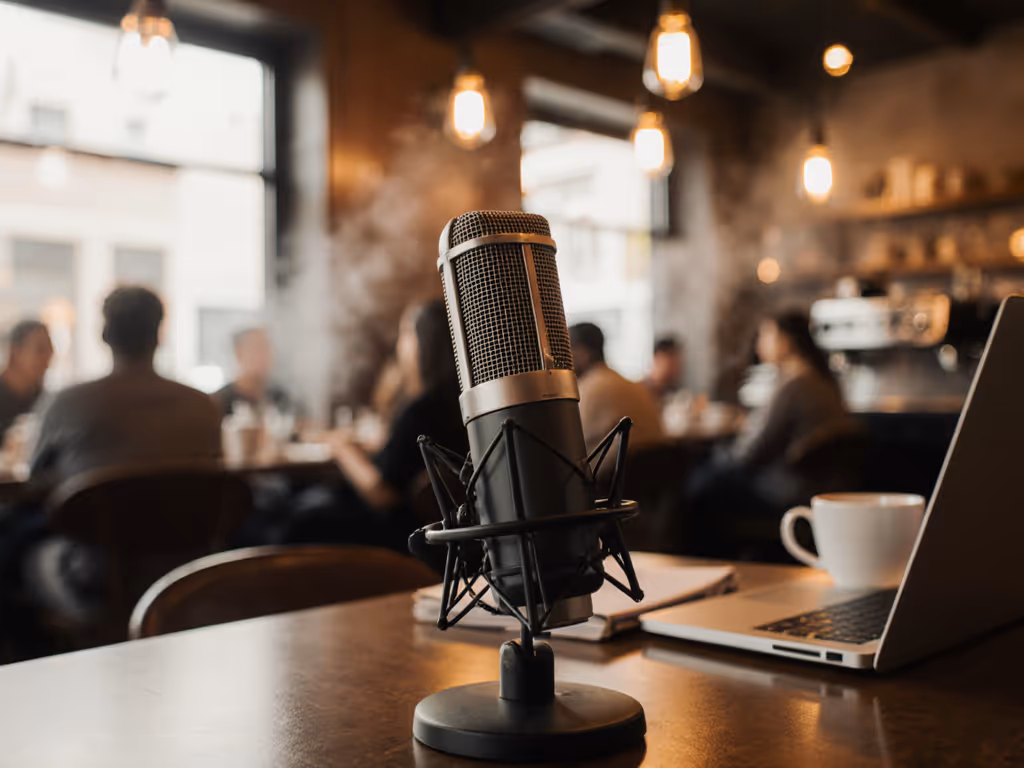
Step 1: Room Choice Matters More Than You Think
For high-frequency vocal capture, avoid large, empty rooms with hard surfaces (like classrooms or living rooms with hardwood floors). These spaces create harsh reflections that make kids' voices sound even brighter and more piercing. Instead:
- Choose a small, carpeted room with soft furnishings
- Record in a closet filled with clothes (yes, really!) for instant sound absorption
- If using a classroom, pull desks together to create a tighter recording zone For more simple fixes in echoey spaces, check our room acoustics guide.
Small rooms with soft surfaces naturally tame those piercing high frequencies without needing expensive treatment.
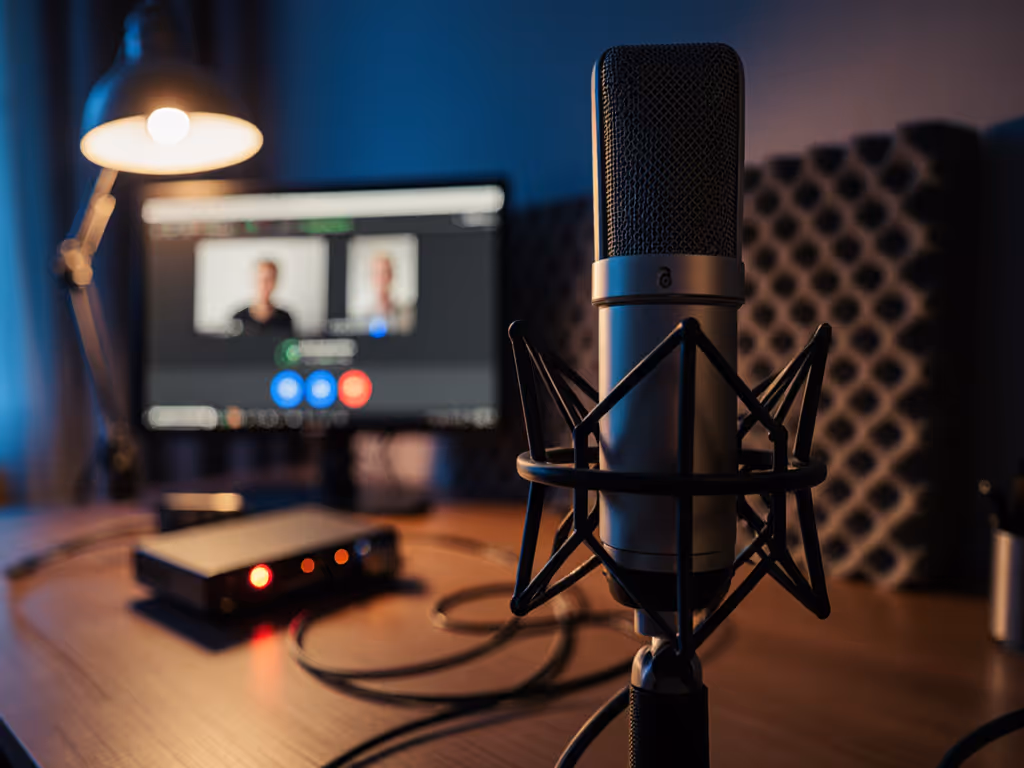
Step 2: Select the Right Budget Microphone Type
Skip condenser mics for young voice recording. While they excel at capturing detail, they're too sensitive for unpredictable kid dynamics and untreated rooms. Instead, opt for a dynamic USB mic (your best bet for basic podcast equipment that handles excitement and movement):
- Dynamic mics naturally smooth out harsh high frequencies
- USB connection eliminates confusing interface requirements
- Built-in headphone jack enables direct monitoring (critical for real-time feedback)
Several budget options under $100 handle children's voices beautifully by rolling off extreme highs while preserving clarity. See our best podcast mics under $100 for kid-friendly picks that balance clarity and smoothness. Look for features like a gentle high-frequency roll-off rather than maximum "brightness."
Step 3: Lock Your Distance (Seriously, This Changes Everything)
This is where most kid recordings fail. Children naturally lean in during exciting parts and pull back when nervous. Here's my foolproof method for consistent positioning:
- Place your fist vertically between the child's mouth and the mic, which creates the perfect fist-width distance
- Angle the mic slightly off-axis (about 15 degrees) to reduce plosives from "p" and "b" sounds
- Position the mic at chin level, not nose level, to avoid mouth noises
I watched a first-time host clutch a mic like an ice cream cone, peaking every laugh. We set a pop filter, angled slightly off-axis, locked distance with a fist-width trick, and enabled direct monitoring. Her next take was clean, her shoulders dropped, and the story finally breathed.
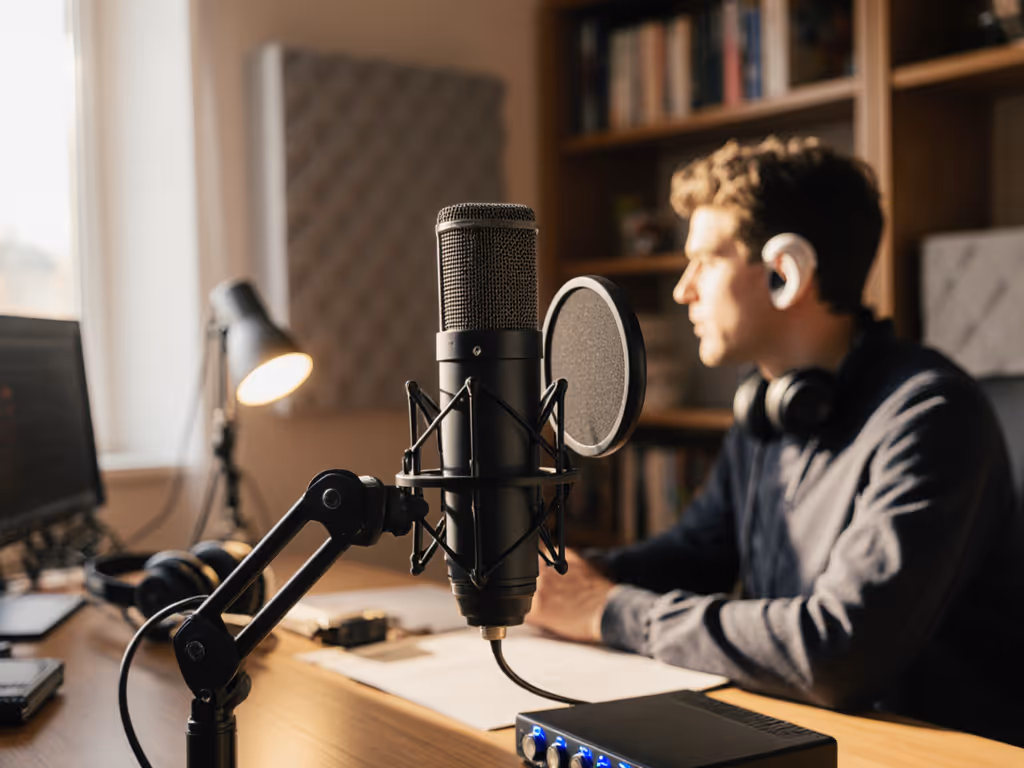
Step 4: Set Up Direct Monitoring for Confidence
One of the most transformative elements for young speakers is direct monitoring (hearing themselves in real time without delay). This simple feature prevents kids from shouting into the mic (a common reaction to not hearing themselves).
- Plug headphones directly into the mic's headphone jack
- Set the gain knob to 50% initially If you're unsure about levels, our gain staging guide walks you through setting safe peaks without clipping.
- Have the child speak at their normal volume while you adjust gain until the loudest parts hit -12dB in your recording software
- Never let kids hear software monitoring (the delayed version) because it creates vocal tension
This immediate feedback helps children self-regulate their volume and pace naturally, rather than shouting to "be heard."
Step 5: Kid-Proof Your Setup
Children's recording sessions need durable recording gear that can handle occasional bumps and movements without failing. Here's how to build resilience into your system:
- Use a sturdy boom arm that won't tip over with a light bump
- Position the mic stand behind the child (not in front) to prevent accidental grabbing
- Apply a simple pop filter (not just for plosives, but as a visual "boundary" for mouth distance)
- Keep cables secured and out of reach with velcro ties
For long recording sessions, consider a small stool instead of a chair, since kids stay more still when they can't swing their legs. I've found that recording in short bursts (5 to 7 minutes) with breaks works better than marathon sessions for most children.
Bypassing Audio Nightmares With Simple Checks
Before hitting record, run through this quick checklist:
- 🔹 Room test: Have the child clap loudly once, then listen for noticeable echo
- 🔹 Headphone check: Ensure they can hear themselves clearly without delay
- 🔹 Distance check: Confirm the fist-width space hasn't changed since the first take
- 🔹 Gain test: Have them say "HELLO!" enthusiastically to ensure no clipping
These four checks prevent 90% of common issues I've seen ruin kids' recordings. No advanced processing needed, just consistent execution.
Making It Fun (Because That's the Real Secret)
Here's what I've learned after recording with dozens of children: the audio quality improves dramatically when kids feel comfortable. Place a small stuffed animal next to the mic as a "co-host," let them choose background music for transitions, or create a "recording ritual" like a special handshake before starting.
When that first clean take plays back and the child hears their own voice sounding confident and clear, something magical happens. Their posture changes. Their stories become more expressive. And that's when you know you've got gold, not because of the microphone, but because of the repeatable setup that made them feel safe to speak.
Your Actionable Next Step
This week, find 15 minutes to practice your fist-width distance technique with any household object standing in for a microphone. Record 30 seconds of your own voice reading a children's book passage at that distance, then try it at half that distance. Listen back to hear how dramatically consistent positioning affects clarity (especially for higher-pitched voices). When you've mastered this repeatable setup, you're ready to capture those precious young voices with confidence.
Remember: Lock your distance, trust your process, and let the kids' authentic voices shine through. Small, repeatable wins turn scary red lights into green.
Related Articles