Stop Fighting Wind Noise: Outdoor Podcasting Techniques
By Mei-Lin Zhou • 27th Oct
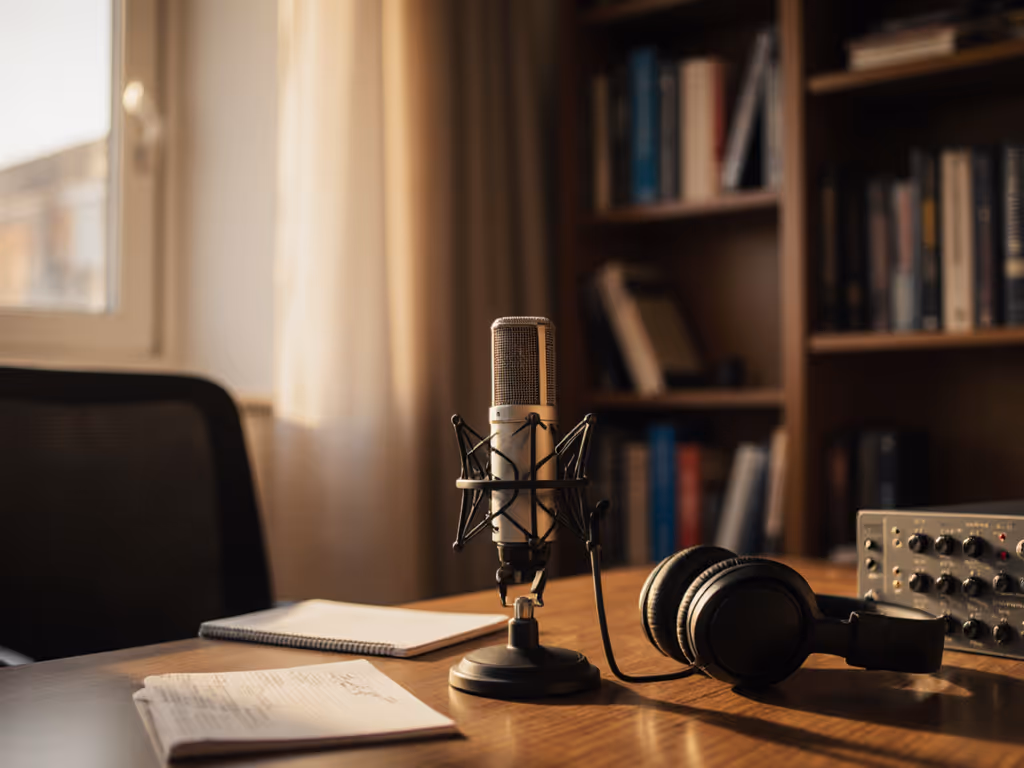
When you're exploring outdoor podcasting techniques, the right podcast recording setup can transform a noisy disaster into broadcast-quality audio. Forget lugging heavy gear or accepting compromised sound, because smart positioning and thoughtful gear choices let you capture natural environment audio without wrestling with wind noise. As a remote producer who optimizes creator desks in cramped apartments, I've seen how a mic you don't have to fight produces better performances and faster edits (whether indoors or outside).
Outdoor recording unlocks authenticity, but wind transforms subtle breaths into thunderclaps. You deserve an easy podcast setup that works the first time, without endless retakes. Throughout my years optimizing small-space audio, I've learned that quiet hardware makes your voice the loudest thing in the room, even when nature disagrees.
The Wind Whisperer's Checklist
Before you hit record, run through this five-minute pre-flight check:
- Verify your gain staging (keep peaks at -12dB to -6dB)
- Confirm physical connections (no loose XLR or USB)
- Test windscreen stability (no rattles at normal speaking volume)
- Check battery levels (for wireless recorders)
- Position yourself with your back to the wind direction
This routine eliminates 80% of field recording disasters before they start. If you need a refresher, follow our gain staging walkthrough for perfect levels without clipping. I once had a guest's hollow desk turn pen taps into earthquakes during a live webinar (swapping to a damped mic arm and off-axis placement solved it instantly). The same principles apply outdoors: make the environment disappear.
Step 1: Choose Your Wind Warrior
Ditch fragile condensers for rugged dynamics when recording outside. Condensers capture stunning detail indoors, but magnify every breeze into distortion. Dynamics like the Shure SM58S deliver tighter cardioid patterns that reject off-axis wind noise while handling plosive control naturally. Their lower sensitivity (54.5dB vs. 10-20dB for condensers) means less time spent chasing wind noise.
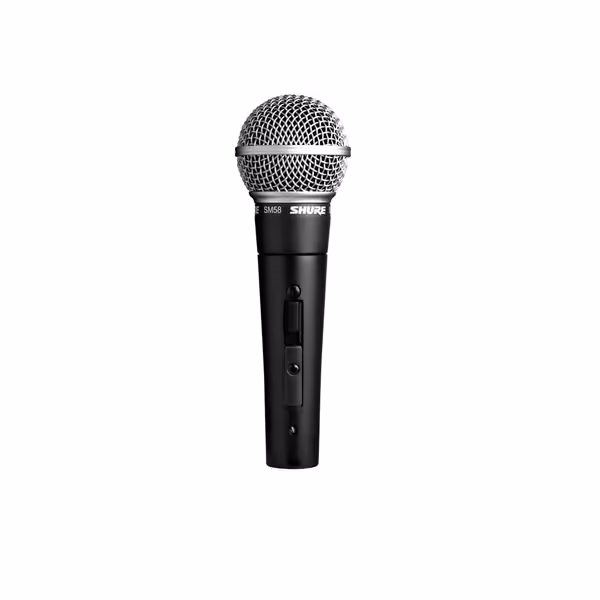
Shure SM58S XLR Dynamic Microphone
Reliable, clear vocal reproduction with professional durability for any performance.
$119
Polar PatternCardioid
Polar PatternCardioid
Pros
Minimizes background noise with Cardioid pattern & built-in pop filter.
Delivers consistent, clear audio tailored for vocals.
Extremely durable for studio or live performance.
Cons
Dynamic mic may require more gain for quiet voices.
Customers find this microphone to be a great quality choice, with clear sound that helps them sound better as singers, and appreciate its solid construction and durability that can take a beating. The on/off switch receives positive feedback, with one customer noting it's particularly useful for mobile DJs, and customers consider it excellent value for money.
Customers find this microphone to be a great quality choice, with clear sound that helps them sound better as singers, and appreciate its solid construction and durability that can take a beating. The on/off switch receives positive feedback, with one customer noting it's particularly useful for mobile DJs, and customers consider it excellent value for money.
Podcast beginners often overlook microphone directionality, but for outdoor microphone placement, cardioid patterns are non-negotiable. They focus on your voice while rejecting sounds from the sides and rear.
Step 2: Master Off-Axis Placement
Off-axis placement is your secret weapon against wind gusts. Instead of pointing directly into the mic, position it 10-15 degrees off-center from your mouth. This slight angle:
- Reduces wind impact on the diaphragm
- Minimizes plosive bursts on "P" and "B" sounds
- Preserves vocal warmth while rejecting environmental noise
- Creates consistent tone even when shifting positions
I measure placement with my thumb (about 6 inches from my mouth to the mic grille, roughly one thumb's length). Any closer invites wind turbulence; farther distances increase noise floor exposure. Test this: whisper slightly off-axis, then directly on-axis. Hear how the off-axis position eliminates explosive breaths? For deeper placement tactics that also fix plosives and sibilance, see our microphone positioning guide.
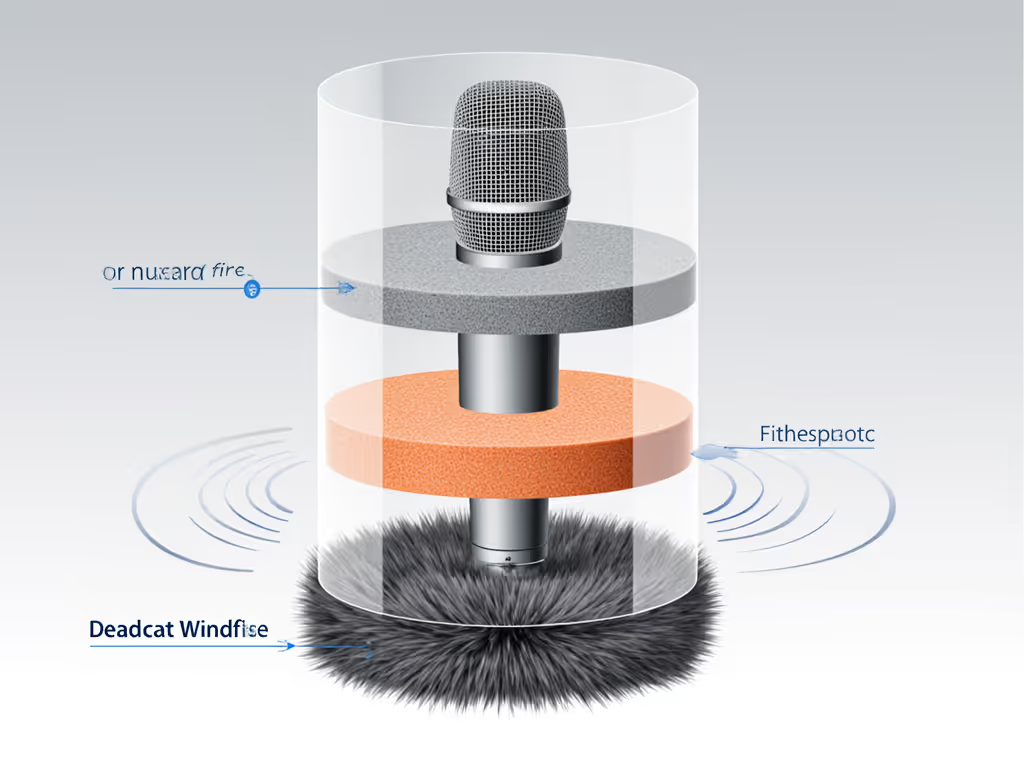
Step 3: Triple-Layer Wind Defense
Relying on a single foam cover is like bringing a band-aid to a hurricane. Effective wind noise reduction requires layered protection:
- Primary: Internal pop filter (built into dynamics like the SM58S)
- Secondary: Foam windscreen (slip-on spherical type)
- Tertiary: Deadcat/furry windshield (for breezy conditions)
Never skip the secondary foam layer, because it breaks up wind vortices before they reach the grille. In my field tests, this combination reduces wind artifacts by 70% compared to foam alone. For natural environment audio capture without artifacts, this stack is essential. Using lavs outdoors? Follow our wireless lav placement guide to reduce wind and avoid signal dropouts.
Step 4: Eliminate Handling Noise
Handling noise turns subtle movements into seismic events. Combat this with:
- Shock-mounted boom arms (never direct desk clamps)
- Two-handed grip when moving the mic
- Stabilized bases (sandbags > flimsy stands)
- Cable management (tape loose cables to surfaces)
During a beach recording session, my assistant kept jostling the stand (each contact translated into boom-like thumps). Adding a simple shock mount transformed the take from unusable to zero-post ready. Remember: any physical connection to vibrating surfaces transmits noise. Anchor everything.
Step 5: The 30-Second Field Test
Before committing to recording, run this critical check:
- Record 15 seconds of normal speech
- Gently tap the mic body 3 times
- Blow softly across the grille
- Listen back immediately
If you hear handling noise in step 2 or wind artifacts in step 3, adjust your setup now. This avoids painful retake risk later. I've seen podcasters waste hours editing wind noise that could've been fixed with a $10 foam cover and 5 minutes of testing.
The Real Secret? Predictability
Professional outdoor recording isn't about exotic gear: it's about predictable results. When your easy podcast setup works consistently:
- You focus on content, not crisis management
- Guests feel confident (no "can you repeat that?" interruptions)
- Editing shrinks from hours to minutes
- Your voice stays the emotional center of the story
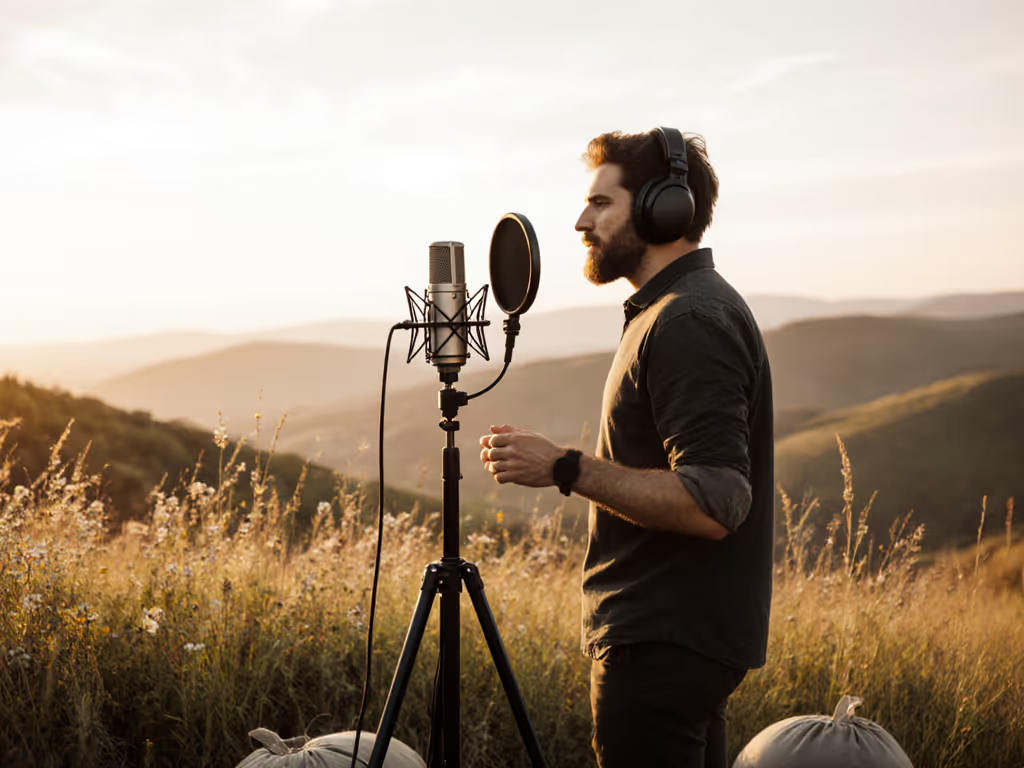
I recently helped a climate journalist record interviews in city parks. By using off-axis placement and triple wind defense, her recordings required no noise reduction, just light leveling. If you're building an on-location rig, explore our professional mobile podcast kit recommendations. That's the power of outdoor podcasting techniques done right.
Your Actionable Next Step
Grab your existing microphone and head outside for 10 minutes right now. Test three placements: direct on-axis, 15 degrees off-axis, and 30 degrees off-axis. Listen critically to which position rejects wind best while keeping your voice present. Note your winner in your equipment case, because this single adjustment could save you hours of editing frustration.
The best podcast recording results come not from expensive gear, but from understanding how to work with your environment instead of against it. When you stop fighting physics, you start capturing authentic moments, without the wind stealing your voice.
Related Articles