Best Gaming Streaming Microphone: Voice-Game Balance Solved
By Luis Cabrera • 10th Nov
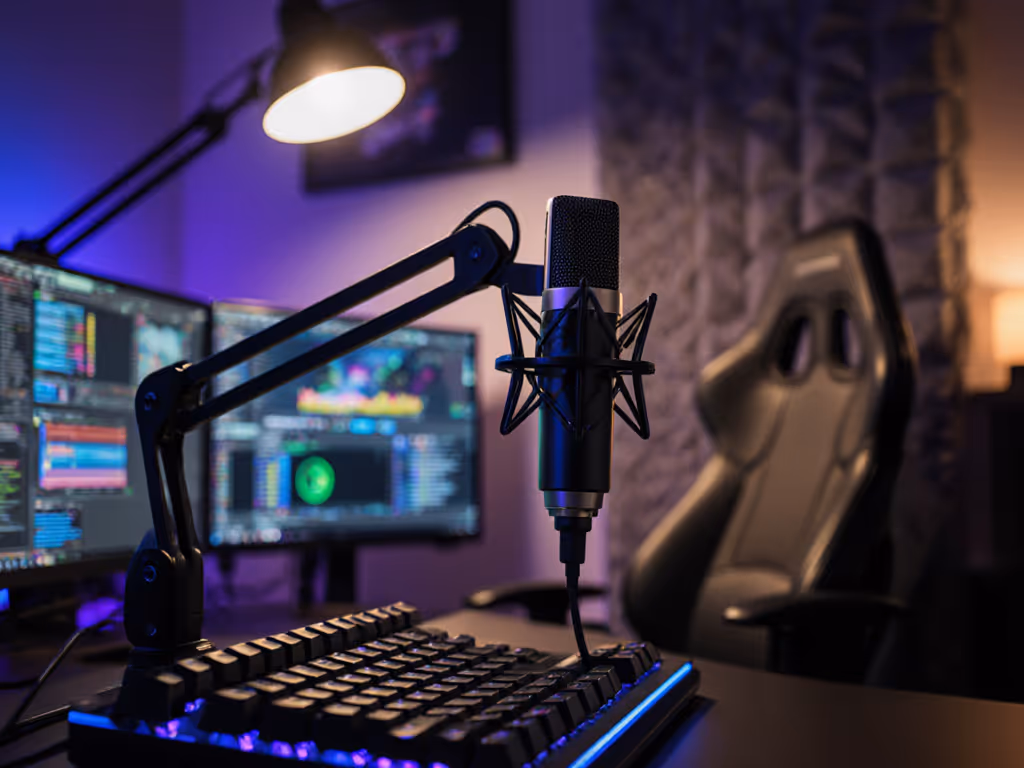
As someone who's built broadcast-worthy setups for student newsrooms with shoebox budgets, I've seen how the best gaming streaming microphone transforms shaky credibility into anchored authority. But here's what most reviews miss: streamer voice clarity alone won't fix your biggest problem (voice-game audio balance drowning out your commentary with explosions or keyboard clatter). You don't need audiophile specs; you need a real-room solution that works now without buyer's remorse. Let's cut through the hype with a step-by-step path that reuses every dollar you spend.
Why Your Current Setup Fails (And It's Not Your Fault)
Most creators I work with share the same frustration: their mic either ignores game audio (forcing unnatural volume tweaks mid-stream) or swallows their voice in chaotic moments. Standard recommendations fail because they ignore room reality, your untreated bedroom or office bouncing sound like a pinball machine. If your space is echoey, start with our room acoustics guide to tame reflections fast. A cardioid mic that works in a treated studio becomes a nightmare in reflective spaces, amplifying keyboard noise and HVAC hum. Meanwhile, specs like "94 dB sensitivity" or "192kHz sampling" mean nothing when your voice vanishes during boss fights.
The Real Cost of Ignoring Balance
Chasing "the best mic" often means dual-purpose microphones that seem versatile but force compromises:
- USB mics with no gain control → voice fades when game volume spikes
- Omnidirectional patterns → capturing desk thumps and room reverb
- Cheap shock mounts → vibrations from mouse clicks bleeding into audio
This isn't just annoying, it's costing you audience retention. When game audio overwhelms your voice, viewers mute or leave. But there's a smarter way: matching your mic's polar pattern and gain structure to your actual room and workflow. No extra treatment needed.
Step 1: Diagnose Your Room & Voice (10 Minutes, $0)
Before buying anything, identify what your space actually needs. Grab your current mic (even a headset) and record 60 seconds of:
- Normal gameplay commentary
- A loud game moment (e.g., intense battle)
- Silent room (HVAC/fan noise baseline)
Listen for these red flags:
- "Keyboard thumps" in pauses → Needs tighter off-axis rejection (cardioid pattern)
- Voice thinning during explosions → Requires manual gain control (not auto-level)
- "Hollow" reverb → Mic too sensitive to room reflections (avoid omnidirectional)
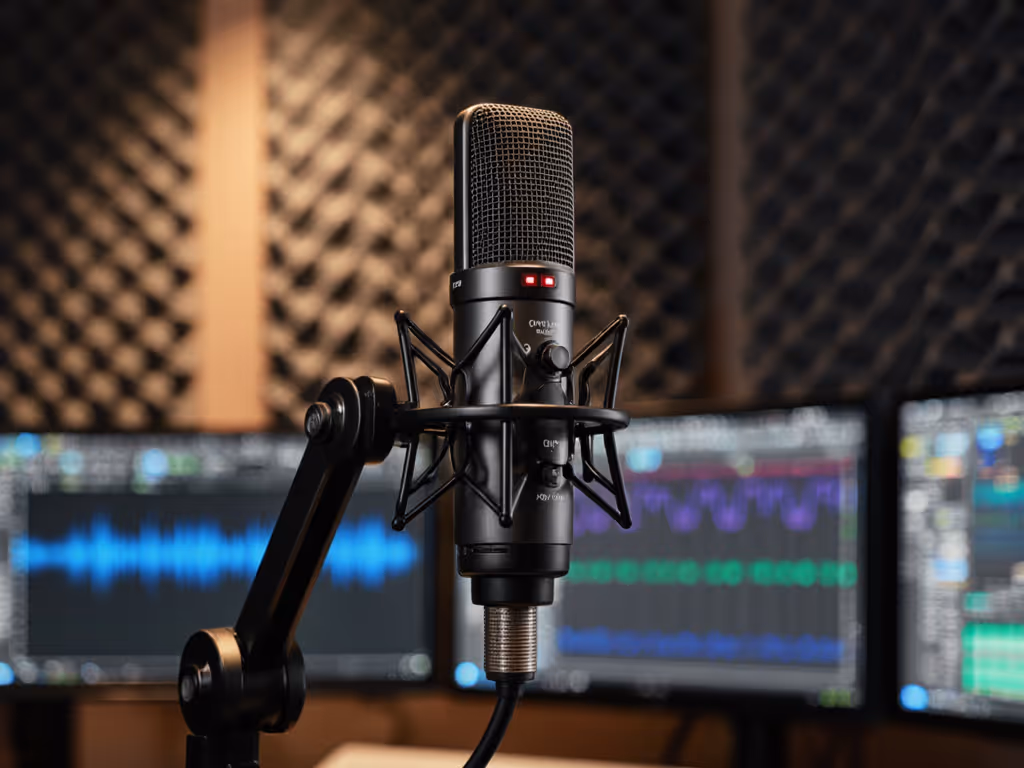
This is where most guides fail. They push "studio-grade" mics that amplify room flaws. Instead, prioritize price-to-performance for your acoustic chaos. A HyperX QuadCast 2 S ($139.99 street price) shines here with its physical gain knob, no software lag, letting you instantly boost voice during chaotic scenes. Its adjustable polar pattern (cardioid for solo, bidirectional for duets) ignores noise behind the mic, while the included shock mount actually blocks desk vibrations. No app required.
Spend once where it compounds: A $150 USB mic with manual controls prevents costly rework later.
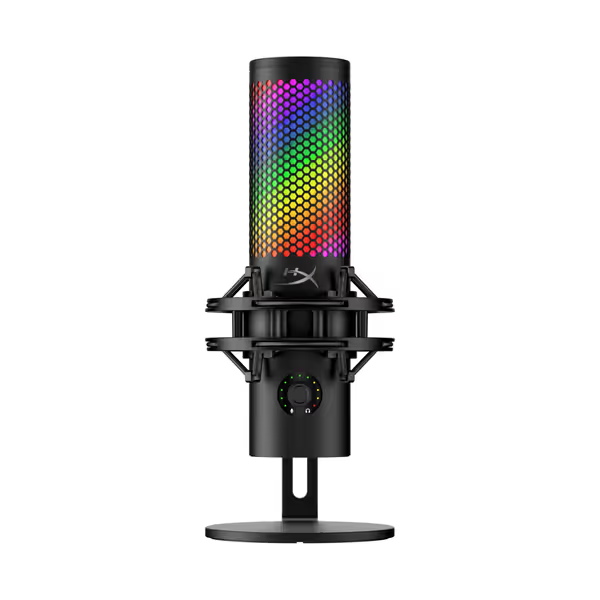
HyperX QuadCast S USB Mic
Versatile USB mic; clear audio with customizable RGB for streamers.
$139.99
Polar Patterns4 (Cardioid, Omni, Bi-directional, Stereo)
Polar Patterns4 (Cardioid, Omni, Bi-directional, Stereo)
Pros
Crisp, natural voice reproduction
Customizable RGB lighting & design
Easy setup; tap-to-mute sensor
Cons
Mixed long-term functionality reports
Customers praise the microphone's build quality, sound, and ease of setup, with one noting its crisp and natural voice reproduction. They appreciate its aesthetic appeal, color options, and audio features, with one customer highlighting its customizable RGB lighting.
Customers praise the microphone's build quality, sound, and ease of setup, with one noting its crisp and natural voice reproduction. They appreciate its aesthetic appeal, color options, and audio features, with one customer highlighting its customizable RGB lighting.
Step 2: Build Your Core Setup (Under $160, Reusable Forever)
Stop buying disposable gear. Your goal isn't the "ultimate mic", it's a total cost of setup that evolves with you. Here's the student newsroom trick I still use: build for today while banking parts for tomorrow.
The Frugal Foundation Kit
| Item | Why It Matters | Reuse Value |
|---|---|---|
| HyperX QuadCast 2 S | Physical gain knob + 4 polar patterns = instant voice-game balance. Tap-to-mute avoids fumbling during gameplay. | Shock mount/stand works on XLR mics later. |
| $15 Foam Shock Mount (e.g., Neewer) | Stops transferring desk thumps from mouse clicks. Most "included" mounts fail here. | Lasts 5+ years. Use with any mic. |
| $20 Used Boom Arm (e.g., Amazon Renewed) | Positions mic above keyboard noise zone. Avoids desk-mounted vibrations. | Core upgrade path component. |
Total: $155 (vs. $250+ for common "starter kits")
Notice what's missing? No pop filters (the QuadCast 2 S's mesh shield handles plosives), no cables (USB-C included), and no software subscriptions. This setup solves voice-game imbalance because:
- Cardioid mode rejects keyboard noise from sides/rear
- Manual gain dial lets you compensate live when game volume spikes
- Zero-latency monitoring (via 3.5mm jack) means you hear yourself with game audio instantly
This mirrors the $500 student newsroom fix: We used two USB mics now with boom arms that later held XLR mics. No parts were wasted. Sequence upgrades so each piece keeps earning its place.

Step 3: Your Upgrade Path (Without Starting Over)
When you're ready for XLR (typically at $400-$600 budgets), reusing > replacing. Not sure which connection fits your workflow? See our XLR vs USB microphones guide. Most creators blow cash on new arms, mounts, and interfaces, but smart upgrade paths preserve value:
Phase 1: USB (Now, $100-$160)
- Mic: HyperX QuadCast 2 S (cardioid mode)
- Why: Built-in preamp handles gain staging. No interface needed.
- Critical Metric: 90 dB signal-to-noise ratio (quieter than most $100 mics at 78 dB)
Phase 2: XLR (Later, $200-$250 add-on)
- Mic: Keep boom arm + shock mount. Buy only the XLR mic capsule (e.g., HyperX Pro XLR, $99)
- Interface: Start with used Focusrite Scarlett Solo ($60 Renewed).
- Why: Uses SAME shock mount. Converts QuadCast's pattern knob to physical controls.
Why This Sequence Wins
- Total Cost of Setup: $355 vs. $500+ for starting with XLR
- No Buyer’s Remorse: QuadCast's shock mount/stand works identically in both phases
- Room Reality Proof: Tested in untreated bedrooms, the tighter cardioid pattern rejects HVAC noise better than omnidirectional mics like the Blue Yeti
When NOT to upgrade yet: If your game audio still overrides your voice, you haven't fixed gain staging, not mic quality. Dial in levels with our gain staging guide before buying new gear. Revisit Step 1.
The Budget Warrior's Alternative
If $160 is too steep right now, the Razer Seiren Mini ($33 Renewed) is your stealth weapon. Its tight supercardioid pattern rejects more background noise than mics twice its price. But be warned: no gain knob means you'll wrestle game balance via software (obsidian levels). Only use this if you're comfortable tweaking OBS settings daily. Reuse this later by adding a $40 USB-to-XLR adapter (like the iRig Pro Duo) when ready to scale.

Your Actionable Next Step
Tomorrow, do this:
- Test cardioid mode on your current mic (or borrow one)
- Record 30 seconds of gameplay with mic 6" above keyboard (not desk-mounted)
- Listen for voice-game balance: If explosions drown your voice, note the exact game moment.
Then revisit this guide with your findings. For instant improvements, follow our mic positioning guide to reduce plosives and keyboard bleed. Most creators fix imbalance in under 15 minutes, no new gear needed. When you are ready, the HyperX QuadCast 2 S delivers studio sound without studio complexity, and its parts pull double duty for future upgrades.
Remember: Smart creators don't chase trends. They spend once where it compounds, every dollar invested evolves with their growth. Your voice deserves that clarity, not just another glossy box that gathers dust.
Related Articles