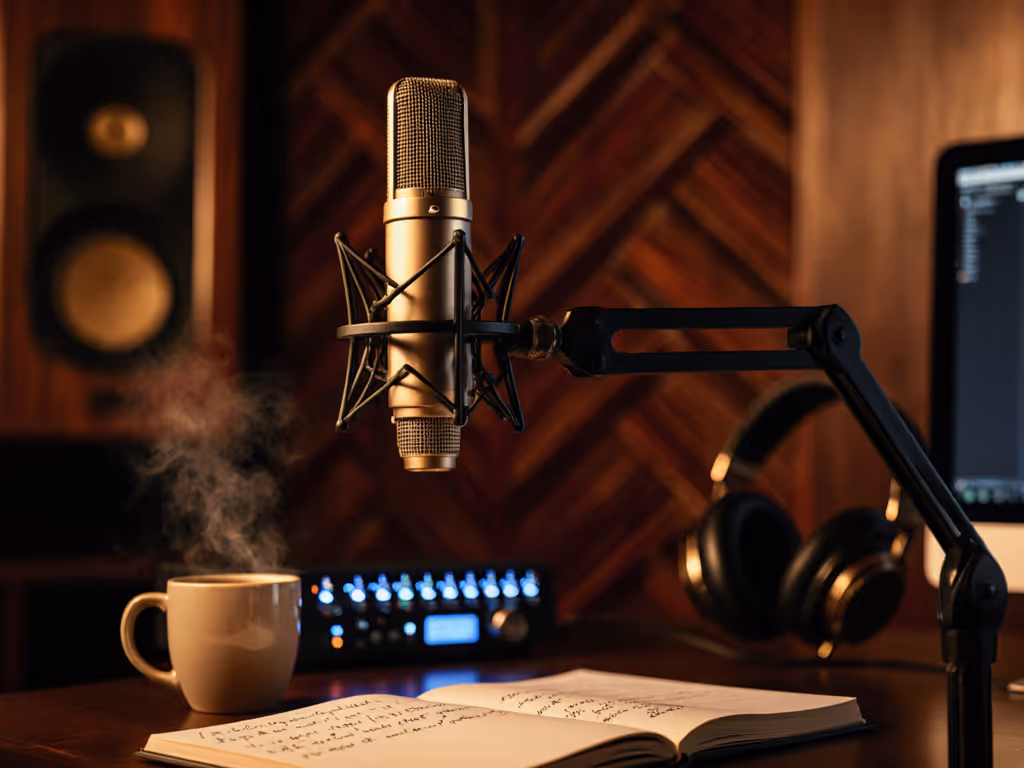
Best Podcast Mics for High-Pitched Male Voices
By Nora Adeyemi • 19th Mar
A higher-pitched voice isn't a problem (it's a clarity asset) if you pick the right microphone and pair it with correct technique. The issue is that many podcasting mics exaggerate sibilance and upper-midrange harshness on tenor and higher voices, forcing you into heavy de-essing during editing. What you need is a mic chosen specifically for your frequency range, positioned with intention, and paired with direct monitoring so you hear what's hitting the mic in real time and adjust before you record.
Why High-Pitched Voices Are the Tricky Middle Ground
If you have a naturally higher-pitched voice (a tenor register, a naturally bright speaking tone), you live in an uncomfortable zone. Many budget USB mics are scooped in the midrange, which makes deeper voices boom. Your voice, by contrast, sits in the 1.5k-4k Hz sweet spot where presence peaks. A mic that's "bright" or has boosted presence will make you sound nasal, sibilant, or fatiguing to listen to. A mic that's "dark" or lacks presence will muffle your clarity.
The good news: once you match the right mic to your voice, you'll spend less time editing. I watched a first-time host grip his mic like he was holding something that might break, tensing up on every punchline and causing peaks to clip. Once we set a pop filter, angled him slightly off-axis, locked his distance with a fist-width trick, and enabled direct monitoring, his shoulders dropped. He could hear himself cleanly and adjust in the moment. His next take was honest, unforced (the story finally breathed).
That's the path we're walking together here: a repeatable setup that sounds good without editing wizardry.
Step 1: Understand Your Voice's Actual Frequency Profile
Before you buy anything, record yourself on your current phone mic and listen critically. Are you prone to sibilance (sharp "S" and "SH" sounds)? Does your voice feel thin or tinny? Does it get muddy in background noise? Does it peak easily when you laugh or raise your voice?
These details tell you what to prioritize in a mic:
- Sibilance-prone: You need a mic with a controlled presence peak (not flat, not boosted). Avoid anything marketed as "ultra-bright" or "condenser-like clarity."
- Thin or hollow: You likely need a dynamic mic with low-end body or a condenser with a warmer character.
- Peaks easily: You need a mic with high SPL handling (Sound Pressure Level) and possibly a lower sensitivity to avoid clipping the preamp.
- Muddy in noise: You need strong off-axis rejection (meaning it picks up your voice from the front but ignores room noise from the sides and rear).
Step 2: Dynamic vs. Condenser for High-Pitched Voices
This decision is about character and room control, not just budget. If you're still weighing the trade-offs, start with our dynamic vs condenser guide.
Dynamic Microphones (Recommended for Untreated Rooms)
Why they work for you: Dynamic mics have a presence peak centered around 4k Hz, exactly where your voice lives. Instead of exaggerating it, a well-tuned dynamic mic in the 58-7B family rides that peak smoothly. They also have strong off-axis rejection, meaning they ignore the hum from your laptop fan and only capture you head-on. And they're forgiving of mic technique: you can move around slightly without wild level swings.
The catch: Dynamics need slightly more gain from your interface. If you're using a basic USB hub with weak preamps, you'll introduce hiss before you reach usable levels. That's where either a USB dynamic with onboard preamp (like a Samson Q2U or Rode PodMic) or a small preamp boost solves the problem.
Best for you: If your room has ambient noise (HVAC, street traffic, office chatter) or you're on a tight budget, a USB dynamic or XLR dynamic into a modest interface is your confidence play.
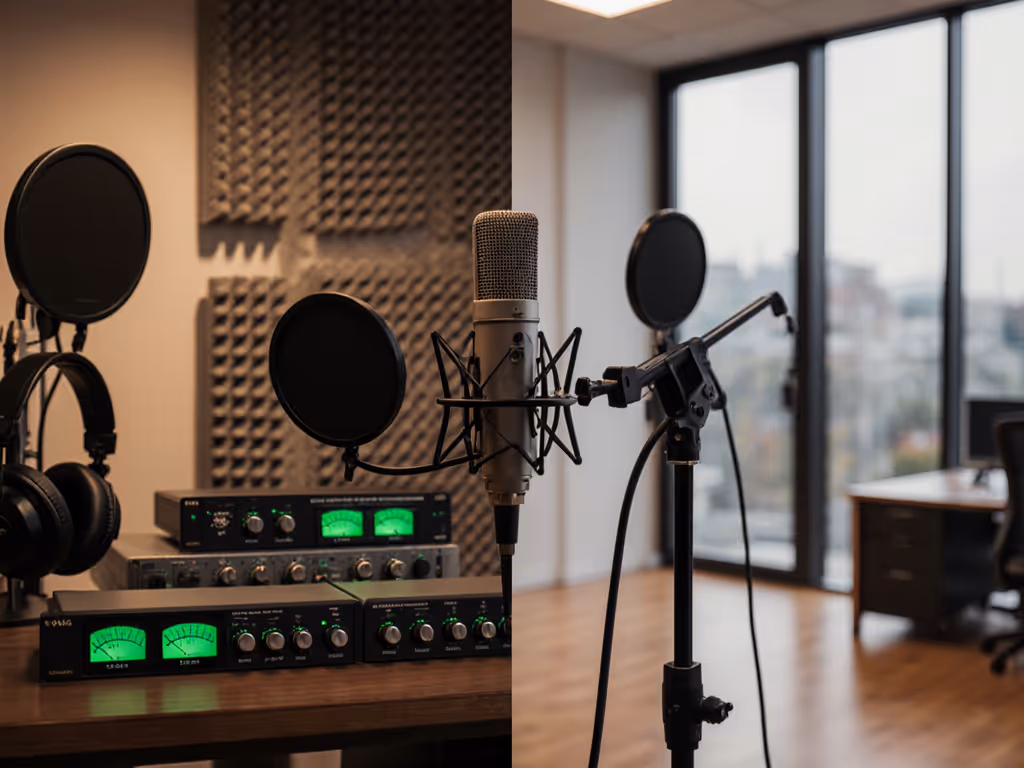
Condenser Microphones (Only If Your Room Is Controlled)
Why some suit high voices: Condensers capture wider frequency range and detail. A large-diaphragm condenser like an Audio-Technica AT2035 with a cardioid pattern and included pop filter can deliver intimate, clear vocal capture.
The catch: Condensers are proximity-sensitive (the closer you are, the more bass-heavy and bassy-sounding you become). For a higher voice, that's actually helpful. But condensers also pick up room reflections, keyboard taps, and HVAC rumble more easily because they're sensitive omnidirectionally compared to dynamics. In an untreated bedroom, you'll fight echo.
Best for you only if: Your room has soft furnishings (curtains, carpet, bookcases), you're more than 2-3 feet from reflective walls, and your room noise is minimal.
Step 3: Polar Pattern & Off-Axis Rejection
This is the hidden hero for high-pitched voices in imperfect rooms. Learn how pickup patterns impact noise with our polar pattern guide.
Cardioid (most common): Heart-shaped pickup. Listens to you head-on, rejects 70-80% of sound from the rear and sides. Solid, forgiving, great for solo voices.
Supercardioid (e.g., Shure Beta 58A): Narrower focus, stronger side rejection. If your cohost is to your left and room noise is behind you, supercardioid keeps you isolated. Trade-off: more sensitive to off-axis coloration (if you move, tone changes more noticeably).
Omnidirectional: Listens equally in all directions. Avoid it for high-pitched voices in untreated rooms; it'll pick up every reflection.
For your setup: Cardioid is the zero-regret choice. It's forgiving, widely available, and rejects enough off-axis noise to work in real bedrooms and offices.
Step 4: The Sibilance & Proximity Adjustment
High-pitched voices are prone to sibilance. Dial in angles and distance using our mic positioning guide. A pop filter is non-negotiable, but placement matters more than most people think.
Pop Filter Technique
- Place the pop filter 2-3 inches in front of the mic, not 1 inch.
- Angle yourself slightly off-axis (talk to the mic at 10-15 degrees, not dead-center). This reduces plosive impact without losing warmth.
- Keep your fist-width distance consistent (roughly the width of your closed fist between your lips and the mic grille). This locks proximity effect and prevents unexpected peaking.
If Sibilance Still Peaks
Don't buy a new mic. Try these repeatable adjustments:
- Increase off-axis angle to 20-25 degrees. You'll lose a tiny bit of presence but gain control.
- Move the pop filter back to 4 inches. It gives more air and diffuses sibilance.
- Speak more deliberately through "S" sounds. Let your mouth close gently after sibilants. This is mic technique, and it's learnable in one practice session.
- If you have a preamp, lower the presence peak by 1-2 dB at 3-4 kHz during mixing. Minimal edit, huge payoff.
Step 5: Gain Staging & Direct Monitoring
This is where most first-time high-pitched podcasters go wrong. Avoid clipping and hiss with our gain staging walkthrough.
The Right Gain Level
Set your gain knob so that your loudest speaking voice (or laugh) hits around -6 dB to -3 dB on your meter. Not peaking red, not buried in noise. This leaves headroom (quiet space above your signal) so that unexpected volume spikes don't clip.
If you can't reach usable levels without turning the gain all the way up, your mic sensitivity is too low for your interface. That's when you add a small inline preamp (a tool that costs $30-60) to solve the problem cleanly.
Direct Monitoring
This is non-negotiable for high-pitched voices. Direct monitoring means you listen to the mic input in real time through headphones, not through your computer (which adds latency and delay).
Why it matters for you:
- You hear yourself zero-latency, so you adjust distance, angle, and tone before you record.
- You catch plosives, sibilance, and background noise in the take, not during playback.
- You reduce the anxiety of "Did that sound okay?" because you already know.
If your USB interface doesn't have a physical direct monitoring button, switch to an interface that does (like the Focusrite Scarlett 2i2), or use an XLR mic into a modest preamp with a headphone monitor.
Small, repeatable wins turn scary red lights into green. Once you hear yourself clearly and adjust mid-take, confidence follows.
Step 6: Room Choice & Zero-Post Strategy
You cannot fix a fundamentally bad recording in post-production. Equalization and noise reduction degrade tone. Your goal is zero-post clarity (a track that needs minimal intervention). Treat problem rooms fast with our room acoustics guide.
Room Selection
Choose the room with:
- Soft surfaces nearby: Bed, couch, curtains, rugs. They absorb reflections. Avoid hard-surfaced kitchens and tile bathrooms.
- Distance from noise: Exterior wall away from traffic; away from HVAC vents and computer fans.
- Window position: Close blinds if they rattle. Windows are reflective and let street noise in.
If your only option is a hard room, hang a thick blanket or moving pad behind you as a makeshift bass trap. Cost: $10-20. Effectiveness: surprisingly high.
Mic Placement
- Mount on a boom arm with a shock mount, not a desk stand. Vibration travels through furniture and kills your recording. A $40 shock mount eliminates desk thumps, keyboard noise, and chair creaks.
- Position 12-18 inches to the side of your screen if you're on camera. This angle looks natural, reduces screen glare on your face, and angles the mic off-axis to room reflections.
- Face the mic slightly downward (5-10 degrees below horizontal). This reduces plosives and breath noise naturally.
The Mic Choices That Work for High-Pitched Male Voices
Based on real-world feedback and frequency response, here's what lands well:
Best USB Starter (Balanced, Beginner-Friendly)
The Samson Q2U hits a sweet spot: it's a cardioid dynamic with a presence peak that complements (rather than exaggerates) higher voices. It has USB and XLR outputs, built-in shock mount, and low enough gain requirements that most USB hubs power it cleanly. Around $99-120. This is your zero-regret first mic.
Best XLR Dynamic (Off-Axis Rejection)
The Shure Beta 58A is a supercardioid dynamic with a controlled presence rise. It rejects side noise aggressively, so if your cohost is nearby or your room is noisy, it stays locked on you. Sensitivity is moderate, so no preamp needed. Around $99 XLR-only; pair with a modest USB interface ($80-150) for $200 total. It's a step up in isolation.
Best for Warmth & Detail (Condenser, Treated Room Only)
The Audio-Technica AT2035 is a large-diaphragm condenser with an 80 Hz high-pass filter and cardioid pattern. It captures rich vocal detail without exaggerating sibilance. Use it only if your room has soft furnishings and minimal echo. Around $99-129. Requires an XLR interface; total cost $200-300.
Budget Option (Under $100, Still Solid)
The Behringer Ultravoice XM8500 is a cardioid dynamic designed for speech. It's $20-30 and performs above its price. Pair with a USB interface for $80-150 total. Not a forever mic, but a reliable proof-of-concept.
If Your Room Is Echoey & You Need Isolation
The PreSonus Revelator Dynamic has exceptional off-axis rejection and is built to handle imperfect acoustics. Around $200 USD. It's a professional-grade step up and worth the investment if you're planning to stick with podcasting.
Assembling Your First Kit: The Budget Blueprint
Option A: USB All-In (Fastest Start)
- Samson Q2U: $100
- Shock mount & boom arm (if not included): $40
- Pop filter: $15
- XLR cable (future-proofing): $15
Total: $170. Outcome: Broadcast-ready voice, zero-post ready.
Option B: XLR Dynamic + Interface (Future-Proof)
- Shure Beta 58A: $100
- Focusrite Scarlett Solo or similar: $99
- Shock mount & boom arm: $50
- Pop filter: $15
- XLR cable: $15
- USB cable: $10
Total: $289. Outcome: Professional chain, room for growth (add second mic later).
Option C: Condenser in Treated Room (Detail-Focused)
- Audio-Technica AT2035: $120
- USB interface with line input: $130
- Pop filter (included): $0
- Shock mount & arm: $60
- Treatment (bass trap or blanket): $20
Total: $330. Outcome: Studio warmth, only if your room is soft.
Your Actionable Next Step
- Record a 3-minute sample of yourself on your phone in the room where you'll podcast. Read a mix of dialogue and slower, deliberate speech to capture both your natural tone and any sibilance triggers.
- Listen for: Sibilance sharpness, thin/warm balance, and room echo. Write down which of these is your top pain point.
- Choose your entry point:
- Sibilance + noisy room = Samson Q2U USB
- Sibilance + want XLR flexibility = Shure Beta 58A + interface
- Warm tone + controlled room = Audio-Technica AT2035 + interface
- Order shock mount, boom arm, and pop filter at the same time. These accessories cost $50-70 and eliminate 80% of beginner-level problems. Don't skip them.
- Set up direct monitoring on day one. Spend 15 minutes with your interface manual. Plug in headphones, enable monitoring, talk into the mic, and adjust fist-width distance until your voice sounds natural and clear. Green lights, not perfect waves.
- Record three takes with your new mic using the technique we covered: pop filter at 3 inches, 15-degree off-axis angle, consistent distance, gain set to -6 dB to -3 dB on peaks. Don't edit. Listen and compare to your phone sample.
If the third take sounds warmer, clearer, and less sibilant than your phone recording, you've found your mic. Order a second one as a backup, and build your process from here.
Confidence isn't perfection (it's a repeatable setup you trust).
Related Articles