Maono vs ATR2100x: Best Budget Podcast Bundle
By Nora Adeyemi • 31st Mar
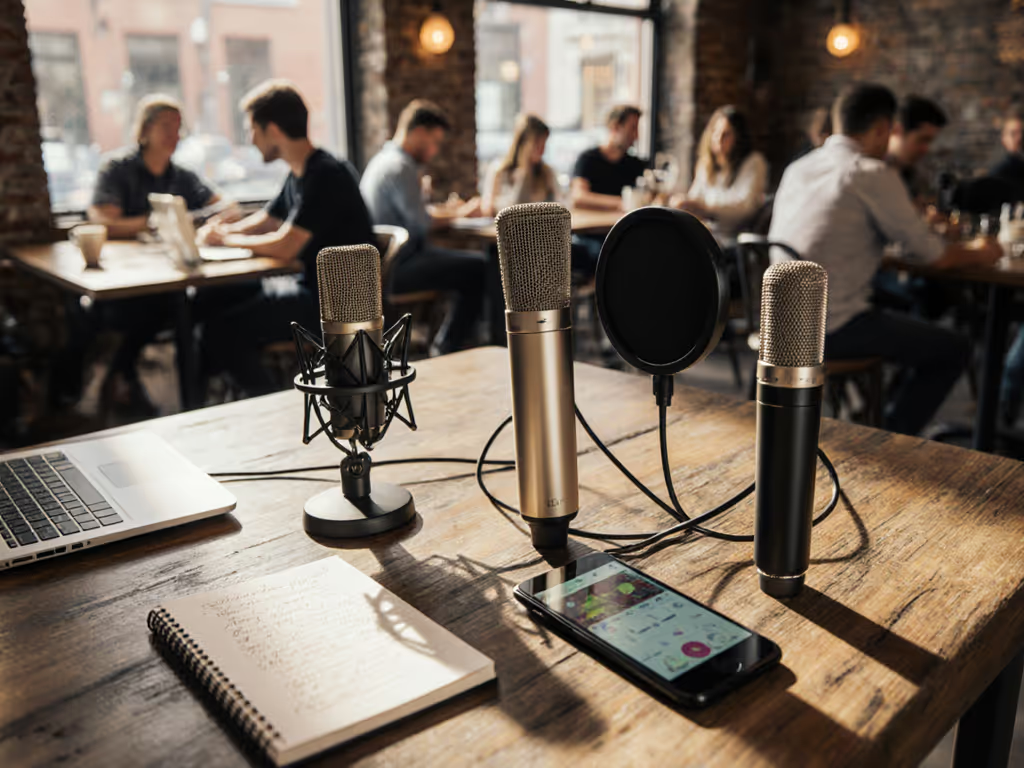
You're staring at two solid podcast microphone recommendations, and the paralysis is real. The internet has opinions. Your budget says "under $150." If that's your price range, start with our best USB podcast mics under $150 to see how these models stack up. Your bedroom says "untreated." And somewhere in the back of your mind, you're wondering if the mic even matters if you're just starting out.
It matters, but not for the reasons you think.
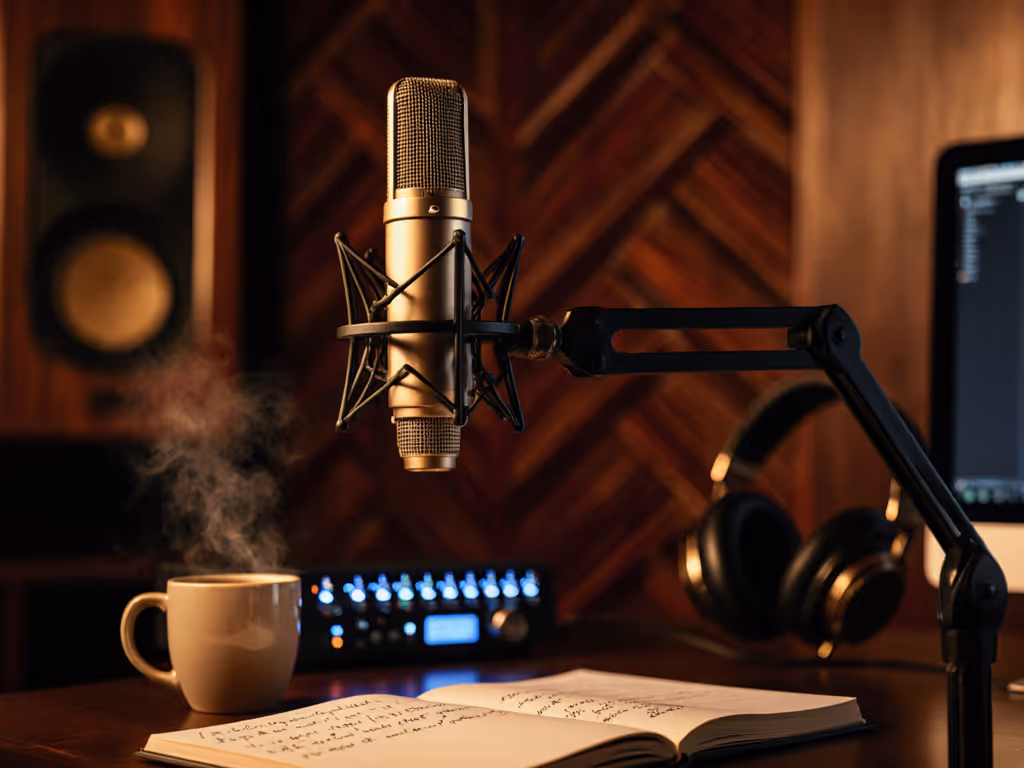
The best beginner podcast setup isn't about pristine electronics or exotic materials. It's about a chain that fits your hands, your room, and your actual voice without asking you to become an audio engineer overnight. I've watched first-time hosts clutch mics like ice cream cones, peaking on every laugh. One pop filter, a fist-width distance locked in, and a monitoring feed so they could hear themselves clearly (shoulders dropped, story finally breathed, no magic editing required). That shift came from a repeatable setup, not studio secrets.
Today we're cutting through the Maono and Audio-Technica noise to show you which complete podcast setup serves a beginner's confidence and which features survive the first 50 episodes.
The Decision That Matters: Why These Two?
Both the Maono and ATR2100x have earned their place in home studios for the same reason: they're dynamic mics with USB outputs, they handle imperfect rooms respectfully, and they don't demand treatment you haven't installed yet. Not sure whether to prioritize USB simplicity or plan for an interface later? Read XLR vs USB Microphones before you commit. More importantly, they both support direct monitoring - that headphone jack that lets you hear yourself in real time without software delay. That's not a luxury feature. That's the tool that keeps you from mishearing your own volume and rebuilding takes because you couldn't trust what you were hearing.
But they're not identical. And knowing the difference before you buy is the only way to avoid buyer's remorse.
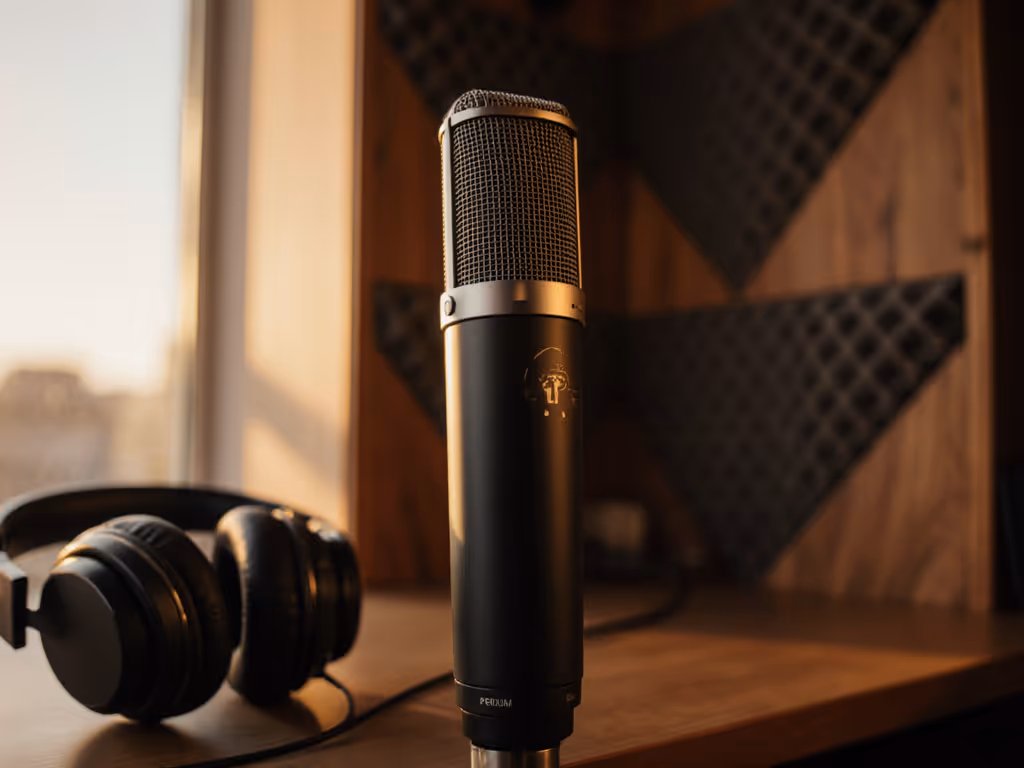
Audio-Technica ATR2100x-USB: The Proven Foundation
The ATR2100x has become the default choice for "I want something that works" podcasters. It's been tested in thousands of bedrooms, shipped with dual XLR and USB, and earned a reputation for reliability that compounds over time.
What you get:
- Cardioid polar pattern with solid off-axis rejection, meaning your keyboard clacks don't become podcast atmosphere.
- 192kHz USB interface capability, though 48kHz is fine for voice; the overhead future-proofs the setup.
- XLR output that lets you upgrade to an external interface later without replacing the mic.
- Direct monitoring via a 3.5mm headphone jack on the mic body itself.
- Familiar build: heavier than some budget options, but that mass translates to mechanical stability and a professional desk footprint.
The real-world feel: Hosts with proximity-driven voices (people who get boomy near the diaphragm) often find the ATR2100x flattering because its proximity effect is moderate, not exaggerated. It doesn't make sibilance vanish, but it doesn't punch it forward either. You'll still need mic technique (that fist-width distance rule and slight off-axis angle matter), but the mic rewards good positioning without making poor positioning sound catastrophic.
Price-to-value calibration: Around $49 to $79 USD depending on bundle components, it's accurate to call it the standard. You're not paying for flash. You're paying for a track record.
Maono Ecosystem: The Budget-Friendly Ecosystem Play
Maono has fragmented its lineup (AU-902, HD300T, PD100X, A04), making the choice harder if you're shopping by name alone. For a first-time podcaster, the focus lands on models with USB and direct monitoring, which narrows it to the AU-HD300T (mentioned in comparative reviews alongside the ATR2100x) and the Maono A04 (highlighted as a budget-conscious option with 192kHz/24-bit sampling, cardioid pattern, and included shock mount and pop filter).
What you get with Maono's entry-level USB models:
- Competitive pricing: the Maono PM461 and PM422 are marketed as entry-level and mid-tier respectively, with the PM461 described as "excellent entry-level" and the PM422 offering "superior audio quality and professional controls."
- Included accessories: Many Maono bundles arrive with shock mounts and pop filters, reducing your day-one accessory spend.
- Cardioid polar pattern for bedroom isolation.
- 192kHz sampling at the budget tier, matching or exceeding ATR2100x specs on paper.
- Direct monitoring support on dual-output models.
- Lighter weight, which some on-camera hosts prefer for sightline reasons.
The catch: Maono's lineup is deep, and not all models include XLR outputs or robust dual-output flexibility. If you're buying Maono, verify that your specific model has the headphone jack and understand whether you're locked into USB-only or have upgrade options. The brand's competitive pricing sometimes masks unclear upgrade paths.
Real-world behavior: Maono mics in this tier tend to have slightly livelier proximity effect than the ATR2100x, which means boomy voices need tighter mic discipline, but intimate, intentional voices sound warmly captured. The included pop filter is practical, not premium - it works, and that's what matters for repeatable setups.
Direct Comparison: Where They Diverge
| Aspect | ATR2100x-USB | Maono (Budget USB Line) |
|---|---|---|
| Upgrade Path | XLR output; scales to external interface cleanly | Often USB-only; check your specific model |
| Included Accessories | Mic clip, USB cable | Varies; some bundles include shock mount + pop filter |
| Proximity Effect | Moderate; forgiving for voices | Slightly pronounced; rewards tighter distance control |
| Weight/Footprint | Heavier; stable, professional | Lighter; better for camera-friendly setups |
| Frequency Response | 50Hz-15kHz | 30Hz-16kHz (A04 example) |
| Direct Monitoring | 3.5mm headphone jack | Varies by model |
| Durability Track Record | Years of field data | Growing reputation; newer to mainstream |
The Setup That Matters More Than the Mic Name
Here's what I know after onboarding dozens of first-time hosts: the microphone name doesn't predict success. The setup does.
Both of these mics can sound thin, boomy, or buried in plosives if you treat them like decorations. Both shine the moment you:
- Lock your distance: Fist-width from your mouth is the anchor. Closer for intimacy, farther if you're projecting or have sibilance trouble. The distance is your gain control, and it's free.
- Angle off-axis by 20-30 degrees: Straight-on mic placement is where plosives live. For step-by-step placement techniques that tame plosives and harsh sibilance, see our Podcast Mic Positioning Guide. A slight angle (imagine the mic pointing over your shoulder rather than at your mouth) deflects breath and stops without sacrificing proximity warmth.
- Enable direct monitoring: Plug that 3.5mm headphone jack in, disable software monitoring, and listen to yourself live. You'll instantly hear how distance and off-axis angle change your tone. This is the confidence tool. Adjust in real time.
- Set your gain conservatively: Your interface has a gain knob. Set it so that normal speech sits around -12 to -6 dB on the meter, with peaks at -3 dB. Headroom buys you safety. Squeezing every dB trades headroom for hiss.
- Use the pop filter (included with some Maono bundles, or a $15 add-on for ATR2100x): It's not optional for hosts prone to plosives. Position it about 2 inches from the diaphragm.
We're aiming for repeatable. A setup you can dial in on day one and hand off to a co-host on day 30 without re-explaining everything. That's the win.
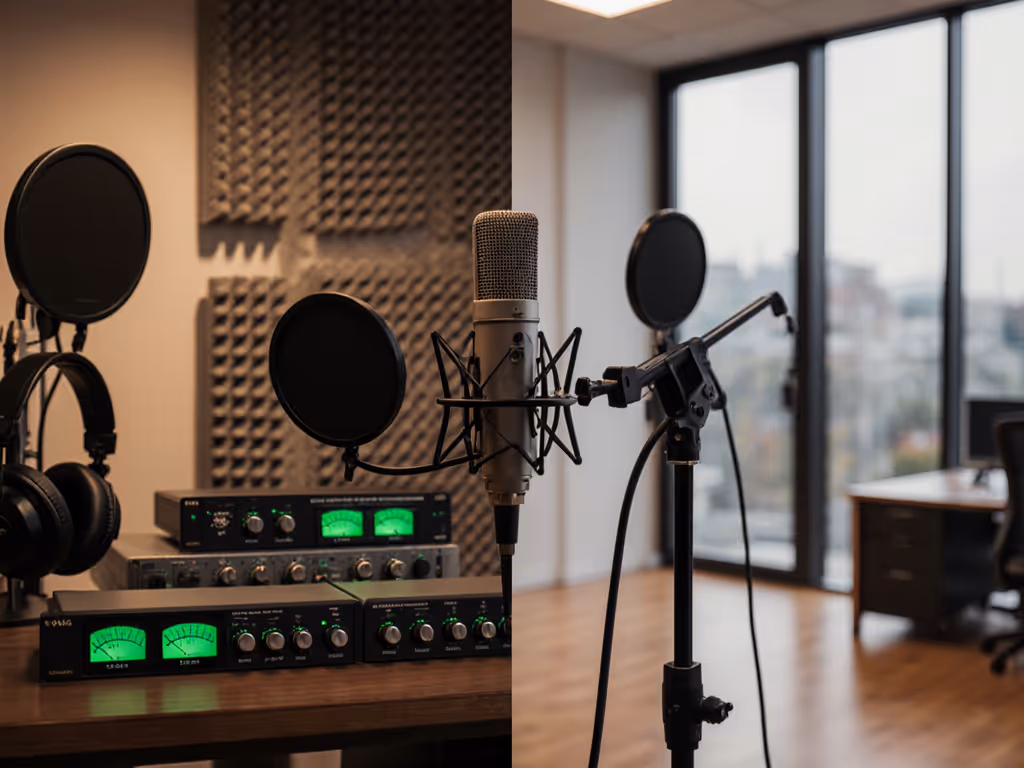
Room Choice: The Invisible Co-Host
Both mics are cardioid, which means they reject sound from the rear and sides reasonably well. But neither is a magic eraser for untreated rooms. Your room choice affects everything:
- Bedrooms with heavy curtains and carpet: Absorb reflections naturally. Both mics shine here.
- Home offices with hard walls and tile: Sound bounces, echo builds, and mics capture room tone unless you're disciplined with off-axis placement.
- Shared spaces with background noise: Cardioid won't silence a nearby HVAC vent or street traffic. Position yourself away from the noise source, and the polar pattern does its job. Position yourself close to the mic and facing the mic, and the noise behind/beside you drops to background.
Neither the ATR2100x nor Maono is a solution for a terrible room. For bigger improvements with minimal gear, use our Room Acoustics for Podcasting quick fixes. Both are tools that work best when you respect room choice as part of the setup.
The Budget Reality: What's Included vs. What You Buy
ATR2100x bundle estimate:
- Mic: $49-$79
- Pop filter (if not included): $10-$15
- Boom arm or desk stand: $15-$30
- Total: ~$75-$124
Maono entry-line bundle estimate:
- Mic: $30-$60
- Accessories (pop filter + shock mount often included): Built in
- Boom arm or stand (if not included): $15-$30
- Total: ~$50-$90
Maono bundles can feel cheaper upfront because they include shock mounts and pop filters. The ATR2100x forces you to assemble accessories separately. That's not a knock on either; it's a purchasing reality. If you value buying once and unboxing a complete setup, Maono appeals. If you prefer flexibility and reputation, ATR2100x anchors the decision.
Which One? The Honest Answer
Choose the ATR2100x if:
- You want the industry standard with predictable behavior and upgrade options.
- You're willing to buy accessories separately and appreciate the flexibility.
- You might scale to a second mic or external interface within 12 months.
- You value years of user-generated troubleshooting advice online.
Choose Maono if:
- You want everything in one unboxing and minimal assembly friction.
- Your room and voice are forgiving, and you're confident about staying USB-only for now.
- You're budget-constrained and value included accessories at the tier price.
- You like supporting a brand that's building reputation in the creator space.
But here's the real talk: either choice succeeds or fails based on your setup discipline, not the microphone's name. I've heard pristine audio from both. I've also heard thin, boomy, plosive-laden takes from both, usually because someone assumed the mic would compensate for poor distance control or room choice.
Small, repeatable wins turn scary red lights into green.
Your Next Move: Build the Complete Podcast Setup
Don't buy a mic in isolation. Buy a complete podcast setup: mic + pop filter + boom arm or stable stand + headphones for monitoring + that commitment to direct monitoring from day one.
Set a date this week to test whichever mic you choose in your actual room, at your actual desk, with your actual co-hosts (if applicable). Position it fist-width away. Angle it off-axis. Enable direct monitoring. Record 2 minutes. Play it back. If it sounds like you, and the plosives are manageable, and the room tone doesn't scream for treatment, you've found your mic.
If it doesn't, you're still in the return window, and that feedback is gold - it means you now know what to tune in the next option.
That's how confidence starts: with a repeatable setup that sounds good without editing wizardry, tested in your actual conditions before you commit.
Related Articles