Multi-Location Mics: How to Maintain Consistent Audio
By Mei-Lin Zhou • 15th Feb
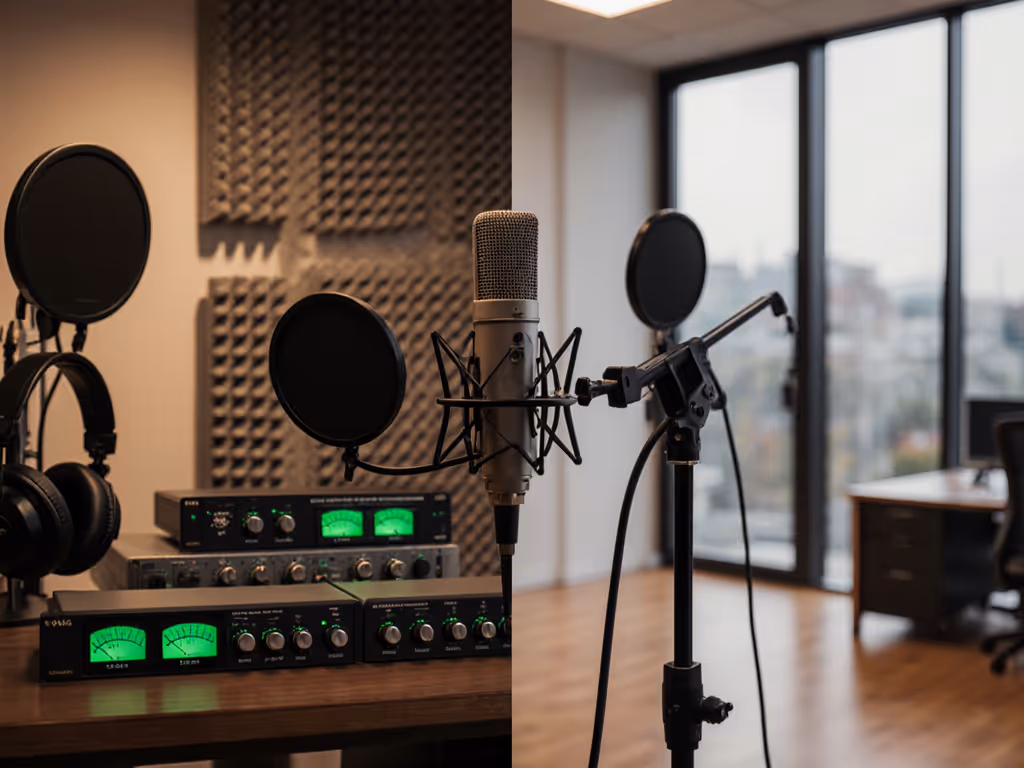
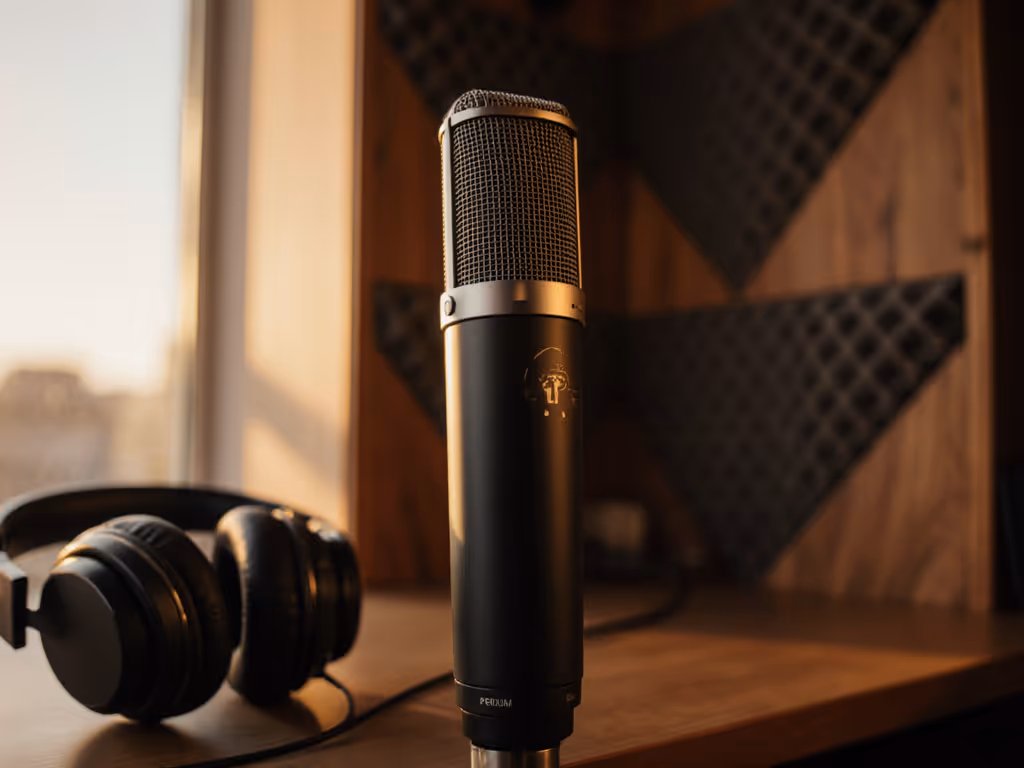
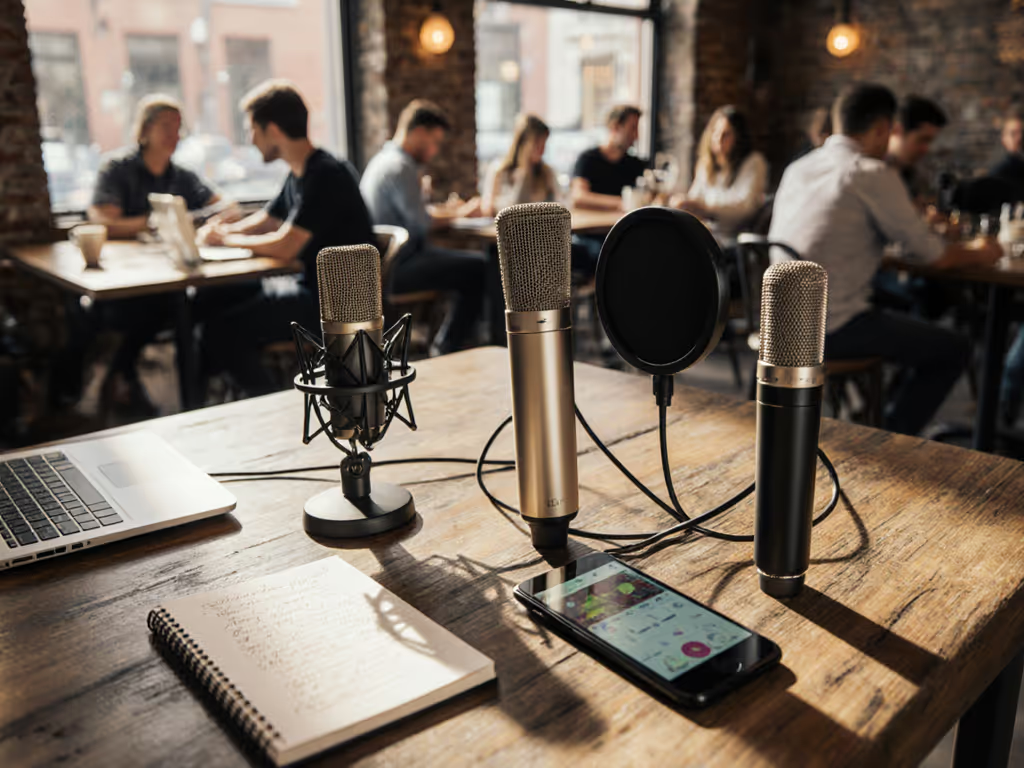
When you host a basic podcast setup across multiple rooms (your home studio one week, a guest's office the next, a coffee shop for a remote segment), your voice shouldn't sound like three different people. Yet it often does. A multi-location recording strategy isn't about chasing gear; it's about choosing hardware and techniques that stay stable when your surroundings change. In untreated spaces, this is the difference between editing that flows and editing that drains hours.
Why Location Shifts Break Your Audio Consistency
Every room has a sonic signature. For a deeper dive into how surfaces shape your sound, see our room acoustics for podcasting guide. Wood reflects differently than drywall. Carpet absorbs bass; tile throws it back. A condenser mic, bright and reactive, captures every quirk (and amplifies it). I once watched a guest on a live webinar sit at a hollow desk with a sensitive condenser. Each tap of their pen became thunder in the mix. We swapped to a compact dynamic mic on a damped arm, positioned 6 inches off-axis to the desk surface, and the noise evaporated. The show flowed. Editing disappeared. That lesson: quiet hardware makes your voice the loudest thing in the room.
The problem compounds when you add multiple hosts or remote guests. One person's setup captures bass boom and proximity effect; another picks up every keyboard click and breath. When you layer these tracks in post, you're not balancing voices (you're managing chaos).
A portable recording setup that maintains consistency across locations solves this by prioritizing room-matching microphone choice, gain standardization, and off-axis placement discipline.
Step 1: Choose a Microphone That Forgives Your Environment
Your first decision determines everything else. You have two paths: USB microphones for simplicity, or XLR microphones with an audio interface for control and flexibility.
USB microphones are plug-and-play. They're ideal if you're moving between locations frequently and can't carry or set up an interface each time. The trade-off: you lose the gain control that an interface provides, and USB chains can introduce latency monitoring issues.
XLR microphones with an audio interface give you manual gain staging, direct monitoring, and the ability to record multiple mics into separate tracks. An interface routes all audio input through a centralized device, letting you maintain consistent levels across sessions.
For location independence, favor dynamic microphones over condensers. Dynamics are forgiving, they reject off-axis room noise and handle proximity without exaggerating plosives. A condenser captures detail beautifully in a treated studio; in a borrowed conference room, it captures the echo, the HVAC rattle, and every sibilant pop. Dynamics give you one less variable to fight.
Audio Standardization in Practice
Whichever path you choose, standardize your gain-staging workflow. On USB mics, the mic's built-in dial becomes your dial (record how it's set so you can replicate it). On XLR chains, write down your interface gain, mic placement distance, and any external preamp setting (like a Cloudlifter). A simple 3x5 card in your kit prevents the retake risk of "I thought I set it to 2, but it was actually at 3."
Step 2: Master Off-Axis Placement and Desk Resonance Control
Desk resonance is the hidden killer in small-room recording. Your microphone sits inches from a surface that vibrates whenever you move, type, or tap. Sound travels through the desk and into the mic's proximity field, muddying your tone and introducing handling noise.
The fix is mechanical separation and off-axis geometry.
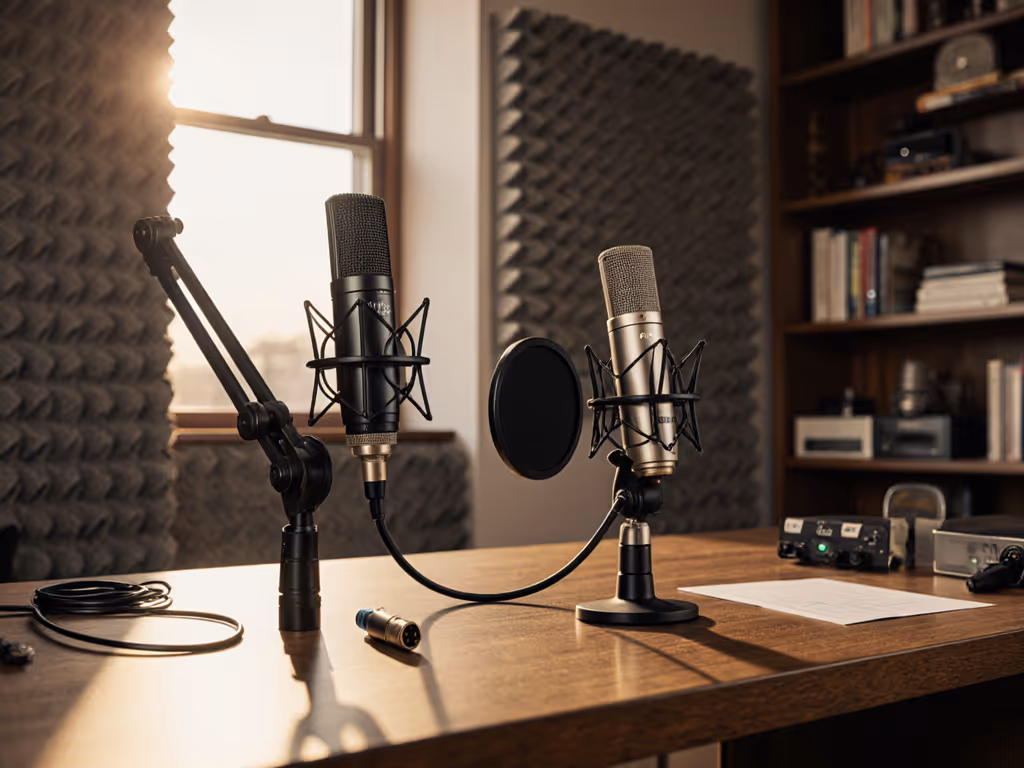
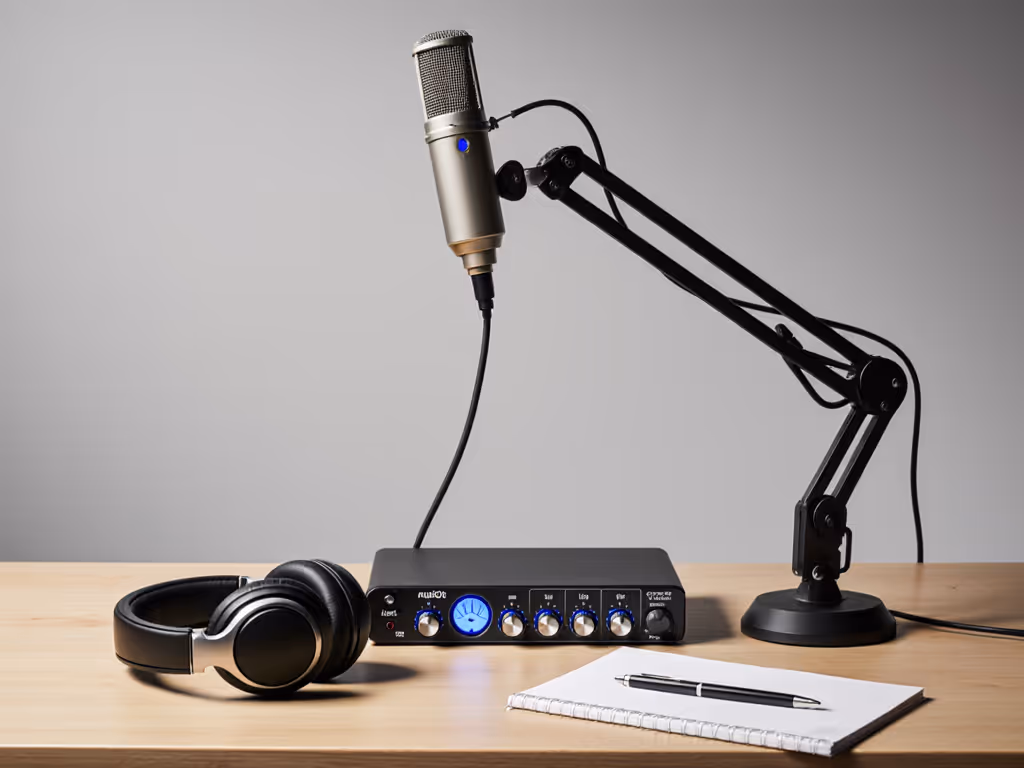
Mounting Strategy
- Boom arm with shock mount: A shock mount isolates the microphone from vibration transmitted through the arm itself. A boom arm holds the mic in a fixed position, reducing the retake risk of "Did I move it?" when you return to the same location.
- Distance and angle: Position the microphone 6 inches off-axis to the desk edge (not directly above it, but angled slightly away). This off-axis placement rejects handling noise and reduces the desk's acoustic signature from entering the mic's primary pickup zone. Sound travels, but reflections off the desk surface miss the microphone's front lobe.
- Floating desk or riser: If you're in a location with a hollow or resonant desk, place a dense foam or rubber riser under the microphone arm mounting point. This decouples vibration transfer.
Plosive Control Through Positioning
Placing the mic off-axis also tames plosive energy naturally. Direct axis placement means every "P" and "B" hits the diaphragm straight-on. Off-axis placement lets that air blast pass beside the mic. Combined with a compact dynamic's inherent plosive rejection, this cuts your pop filter dependency and reduces editing work. Get step-by-step angles and distances in our microphone positioning guide.
Step 3: Test and Document Your Location Audio Baseline
Before you record your first full episode in a new location, run a 2-minute test recording.
- Set your mic at your standardized distance and gain level.
- Record yourself speaking at conversational volume. Include pauses, a few plosives, and some natural hand movement near the mic.
- Play it back in your DAW at the same monitoring level you'd use for editing. Listen for: room tone (is there a perceptible hum or echo?), handling noise (do you hear thumps or squeaks?), and proximity effect (does your bass feel bloated or thin?).
- Note the location's characteristics on your setup card: "Guest's office, hard walls, slight HVAC hum at 60 Hz, acceptable once panned and compressed."
This baseline prevents surprise during editing. You'll know whether the room needs gentle EQ correction or whether the mic's character is already matching your main studio.
Step 4: Multi-Track Recording Across Locations
When you have multiple co-hosts or record interviews with remote guests in different spaces, keep each participant's microphone on a separate track. This is non-negotiable. Building a synchronized multi-host rig? Follow our sync multi-host recordings guide.
Recording Setup
If using XLR mics in different physical locations:
- Each person records on a different input channel of the audio interface.
- Open your DAW (Adobe Audition, Reaper, or Studio One) and create a track for each participant.
- In your audio setup, assign Track 1 to Input 1, Track 2 to Input 2, and so on.
- Ensure each input is routed to its own fader so you can balance loudness independently.
If using USB mics from different participants:
- On Windows, use ASIO4ALL to aggregate multiple USB microphones into a single audio interface. This requires ASIO-capable recording software like Reaper or Adobe Audition.
- Use different microphone models for each participant if possible; this helps ASIO4ALL differentiate them.
- Create a new track for each mic and assign the correct ASIO input.
- Restart your computer after configuring ASIO to ensure stability.
For remote guests in different rooms:
- Record their voice locally on their device (or use a platform like Riverside that auto-detects and separates multiple mics).
- Have them upload or sync their track to your project.
- Sync timecode by having both of you record a clap or spoken timecode at the start.
Step 5: Standardize Your Loudness and Tone Target
Audio standardization means your voices should sit at roughly the same perceived loudness in your mix without aggressive, editing-intensive processing. To lock in levels fast, use our podcast mic gain staging walkthrough.
Gain Staging
- Aim for a normalized peak level around -6 dB to -3 dB on your meter during normal speech (leaving headroom for dynamic peaks).
- On your interface, set each participant's input gain so their peaks hit this zone consistently. Write down each person's gain setting (this becomes your location-transition audio reference).
- If one participant is naturally quiet, add a Cloudlifter or similar inline preamp before the mic hits the interface; don't rely on interface gain alone, which adds noise.
Tone Matching
Even with the same microphone model, each location colors the voice differently. Embrace it, don't over-correct. A subtle EQ sweep (removing harsh midrange around 2-4 kHz, if present) takes 20 seconds per track and beats 20 minutes of de-essing. Keep it light: zero-post work should be the goal, but a single EQ curve per location is realistic.
Step 6: Your Setup Checklist for Any Location
Use this repeatable checklist before you hit record anywhere.
Microphone & Arm
- Boom arm mounted and isolated from desk vibration
- Microphone positioned at standardized distance (e.g., 6 inches)
- Off-axis angle confirmed (angled slightly away from desk)
- Shock mount secure and free of squeaks
Gain & Monitoring
- Interface (or USB mic) gain set to documented level
- Headphone monitoring active; confirm you hear your own voice with minimal latency
- Test tone recorded; peak level in the -6 dB to -3 dB zone
- Backup: gain dial on USB mic photographed (if using USB)
Cable & Power
- All cables secured and routed away from movement zones
- No cables running under the mic arm or across your lap
- Interface or USB mic powered and recognized by your DAW
- Separate audio track armed for recording
Room & Participant
- Room doors closed (minimize hallway noise)
- Phone silenced and face-down
- Participant briefed: no tapping, typing, or arm movement near the mic during recording
- Test phrase spoken and reviewed
Touch nothing, sound great.
Scaling to Multiple Participants
When you're recording a team or series of remote guests in different locations, consistency becomes a team problem. Distribute a simple setup guide to each participant:
- Use the same microphone model if possible (or provide USB mics that you own).
- Keep the mic at the same distance from your mouth (e.g., 6 inches).
- Do not touch the microphone or boom arm during recording.
- Record a 30-second test and send it to you before the real session.
This removes the guesswork and editing load. Each remote guest's audio arrives in a predictable state, needing only light level balancing rather than rescue EQ and noise reduction.
Actionable Next Steps
-
Record a 2-minute baseline test in your primary recording location using your current setup. Listen for room tone, handling noise, and clarity. Save this file as your reference.
-
Choose a microphone (USB or XLR) based on your travel frequency and budget. If you move locations often, prioritize a dynamic mic with a shock mount and boom arm; you'll save hours in editing.
-
Document your standardized settings on a physical card: microphone model, distance, gain level, and off-axis angle. Laminate it and keep it in your recording kit. This single artifact eliminates setup guesswork across sessions.
-
Test your multi-track recording workflow by recording yourself speaking on two tracks simultaneously (if you have a second USB mic or interface input). Confirm that both tracks record independently, then play them back to verify separation and loudness balance.
-
For your next guest or remote session, send them your 3-step participant guide and ask for a 30-second test recording before the main session. Review it together and adjust mic distance or gain if needed.
Consistent audio across locations is not magic, it's planning. When your setup doesn't fight you, your voice shines, your editing shrinks, and your show stays on schedule.
Related Articles