DAW Mic Optimization: Fix Latency & Sound Right First Time
By Nora Adeyemi • 17th Jan
Getting your microphone to work flawlessly with your DAW is the foundation of professional-sounding audio without hours of editing. DAW-specific microphone optimization isn't about fancy plugins or expensive gear. It is about understanding how your software and mic interact so you capture clean audio from the first take. When your setup works right the first time, you'll stop fighting red lights and start focusing on your content. As someone who's guided dozens of first-time hosts through this process, I've seen how small, repeatable wins turn scary red lights into green.
Why this matters for imperfect room recordings
Most beginners record in untreated spaces (bedrooms, home offices, even closets). If echo or reflections are a problem, use our room acoustics guide for quick fixes in untreated spaces. The good news? You don't need perfect acoustics if you master your DAW-mic connection. Many hosts I work with waste hours trying to fix audio in post when they could've prevented issues at capture. Your goal should be zero-post: raw audio that needs minimal tweaking because you optimized your DAW and mic relationship correctly from the start.
How to eliminate latency issues (the silent confidence killer)
Latency (the delay between speaking and hearing yourself) is the #1 reason hosts sound unnatural. They keep leaning into the mic, creating volume spikes and plosives. Here's your fix:
- Enable direct monitoring (hardware monitoring) if your interface or USB mic supports it
- Set your DAW's buffer size to 128 or 256 samples during recording
- Turn off all input monitoring through your DAW
This creates a near-instantaneous audio path so you hear yourself clearly without delay. For software-specific tips and driver settings, see our DAW microphone compatibility guide to dial in latency per app. For specific setups:
Reaper audio settings
Reaper users: Go to Options > Preferences > Audio > Devices. Set your Audio Input Buffer Size to 256 samples. Crucially, uncheck Software Play Monitoring (this forces you to rely on your interface's direct monitoring, eliminating latency).
Audacity microphone configuration
Audacity unfortunately doesn't support direct monitoring natively. The workaround? Keep your system sound settings' volume low but use your USB mic's headphone output (if it has one) for monitoring instead of your computer speakers. Set Audacity's Recording Meter to monitor input levels without routing back through software.
Small, repeatable wins turn scary red lights into green.
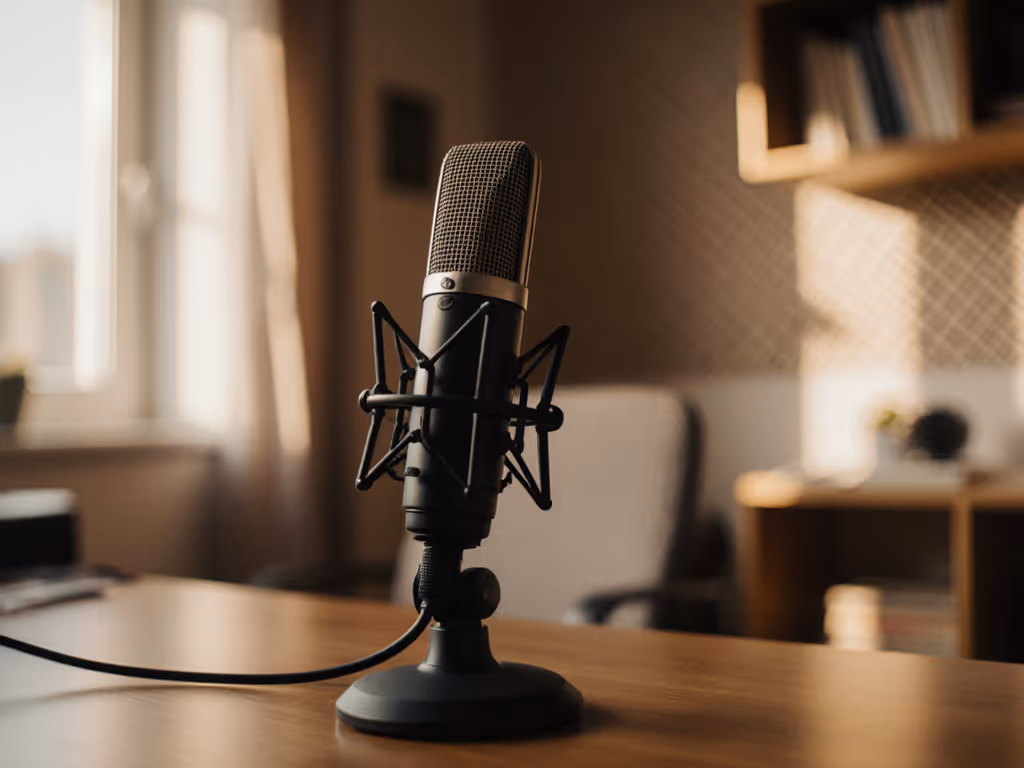
Your 5-minute DAW-mic setup checklist
Skip complicated tutorials. This simple sequence works for 90% of USB mic users in untreated rooms:
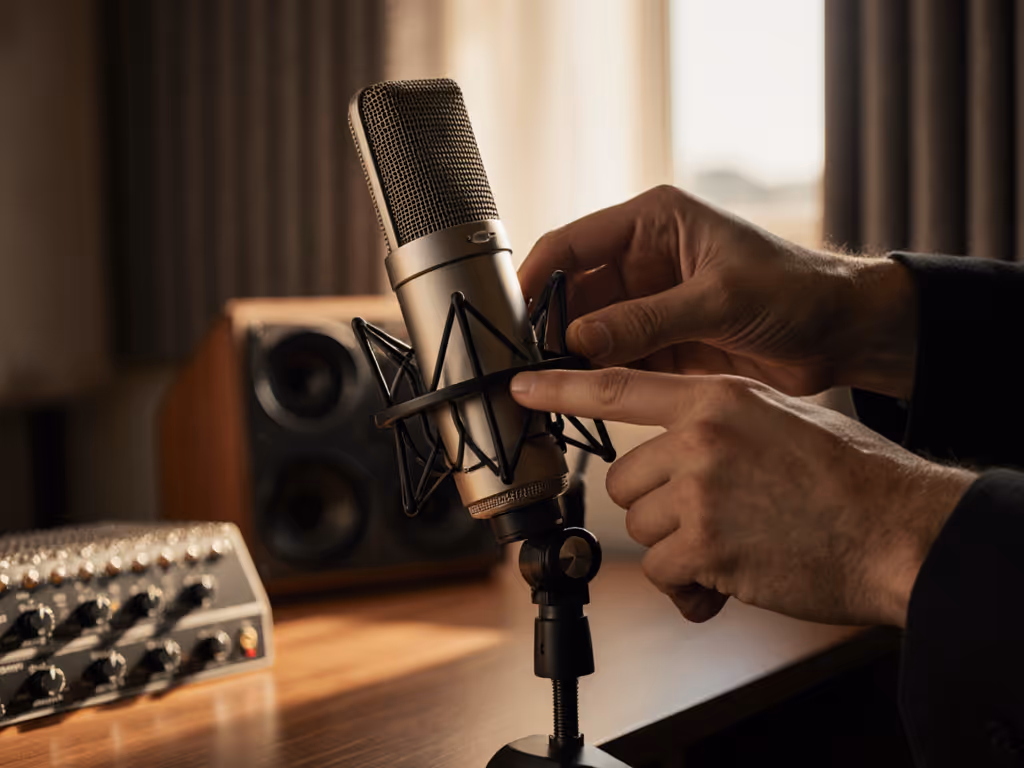
- Gain knob position: Set to 50-60% for USB mics (most have built-in preamps)
- Fist-width distance: Place your first knuckle from the mic capsule (about 3 inches)
- Off-axis angle: Position mic slightly to the side of your mouth (not directly in front)
- Pop filter: Essential even for small rooms (it prevents plosives that no plugin can fully fix)
- Room choice: Record away from windows and hard surfaces when possible
I watched a new host clutch her USB mic like an ice cream cone, peaking every time she laughed. We implemented these five steps (especially the fist-width distance trick) and her next take was clean. Her shoulders dropped, and her story finally breathed. The difference wasn't in her voice; it was in her setup.
Why plugin compatibility matters less than you think
Many beginners obsess over "sounding better" with plugins during recording. Truth is, plugin compatibility becomes crucial only after you've captured clean audio. During recording:
- Disable all input plugins
- Record dry (unprocessed)
- Save your DAW template with these settings
Plugins create processing load that increases latency. Your priority is capturing a clean signal first. Tweak EQ later when you're not fighting latency. The exception: if your mic has terrible sibilance, a gentle high-cut filter (8kHz) might help, but only if it's built into your interface's monitoring path.
Fixing common DAW-mic problems without technical jargon
Problem: My voice sounds tinny/thin in recordings
Solution: You're likely too close to the mic. Back up to fist-width distance. Most USB mics exaggerate proximity effect at close range, creating boomy lows and weak highs. Slightly off-axis placement also reduces harsh consonants.
Problem: Background noise overwhelms my voice
Solution: Your gain is too high. Lower the gain knob until loud speech hits -12dB peak. Turn up volume in post. For precise targets and workflow, follow our gain staging guide to set levels that stay clean. It's better to have clean quiet audio than noisy loud audio. This is DAW latency management 101: lower gain reduces noise floor while direct monitoring keeps you hearing yourself clearly.
Problem: Audio cuts out during recording
Solution: Buffer size is too low or too high. For USB mics, 256 samples is ideal. If using Bluetooth headphones for monitoring, switch to wired (they cause sync issues with DAWs).
The true cost of "fixing it in post"
I've seen hosts spend 3 hours editing what should've been a 30-minute recording. Aggressive noise reduction creates that hollow, compressed sound that makes listeners tune out. Your time is better spent on:
- Perfecting your fist-width distance technique
- Setting consistent gain levels
- Choosing a quiet room for recording
We're aiming for repeatable setups that capture your authentic voice without digital band-aids. When you optimize your DAW-mic relationship first, you'll find yourself editing less and creating more.
Actionable next step: Your latency test
Before your next recording session, run this simple check:
- Enable direct monitoring on your interface/mic
- Set DAW buffer size to 256 samples
- Record yourself counting to 10 while monitoring through headphones
- Play back immediately: can you hear two voices (original + delayed)?
If yes, your direct monitoring isn't properly engaged. If no, you've nailed the foundation. This takes 60 seconds but prevents hours of frustration. To keep sessions consistent across days and locations, use the podcast reference tones guide to calibrate levels quickly. Small wins build confidence. Your best episodes happen when you stop worrying about the tech and start sharing your message.
Remember: Your microphone doesn't need to be perfect. Your setup does. With these DAW-specific microphone optimization steps, you'll capture broadcast-ready audio in imperfect rooms, without becoming an audio engineer first.
Related Articles