Hearing Aid Podcast Mics That Filter Background Noise
By Nora Adeyemi • 23rd Nov
If you're launching a podcast with hearing impairment, you know the struggle: background noise drowns out your own voice in real-time monitoring, making it impossible to gauge if your delivery is clear. Hearing impairment podcasting demands gear that prioritizes accessible microphone technology (not just for your audience, but for you as the creator). As someone who's onboarded dozens of first-time hosts with hearing challenges, I've seen how the right setup transforms anxiety into confidence. Let's tackle your biggest questions about recording gear that works with your hearing needs, not against them. For accessible setup options and adaptive controls, see our disability-friendly mic setup guide.
Small, repeatable wins turn scary red lights into green.
Why standard podcast mics fail creators with hearing impairment
Most podcast microphones amplify all room noise (not just your voice), which creates a nightmare for real-time monitoring if you're hard of hearing. You need two critical features:
- Onboard noise filtering that cuts HVAC hum, keyboard clicks, and street noise before audio hits your hearing aids
- Direct monitoring with zero latency so you hear exactly what's being recorded
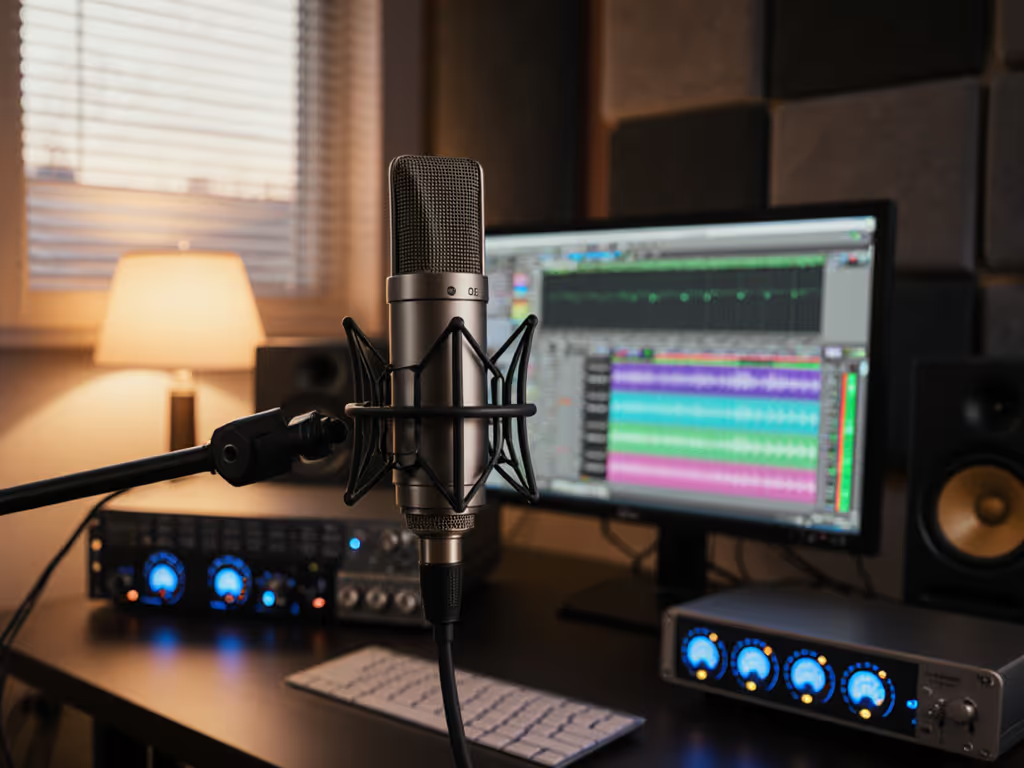
USB mics like the Audio-Technica ATR2500x-USB provide this crucial direct monitoring path through their built-in headphone jacks. If you're deciding between connection types, compare pros and cons in our XLR vs USB microphone guide. Unlike XLR setups requiring external audio interfaces (which often add frustrating latency), USB mics let you hear yourself clearly as you speak (no guesswork). This is non-negotiable when you're adjusting vocal effort based on what you hear.
How to test microphone compatibility with hearing aids
Not all mics play nicely with hearing aids or cochlear implants. Here's my 3-step test before buying:
1. Check polar pattern priority Cardioid mics (heart-shaped pickup) reject sound from behind and sides (critical for minimizing room echo). Avoid omnidirectional mics which capture everything in noisy home offices.
2. Verify physical connection options Look for mics with:
- 3.5mm headphone jack (for direct monitoring)
- Bluetooth capability (to pair with hearing aid streamers)
- USB-C output (cleaner signal than Bluetooth for many devices)
3. Test the gain knob range You need precise control to avoid feedback loops. If turning the gain past 50% causes whistling through your hearing aids, the mic lacks the fine adjustment needed for sensitive setups.
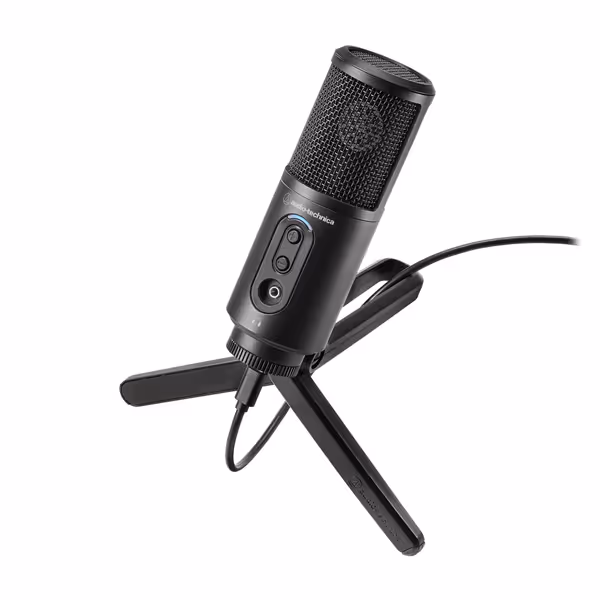
Audio-Technica ATR2500x-USB Microphone
Simple USB podcasting with clear sound and direct monitoring.
$99.92
Sampling Rate24-bit, up to 192 kHz
Sampling Rate24-bit, up to 192 kHz
Pros
Clear, low self-noise audio for digital recording.
Cardioid pattern reduces room noise effectively.
Integrated headphone jack for real-time monitoring.
Cons
Durability concerns; some report unexpected failure.
Customers find the microphone to be a best value for money with great sound quality. The functionality and connectivity receive mixed reviews - while it works well initially, some report it suddenly stops working, and there are compatibility issues with certain cables. The durability is concerning, with multiple customers reporting it breaking after a few weeks of use, and the stand quality is poor.
Customers find the microphone to be a best value for money with great sound quality. The functionality and connectivity receive mixed reviews - while it works well initially, some report it suddenly stops working, and there are compatibility issues with certain cables. The durability is concerning, with multiple customers reporting it breaking after a few weeks of use, and the stand quality is poor.
Why "room choice" matters more with hearing impairment
That spare bedroom you're using? Its hard surfaces bounce sound into your mic (and your hearing aids), making you sound echoey to yourself. My clients with cochlear implant compatibility needs succeed by:
- Recording in closets filled with clothes (instant sound absorption)
- Hanging blankets behind their seating area
- Lock your distance from walls (minimum 3 feet)
One host with moderate hearing loss transformed her audio by moving from her tiled kitchen (where refrigerator hum overwhelmed her hearing aids) to a carpeted hallway closet. Her podcast went from "I can't hear myself think" to zero-post editing in one afternoon. Room choice is your first line of defense against background noise. Learn quick fixes and treatment options in our room acoustics guide.
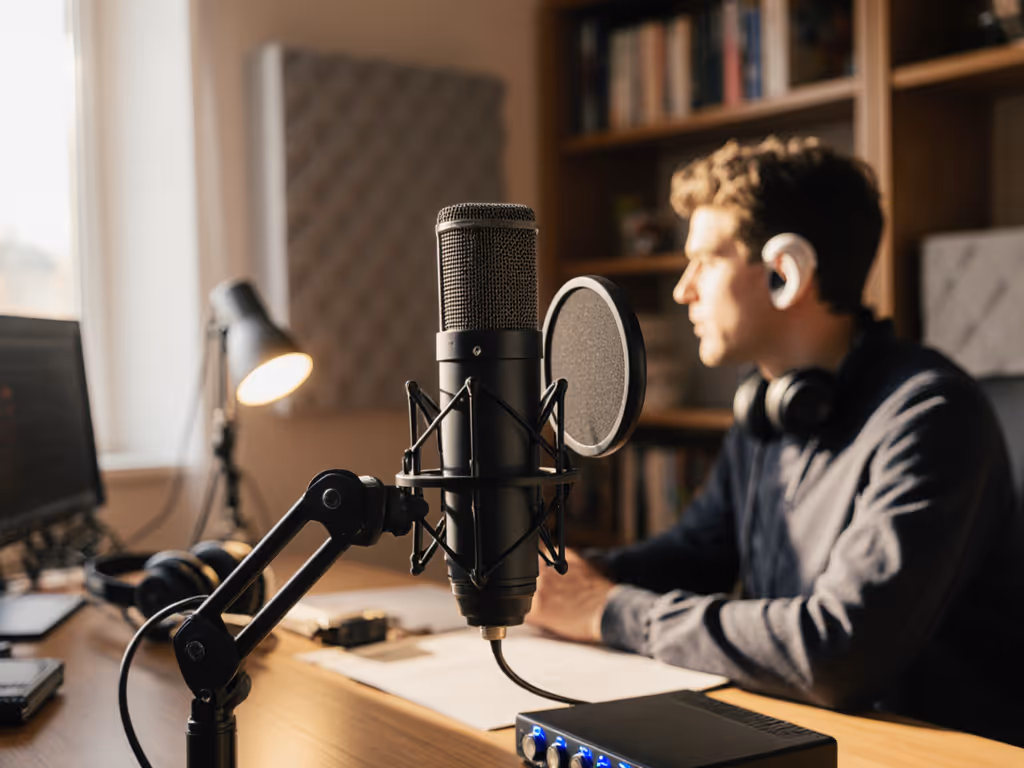
The fist-width technique for consistent volume
Hosts with hearing impairment often unconsciously shout into mics when they can't hear themselves well. This creates painful peaks for listeners. My solution:
- Make a loose fist
- Place your knuckles against the mic head
- Speak at this exact distance every session
This fist-width distance (about 3-4 inches) gives consistent volume without overwhelming your hearing aids' compression. Pair this with a pop filter angled slightly off-axis to catch breath puffs before they distort your signal. For more placement techniques that reduce plosives and sibilance, see our mic positioning guide. I watched a first-time host transform her recording from "peaking every laugh" to natural delivery by locking this simple setup (her shoulders dropped, and the story finally breathed).
Creating truly accessible podcasts (beyond your own needs)
Podcast accessibility means designing for listeners with hearing loss too. Implement these three practices:
1. Never rely solely on "clarity" filters Heavy noise reduction can distort consonants listeners with hearing loss depend on. Aim for clean recordings at source instead of fixing it in post.
2. Provide transcripts with speaker labels Services like Descript generate accurate transcripts while labeling who's speaking (critical for understanding group conversations).
3. Normalize audio to -16 LUFS This standard loudness level ensures consistent volume across platforms without straining hearing aids' automatic volume controls.
Your immediate action plan
Stop wrestling with gear that fights your hearing needs. Today:
- Test your current mic with headphones connected directly to it (bypassing your computer)
- Adjust gain until your voice sounds clear without triggering hearing aid feedback
- Apply the fist-width trick (measure and mark your mic stand)
Confidence starts with a repeatable setup that sounds good without editing wizardry. When you can hear yourself recording cleanly, you'll speak with the authority your message deserves. I've seen hosts go from "scared red lights" to relaxed, natural delivery simply by locking their distance and enabling direct monitoring. Your voice matters. Make sure you can hear it too.
Ready to test these principles? Grab your mic right now and run through the 3-step compatibility check above. Notice how your hearing aids respond at different gain levels. That small adjustment could be the difference between frustration and finally hearing your potential.
Related Articles