Podcast Mic on Stage: Live Speaking Setup Guide
By Luis Cabrera • 2nd May
Why Microphone Placement and Technique Matter More Than Specs
You've probably spent hours comparing frequency response curves and sensitivity ratings, only to feel disappointed when your voice sounded thin or boomy in your actual room. The truth is simple: a podcast microphone performs differently depending on where you place it, how close you speak, and what's happening in your space. On stage (or even in a small studio), these variables matter far more than the printed spec sheet.
When your audience hears you, they're not hearing raw specs; they're hearing how your voice interacts with your microphone's polar pattern, your distance from the diaphragm, and what reflections your room adds. That's what determines whether you sound credible and present or distant and uncertain. The good news: with intentional setup, you can control most of this before you ever hit record or go live.
Step 1: Assess Your Space and Voice
Before you buy anything, spend fifteen minutes in the space where you'll record or speak.
Listen for baseline noise. Close your eyes and identify what you hear: HVAC hum, computer fan noise, street traffic, keyboard clicks, or echo when you clap. Walk around the room. Note where sound bounces (hard walls, glass) and where it dies (bookcases, curtains). A reflective room pushes your voice around; a dead room muffles it. Most small rooms are too reflective, which is why so many home recordings sound hollow. For practical fixes, see our room acoustics guide.
Pay attention to your natural speaking voice. Do you speak quietly or loudly? Do you have sibilance (excessive "S" sounds)? Proximity effect matters: the closer you speak to a microphone, the more bass it captures, which can mask clarity if your voice already tends boomy, or add unwanted low-end rumble if your room has hum. Conversely, if you're soft-spoken, you'll need either a sensitive microphone or a shorter distance to generate adequate signal without cranking gain and amplifying noise.
Consider your typical guests or co-hosts. If you're interviewing people, are they typically close to a mic (intimate, face-to-face) or remote (via Zoom)? Will you be mixing multiple voices? Consistency across voices is one of the hardest parts of podcast production, and it starts with how each person sits relative to their mic.
Step 2: Choose Between Dynamic and Condenser
Dynamic microphones are your friend on stage or in untreated rooms. They reject off-axis sound (noise coming from behind or the side), so they suppress room echo and your neighbor's dog barking two rooms over. They also require close talking (4-6 inches) to sound full, which naturally isolates you from background noise. Trade-off: they need more gain to produce usable signal, and if your interface is cheap, you'll hear hiss underneath.
Condenser microphones are more sensitive and capture more detail, making voices sound intimate and articulate if your room is treated or very quiet. In an untreated bedroom or shared office, condensers will record every fan noise and echo, forcing you into heavy-handed noise reduction during editing, which kills the natural tone you paid for.
For most podcasters and live speakers working in real rooms, a quality dynamic microphone is the low-regret choice. It's harder to make sound bad, and it improves as your setup matures. A cheap condenser, by contrast, becomes a liability as you upgrade everything else around it.
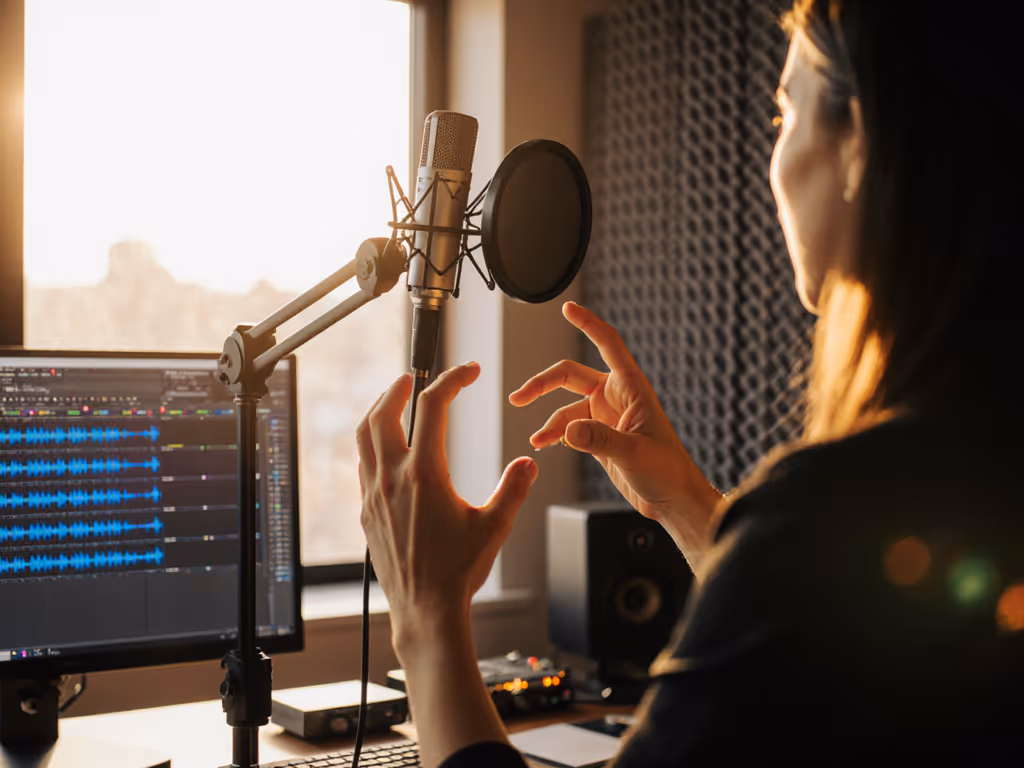
Step 3: Optimize Placement and Microphone Technique
Once you've chosen your mic, placement and distance do 80 percent of the work.
Position the microphone on-axis. This means your mouth should be level with the microphone's diaphragm, not pointing down at it or up from below. Off-axis placement (especially angling down) introduces boomy, unflattering coloration. Most arm-mounted setups drift over time; periodically check that you're still centered.
Keep distance consistent. Sit about 4-6 inches from a dynamic mic's capsule. This distance leverages proximity effect (gentle bass warmth) without overdoing it, and it keeps your voice loud enough that you won't need excessive gain. If you're recording co-hosts, mark their ideal spot with a piece of tape on your desk or floor (consistency is your editing savings account).
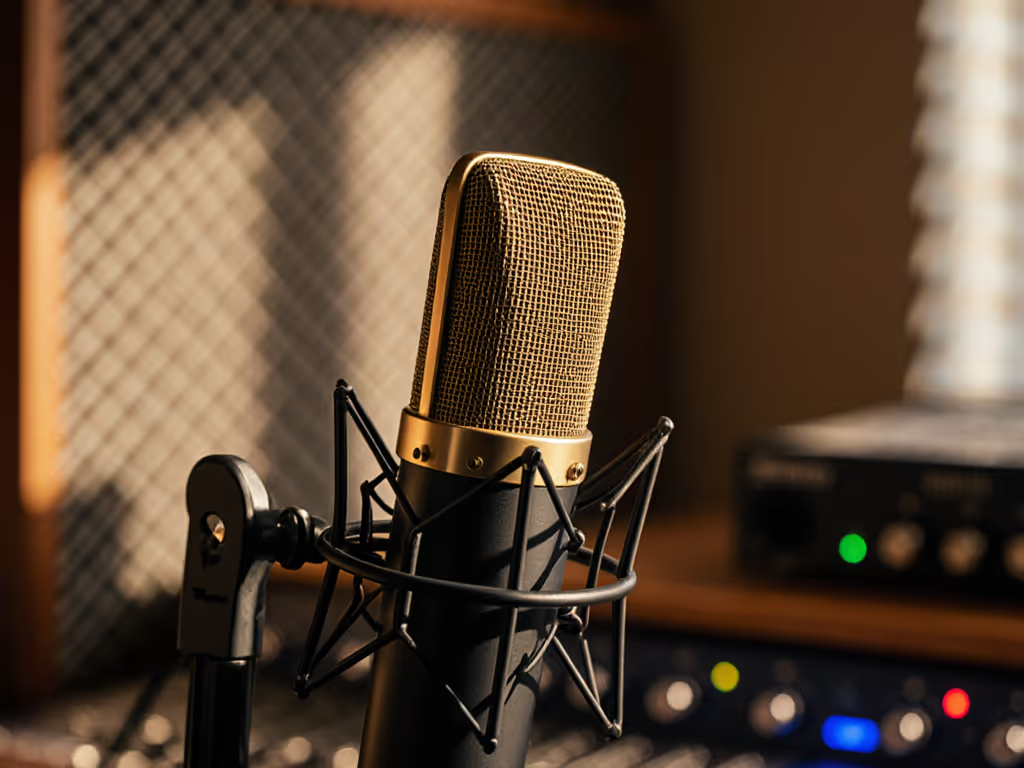
Use a quality shock mount. Shock mounts decouple your microphone from desk vibrations. Without one, every keystroke, mouse click, and arm movement bleeds into your recording. A good mount costs $20-50 and remains useful across every microphone you'll ever own. This is where you spend once and it compounds. Cheap mounts feel mushy and actually add handling noise; invest here. For must-have add-ons that solve real issues, see our podcast mic accessories guide.
Add a pop filter, but position it correctly. Pop filters diffuse plosives (hard "P" and "B" sounds). Mount it about 2 inches in front of your mic, angled slightly (not blocking the path directly). This is a tiny investment that eliminates hours of editing and de-essing.
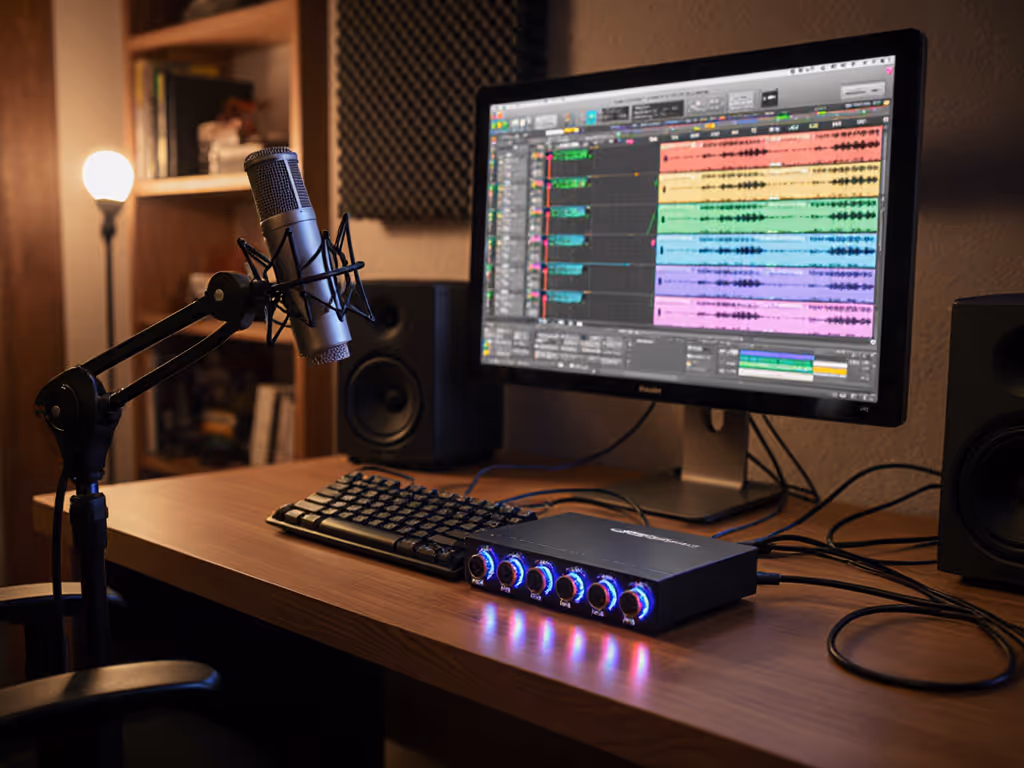
Step 4: Match Your Microphone to Your Interface
A great podcast gear setup means your microphone and interface speak the same language.
Start with USB if you're budget-conscious. Many dynamic mics come with USB outputs, which simplify travel and quick setup. USB microphones are plug-and-play; your computer recognizes them immediately. For solo podcasters or remote guests, USB is fast and reliable.
Plan your XLR upgrade path early. As your show scales (multiple hosts, guests in your space, or higher production standards), you'll want an audio interface that accepts XLR cables. An interface gives you clean preamp gain, direct monitoring (hearing yourself with zero latency), and flexibility to add a Cloudlifter if your microphone's output is weak. When you upgrade from USB to XLR, your shock mount, pop filter, and mic arm all transfer without waste. That's intelligent sequencing.
Gain staging is silent infrastructure. Set your microphone's output (or preamp gain) so your voice peaks around -6dB to -3dB on your interface's meter during normal speech. Too low, and you'll hear hiss when you boost in editing. Too high, and your peaks will distort. Spend five minutes getting this right; it eliminates editing surprises.
Step 5: Build a Scalable Setup
If you're recording with guests or building a team setup, consistency scales everything.
Document your settings. Write down your mic distance, gain level, and microphone model. Take a photo of your arm angle. When a guest sits down, hand them a one-page checklist: "Mic should be 5 inches from your mouth. Red light means we're recording." Non-technical guests panic when they don't have clear instructions; a simple checklist prevents expensive re-takes.
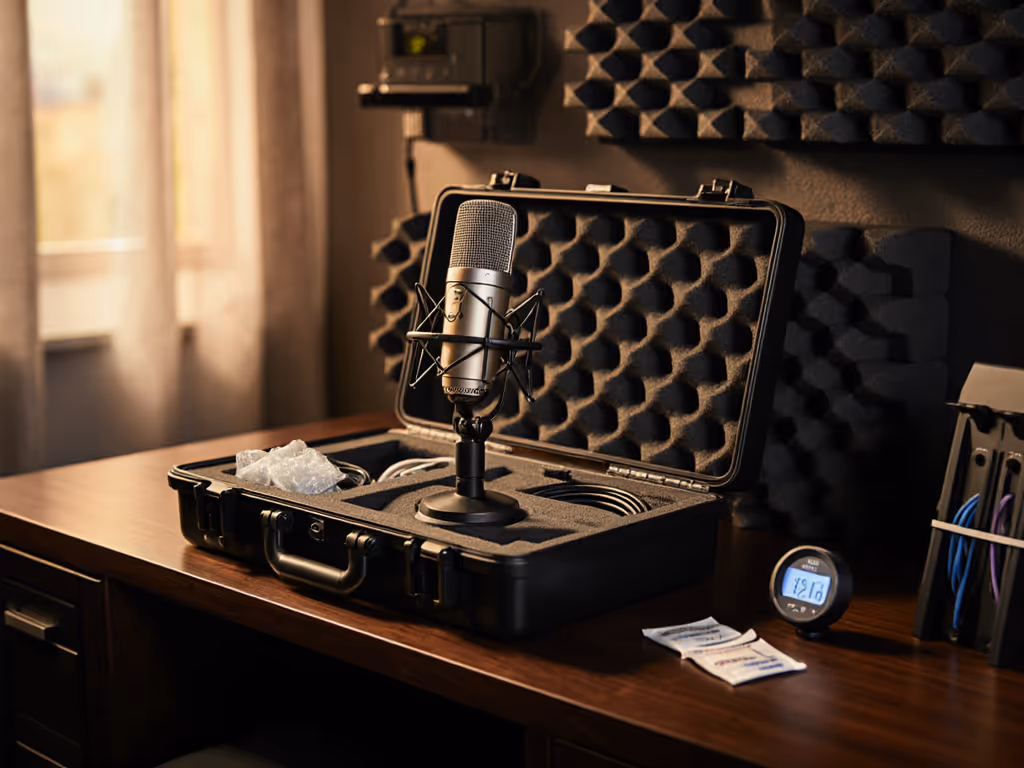
Invest in reusable accessories first. A sturdy boom arm, quality XLR cables, and a shock mount don't care which microphone they're holding. They're the foundation of any talk show or conference setup. These pieces earn their cost across multiple projects and mics, another way to structure purchases so each piece keeps earning its place.
Test in your actual space. If you're speaking at a conference or recording in an unfamiliar room, arrive early. Set up your mic, record 30 seconds of yourself talking, and listen on headphones and on your computer's speakers. Your ears adapt quickly; headphones reveal the truth. Adjust distance or angle if the recording sounds boomy, nasal, or echo-y.
Summary and Final Verdict
Live event microphone techniques aren't secrets; they are habits. A dynamic microphone on a solid arm, at a consistent distance, with a shock mount underneath, and a pop filter in front, will sound professional in almost any room. The real skill is knowing why each piece matters, so when something sounds wrong, you know whether to adjust your distance, check your gain, or suspect the room.
Start with a USB dynamic mic and quality accessories, you'll spend $150-300 and get broadcast-ready audio immediately. As your show grows, upgrade your interface to XLR and add a quality preamp for public speaking if needed. Your existing accessories port directly into the new chain. This approach means no wasted money, no regret, and a clear path from your bedroom to a professional conference audio setup.
The stage isn't just where you perform, it's where your microphone's investment compounds. Each thoughtful choice in placement, gain, and gear makes the next purchase easier and the next show better.
Related Articles