Speech Impediment Microphones: Clear Audio
By Aarya Menon • 27th Mar
If you stutter, lisp, or navigate other speech impediments while creating content, microphone choice becomes more than a gear decision, it is a clarity and confidence issue. The right speech impediment microphone will not fix articulation, but it can capture your voice authentically, reject room noise that compounds intelligibility, and eliminate the self-consciousness that comes from hearing your own speech artifacts magnified through poor mic technique or unsuitable equipment. This FAQ explores how to choose and set up microphones that work with your voice, not against it.
Understanding the Core Challenge
Why Standard Mic Guidance Misses the Mark
Most microphone advice assumes "ideal" articulation and treats all voices as equally forgiving. A cardioid vocal mic chosen for a podcast host with clear diction may exaggerate sibilance, amplify disfluency artifacts, or respond unpredictably to the breath patterns common in stuttered speech. Meanwhile, the same microphone might deliver warmth to someone else's voice. For a clear primer on how dynamic vs condenser mics differ in real podcast rooms, see our guide.
When you have a speech impediment, your voice has distinct acoustic signatures: variable attack timing, repeated phonetic attempts, or sustained fricatives that conventional mics may render as distorted or fatiguing. The microphone you select must handle these patterns (and your room's reflections) without making you sound worse.
The Real Test: Your Room + Your Voice
Level-matched samples in real rooms tell the whole story. I have seen creators with speech impediments buy the internet's favorite cardioid dynamic, only to discover that its tight proximity effect made their articulation sound strained, or its presence peak turned every sibilant into a digital scratch. Conversely, a neutral, forgiving condenser (often overlooked for "impure" rooms) delivered clarity and patience to their phrasing.
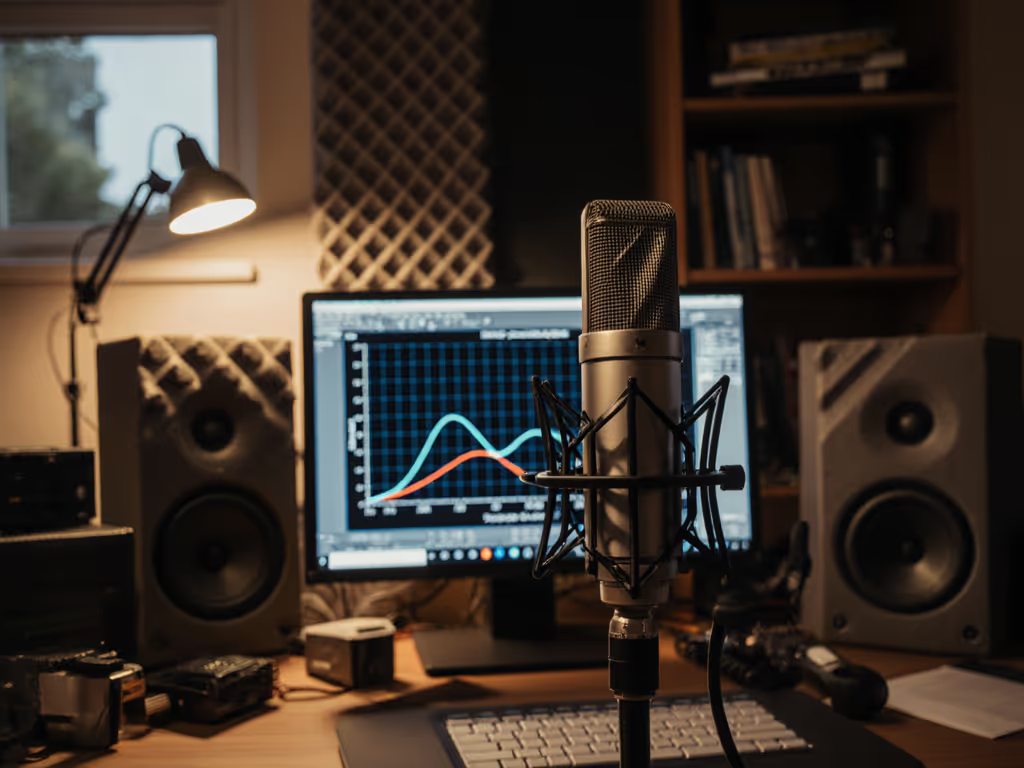
Measure first, then trust your ears. Before you buy, record test phrases through the candidate mic in your actual recording space, at the exact gain and distance you'll use, with zero post-processing. Listen for: Does this mic make me sound more confident? Does it render my phrasing clearly? Does room noise or my own breath overwhelm the speech?
FAQ: Choosing a Microphone for Speech Impediment Friendly Recording
Q: Should I choose a condenser or dynamic microphone for stuttering-friendly audio?
A: There is no absolute rule, but dynamics offer practical advantages for most creators with speech impediments.
Dynamics (cardioid pattern, typically 6-12 mV/Pa sensitivity):
- Forgiving of variable voice levels and articulation patterns; less prone to harshness.
- Superior off-axis rejection; room noise and your own breath at odd angles stay out of the recording.
- Lower self-noise, so you do not need extreme gain, essential if you are already managing anxiety about mic technique.
- Proximity effect can be controlled via mic distance; you're not fighting a mic's design.
Condensers (often cardioid, sometimes omnidirectional, 20+ mV/Pa sensitivity):
- Flatter, more linear frequency response; some speakers find them less judgmental.
- Extremely low self-noise; ideal for very quiet, treated rooms.
- Trade-off: presence peaks and proximity effect can exaggerate sibilance or nasality. Off-axis rejection is weaker, so room tone bleeds in more easily.
Test both in your space. If your room has noticeable keyboard noise, HVAC hum, or street sound, a dynamic's tight polar pattern will outperform a condenser's wider pickup. If your main concern is your own breath or lisp artifacts, a dynamic's forgiving response usually wins.
Q: What does polar pattern have to do with clear speech recording?
A: Polar pattern determines where the microphone listens. For speech impediment recording, this is critical.
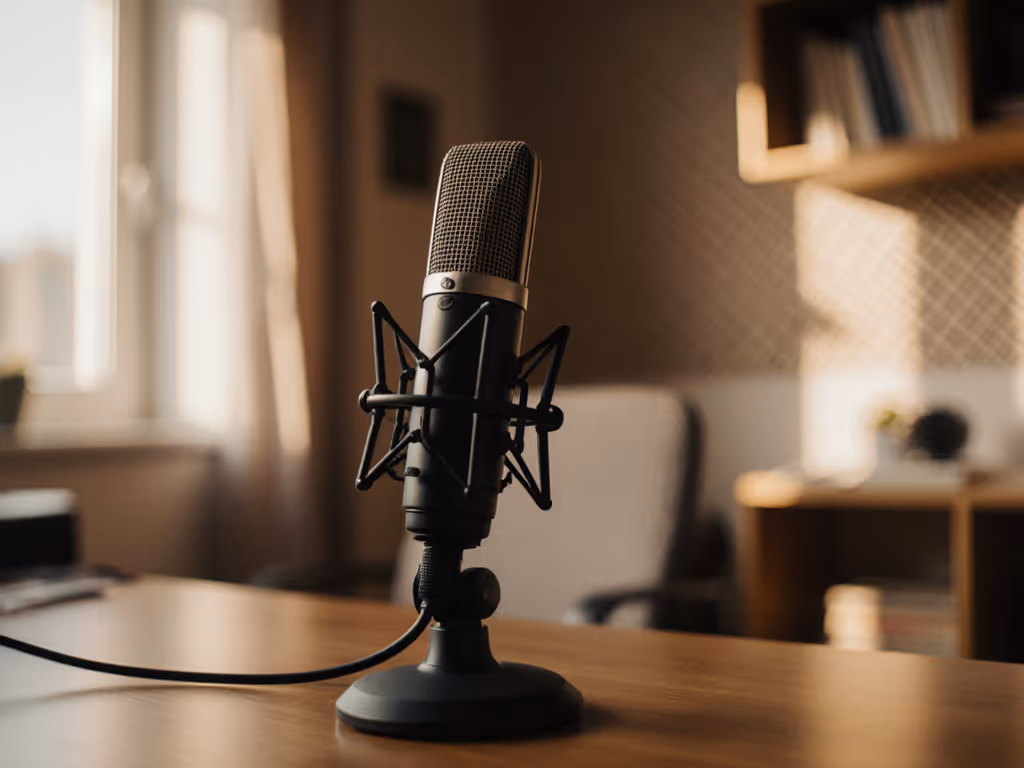
A cardioid pattern picks up sound in front (0°), rejects sound from the rear (180°), and partially rejects sides. This is your foundation: position the mic 6-8 inches in front of your mouth, aimed at your lips, and sound from your desk fan, room echo, or a co-host across the room is attenuated.
For lisping voice capture, tight cardioid rejection also means plosive pops and sibilance escape to the sides instead of slamming into the capsule head-on. A small angle shift (say, 15° off-axis) can soften harsh fricatives without sacrificing intelligibility.
Conversely, omnidirectional patterns (found in some condensers or ribbon mics) listen equally in all directions. They're more neutral but useless in untreated rooms; every reflection and hum becomes part of your recording. If you need a refresher on how cardioid, supercardioid, and omni patterns shape pickup, read our microphone polar patterns guide.
Q: I have a lot of sibilance / lisping. Which microphone reduces that?
A: None truly "reduce" sibilance, but placement and polar pattern control matter enormously. Sibilance is an acoustic event (the 's' sound's high-frequency energy); a mic either captures it cleanly or distorts it.
The trick: position your cardioid mic slightly off-axis (angled maybe 15-30° to the side of your mouth), so the sibilant air stream misses the front of the capsule. You retain articulation clarity but soften the sibilant peak. For step-by-step angles, distance, and plosive control, use our mic positioning guide.
Second, choose a dynamic with a neutral midrange and a gentler presence peak (around 4-5 kHz, not 10+ kHz). A hypercardioid or supercardioid pattern narrows the sweet zone further; every degree off-center is quieter.
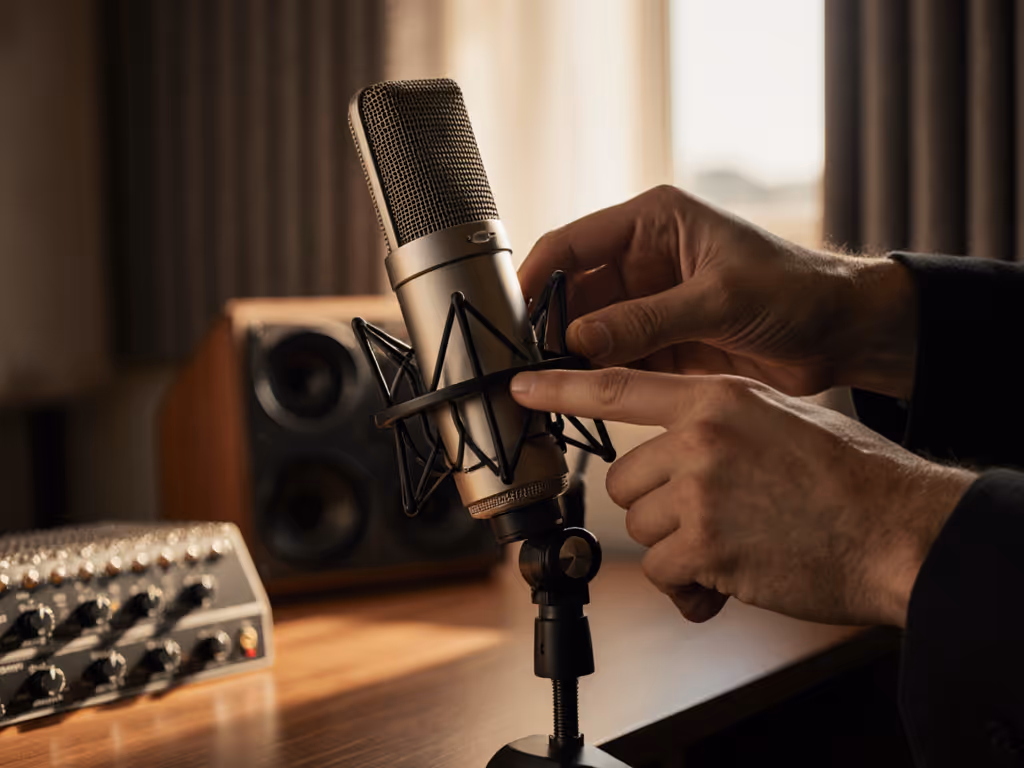
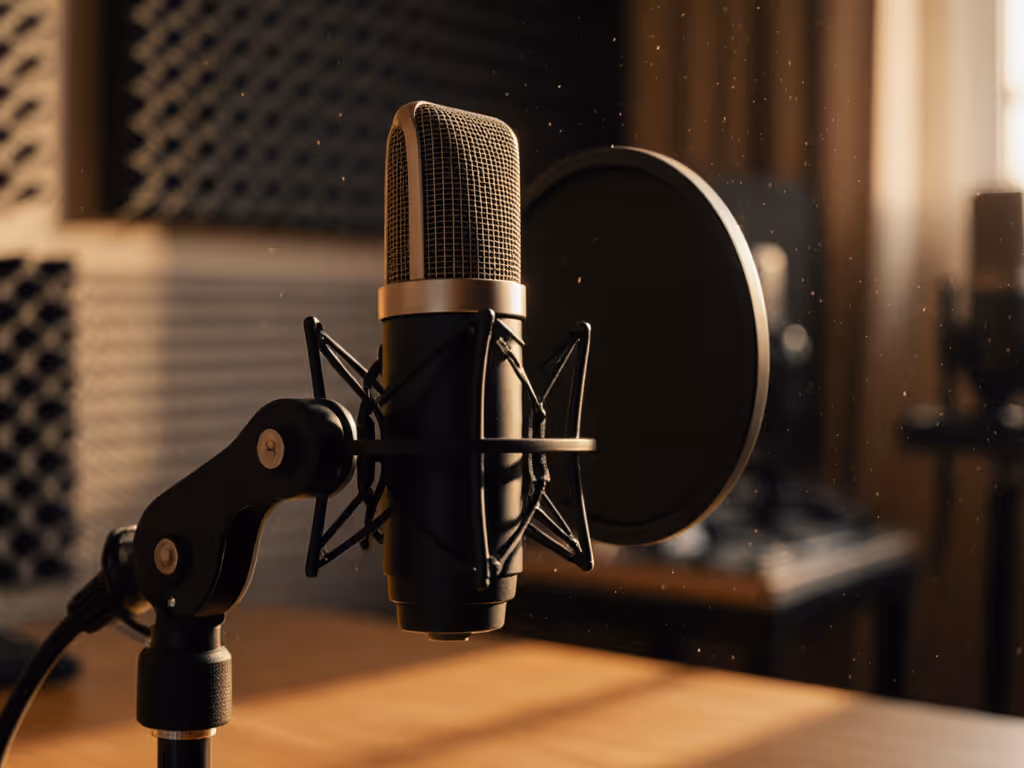
Third, mic technique: maintain steady distance (6-8 inches) and angle. Inconsistency (jerking closer when you stutter, pulling back when anxious) flattens your tone and invites room noise. A fixed shock mount and pop filter (positioned 2-3 inches away) eliminate those variables.
Q: What about gain staging and self-noise for stuttering-friendly audio?
A: Gain staging is underrated and often the difference between broadcast-ready and thin, hissy audio.
Your microphone output level feeds your audio interface's preamp. If you choose a mic with high self-noise (often condensers above 15 dB-A) and you're recording speech impediment content (which may involve soft, hesitant passages or quiet breath between words), you'll hear that noise floor prominently under any processing.
A dynamic with self-noise below 10 dB-A (many cardioid podcast mics) gives you headroom. You can set your interface gain to a comfortable 40-50% without amplifying hiss. If you do boost in post-processing for a quiet passage, the noise floor stays buried.
Set your levels this way: Record a test phrase at your normal speaking pace and volume (not shouting, not whispering). Peak at -12 dB to -6 dB on your DAW or recorder. This leaves you a 6-12 dB safety buffer against clipping and keeps the signal strong, so any downstream noise reduction or EQ does not require heavy gain compensation. For a deeper walkthrough with meters and real examples, see our gain staging guide.
Q: How do I minimize handling noise and breath during speech therapy podcasting?
A: Handling noise kills raw, unprocessed recordings. A shock mount isolates the microphone from stand vibrations, arm squeaks, and desk thumps, especially important if you're gesturing, shifting in your chair, or tapping while thinking.
For breath, use a pop filter (foam or mesh, 2-3 inches away) and slightly angle your mouth off-center of the mic capsule. Breath pops are low-frequency thump; off-axis placement attenuates them dramatically without sacrificing articulation.
If you record long passages (common in speech therapy podcasting or educational content), a small windscreen (thin foam, not bulky) around the mic body adds a layer of plosive suppression. Test it first; some windscreens muddy the signal.
Q: I work in an untreated bedroom. Does microphone choice matter more than room treatment?
A: Yes, for your immediate recording. A tight-pattern dynamic and disciplined mic placement outperform a condenser in a treated space; it is that much more forgiving of reflections and ambient noise.
Your best move: invest in the microphone first. A cardioid dynamic with low self-noise and a compact form factor ($80-$200 for a solid entry-level option, $250-$400 for a reliable pro-grade model) will deliver clear speech recording in an imperfect room. Then, if budget allows, add a basic acoustic panel or bass trap to reduce standing waves and room echo. To reduce echo and reflections quickly, follow our room acoustics for podcasting tips.
Do not fall into the trap of buying a hyped condenser and assuming you need $500 in treatment to use it. Measure first; choose the mic that sounds best in your actual space, not in studio-perfect YouTube demos.
Q: What gain do I need if I'm recording speech impediment content with variable dynamics?
A: Speech impediments often involve variable pacing and volume, repetitions may be quieter, or you may deliberately speak slowly. Set your input level based on your average speaking volume, not your peak.
Record a full minute of natural speech (including any stutters, pauses, or hesitations). Aim for peaks at -12 dB to -6 dB. If your average is hitting -18 dB, your gain is too low; increase interface gain or move the mic slightly closer (5-6 inches instead of 8). If you're clipping at -3 dB and your quiet passages disappear, your gain is too high.
A microphone with high output (high sensitivity) gives you more flexibility; a quiet, low-sensitivity condenser forces you to push your preamp harder, which adds noise. This is why a dynamic with 5-8 mV/Pa sensitivity often outperforms a 25 mV/Pa condenser in real rooms: you hit your target level without cranking the gain knob.
Practical Setup Checklist
- Microphone: Cardioid dynamic, self-noise <12 dB-A, sensitivity 5-8 mV/Pa, presence peak <8 kHz.
- Position: 6-8 inches from mouth, 15-30° off-center to soften sibilance or plosives.
- Mount: Shock mount on a desk arm or boom stand; eliminate movement.
- Pop filter: Mesh or foam, 2-3 inches away.
- Gain: Set so your average speech peaks at -12 dB to -6 dB; leave headroom.
- Distance consistency: Mark your setup with tape; repeatable mic placement preserves tone across sessions.
- Room: Close reflective surfaces (curtains, soft furniture) behind and to the sides if possible; block HVAC vents or cover them during recording.
Level-matched samples in real rooms tell the whole story. Before committing to a mic, borrow one and record your own content in your own space. Listen without judgment. Does it capture you clearly? Can you hear yourself without editing? Does the room fade into the background? If yes to all three, that is your mic.
Further Exploration
Your next steps: Record a 2-3 minute test clip using your candidate microphone, at the exact distance and gain you'll use in production. Listen to the unprocessed file on multiple speakers (headphones, laptop, car audio). Identify one phrase where you stutter or lisp naturally, and listen to how that microphone renders it. Does it sound authentic, or does it exaggerate your concern? Trust that feedback.
If you're scaling to multiple hosts or remote guests, document your exact settings (mic angle, interface gain, distance) and share them. Consistency across voices builds listener trust and reduces editing time.
Finally, remember: a great microphone in an imperfect room, with confident technique, will always outperform an expensive mic in hands full of doubt. Invest in the one that makes you sound like yourself, clear, present, and unafraid.
Related Articles