Maono PD200W Review: Best Budget Podcast Mic
By Nora Adeyemi • 23rd Mar
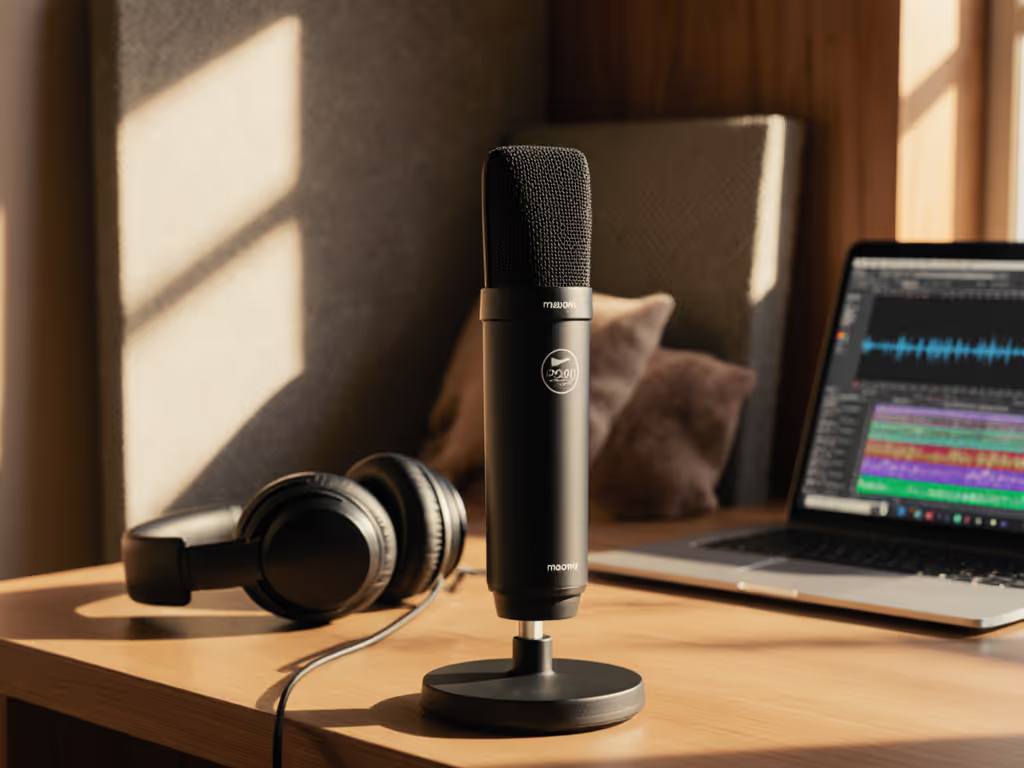
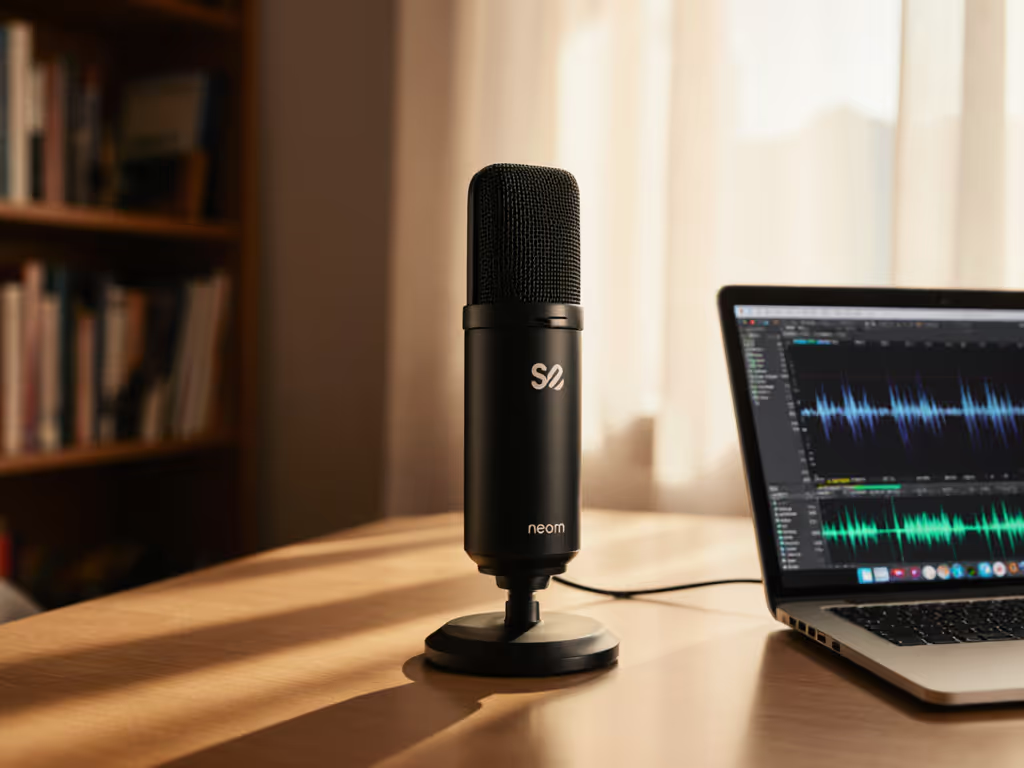
The Maono PD200W review reveals a microphone that strips away the gatekeeping (you get professional podcast sound from a USB connection without needing a mixer, preamp, or treated room). At $99.99, it's built for the creator who records in a bedroom, home office, or borrowed space and needs the audio to sound intentional, not apologetic. If your space is echoey, our room acoustics guide shows quick fixes that matter more than foam squares.
This isn't about post-processing magic. The best budget podcast mic is one that captures clean, broadcast-ready tone straight out of the box. Small, repeatable wins turn scary red lights into green.
Why the Maono PD200W Stands Out for Beginners
You've probably noticed that most budget USB mics sound thin, or they force you to ride the gain knob like you're flying a plane. The PD200W breaks that pattern by combining three things beginners rarely find together: direct monitoring, onboard gain control, and a built-in sound card that handles the heavy lifting.
When I worked with first-time hosts, the breakthrough moment wasn't fancy plugins, it was a repeatable setup. One host I mentored clutched her microphone so hard during laughs that the signal clipped every time. We added a pop filter, angled her slightly off-axis at fist-width distance, and switched on direct monitoring so she could hear herself in real time. Her shoulders dropped. The next take was clean. That's what the PD200W delivers out of the gate: a setup you can hand to anyone and have it work the same way every time.
The professional podcast microphone features of the PD200W include:
- A cardioid dynamic capsule (30mm) that naturally rejects side and rear noise
- Three-level noise cancellation built into the mic itself, not reliant on software
- Real-time monitoring through a 3.5mm headphone jack, eliminating the latency that throws off rhythm singers and nervous talkers
- Onboard gain knob (0 to +36dB) so you control your own levels without hunting through menus
- USB-C and XLR outputs, meaning no regret if you upgrade later
The signal-to-noise ratio is 82dB, which means you'll capture your voice clearly without audible hiss in the background (critical in untreated rooms where the environment itself is your biggest competitor).
The Built-In Sound Card: Why This Matters for Untreated Room Podcasting
Most USB mics rely on your computer's audio processing. The PD200W reverses that: the microphone itself handles gain optimization, noise reduction, and digital conversion, then sends a finished audio stream to your software.
Here's what that unlocks for you:
Stable Levels Without Constant Tweaking: The built-in sound card is tuned specifically for the PD200W's 30mm capsule. It automatically balances your voice so that soft passages don't disappear and loud laughs don't peak. You're not white-knuckling the gain knob between takes.
Reduced Sibilance and Harshness: The internal processing applies gentle voice shaping optimized for speech, meaning your podcast sounds warm and immediate rather than thin or piercing. In untreated rooms where reflections magnify harsh frequencies, this is a gift.
Clean Recordings Without Heavy Post-Processing: Because the capsule, gain staging, and noise cancellation are coordinated, the audio arrives broadcast-ready. You spend less time in edit land chasing de-essing and gating.
Instant Real-Time Monitoring: The 3.5mm monitor output delivers your voice back through headphones with no delay. This lets you lock your distance (fist-width from the pop filter), dial in your angle (slightly off-axis to reduce plosives), and hear exactly what listeners will get. No more guessing whether you're too close or too quiet.
Setting Up for Success: Direct Monitoring and Repeatable Gain
We're aiming for repeatable. That means if your co-host or guest uses the same mic tomorrow, they dial the same gain, angle it the same way, and the show sounds consistent.
The Fist-Width Rule: Position your mouth one fist-width away from the pop filter. This distance is precise enough to memorize and teach but flexible enough to let you turn your head naturally while speaking. It's not about being robotic; it's about being predictable.
Gain Staging from the Start: The Maono podcast kit approach to gain is simple:
- Set your gain knob to around mid-position (roughly 18dB) as your baseline
- Speak at your normal podcast volume into your headphones and watch your software's meter
- Aim for peaks that land at around -6dB to -3dB in your recording software; this leaves headroom for laughs and emphasis without clipping
- If the meter barely budges, raise the mic's gain knob by 3-6dB and test again
- If you're already hitting red, lower it
This takes two minutes and never changes. For deeper control, use our gain staging guide to lock perfect levels without clipping. New co-hosts see a single number and know exactly what to do.
Enable Direct Monitoring: Plug headphones into the PD200W's 3.5mm jack and set the mic's monitor volume to a comfortable level. You'll now hear yourself in real time as you speak, which does two things: it reveals whether your articulation is clear and your distance is locked, and it eliminates the anxiety of recording blind. Confidence starts when you can hear proof that you're doing it right.
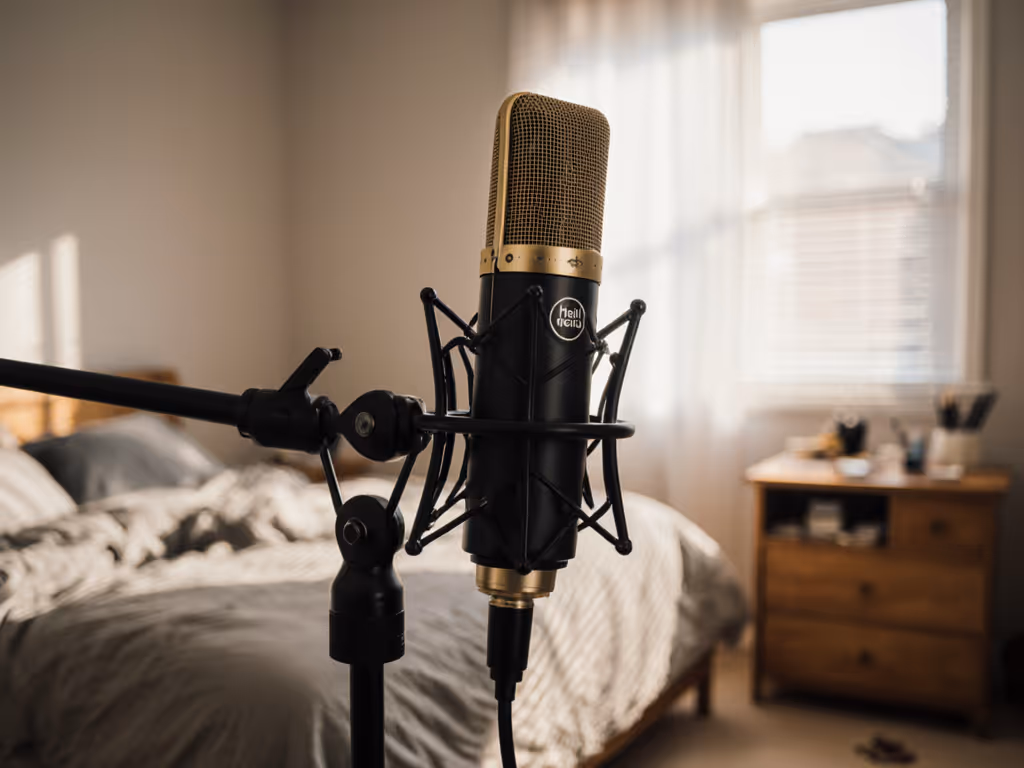
Why Dynamic? Why Cardioid? Why This Mic in an Untreated Room
Condenser microphones (which many budget alternatives use) pick up everything: your voice, your room hum, the coffee maker, the neighbor's dog. A dynamic microphone like the PD200W only captures what's directly in front of it, making it the clear winner for home spaces.
The cardioid polar pattern adds another layer of isolation. Sound coming from the sides and rear is attenuated, so your HVAC vent, keyboard clicks, and chair squeaks stay out of the recording. You don't need acoustic foam; you need a mic that respects boundaries.
The PD200W's maximum SPL of 128dB means you can laugh, emphasize, and get animated without worrying about distortion. Beginners often fear they'll clip the microphone. This one stays clean even during your most excited moments.
Real-World Performance: How It Handles Common Pain Points
Plosives and Breath Noise: A basic pop filter (included with many arms) plus your off-axis mic positioning handles most of this. You're not fighting the mic; you're working with its design.
Background Noise (Keyboard, Fans, Street Traffic): The three-level noise cancellation built into the PD200W runs alongside the cardioid rejection. Flip it to "medium" in an untreated room, and the software detects and softens ambient noise while preserving your voice clarity. This isn't aggressive enough to create artifacts; it's surgical enough that listeners won't know it's there.
Inconsistent Tone Across Episodes: Because the mic, gain, and processing are locked, your voice sounds the same whether you record at 8 AM or 8 PM. Your co-host uses the same settings, so both voices sit in the same frequency space. Editing becomes a matter of light compression, not tone-chasing.
Multi-Host and Remote Guest Scenarios: The PD200W supports dual-host recording (two mics into the system simultaneously). If your guest records on their own PD200W and sends you a file, the tone and loudness will already match your default setup, saving hours of normalization in post.
Connectivity: USB, XLR, and Wireless - Pick Your Upgrade Path
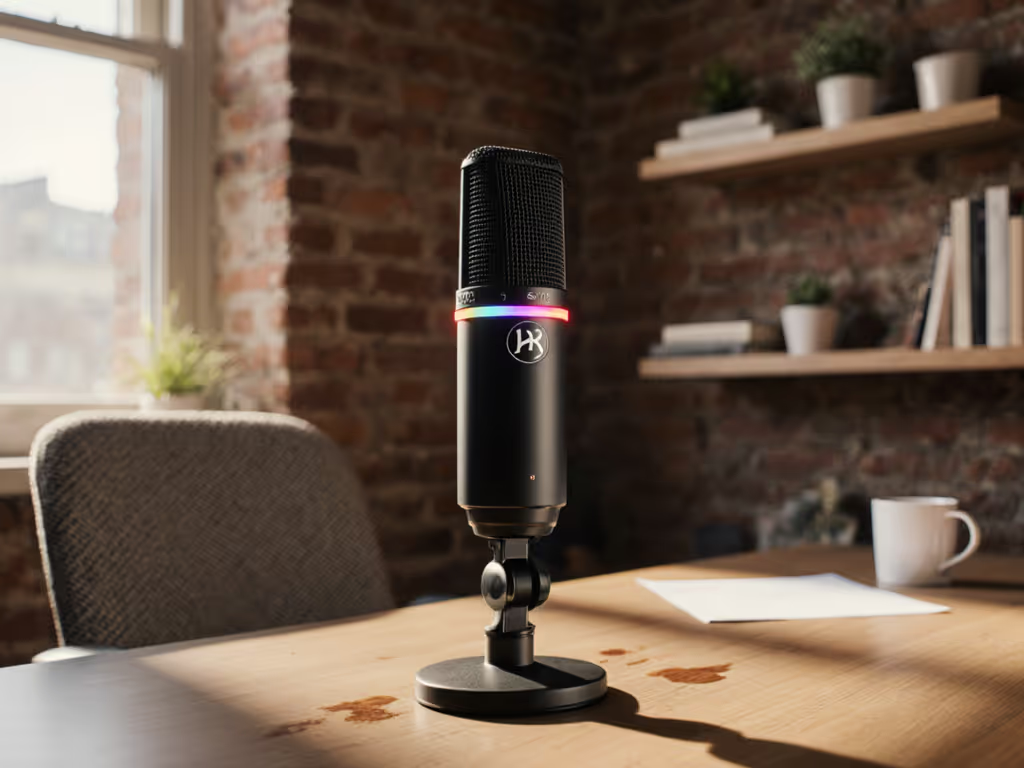
The Maono PD200W offers triple-mode connectivity: USB-C, XLR, and 2.4GHz wireless. This is rare at this price and matters more than it sounds.
Start with USB: Plug into your laptop, launch your recording software, set the mic's gain, enable monitoring, and record. No drivers to install, no interface to learn. Your first episode ships within hours.
Upgrade to XLR Later (Zero Regret): If your audience grows and you want to add compression, EQ, or a second mic, you already own a professional-grade audio chain: the PD200W, a real preamp, a real compressor. You're not replacing the mic; you're just changing how you plug it in. If you're deciding between connections, read our XLR vs USB microphones breakdown to pick the right path.
Wireless for Mobility: The 2.4GHz connection gives you up to 60 meters of range (line of sight) with 60-hour battery life when RGB lighting is off. Walk to a different room mid-show, record outside, or hand the mic to a guest across the room, all without a cable getting in your shot.
Quick Setup Checklist
Before Your First Recording:
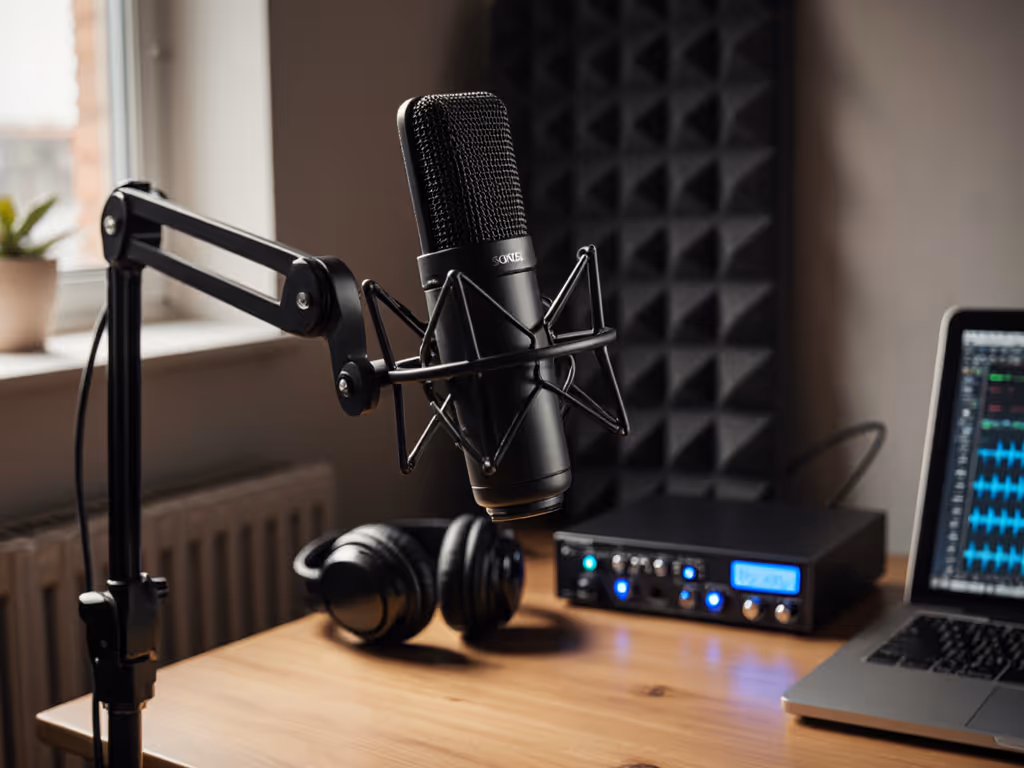
- Unpack the PD200W and included shock mount
- Attach the shock mount to your boom arm or mic stand
- Seat the mic into the shock mount and lock it
- Connect a basic pop filter (any affordable brand works; the shock mount absorbs most handling noise)
- Plug in USB-C or connect wireless via the pairing button
- Set the gain knob to mid (around 18dB)
- Open your recording software and select the PD200W as your input
- Plug headphones into the mic's 3.5mm jack
- Set the monitor volume to a comfortable level
- Speak at your normal volume; adjust gain so peaks hit -6dB to -3dB
- Record a 30-second test take
- Review: do you sound clear? Is the room quiet? Is your distance locked?
- Adjust only the gain knob if needed; everything else stays the same
Save these settings as your "default take." When your co-host arrives or a guest calls in, tell them: "Gain at 18, mouth at a fist-width, headphones on." Every voice will arrive broadcast-ready.
Who This Mic Is Built For
The best budget podcast mic doesn't try to be all things. The PD200W is purpose-built for:
- Solo or co-hosted podcasters in home offices and bedrooms
- Educators and course creators recording lectures or interviews remotely
- YouTubers doing voiceovers and reaction videos
- Livestreamers who need consistent gain and minimal setup fuss
- Nonprofits and small agencies producing interview-driven content
- Journalists and remote workers who need a portable, reliable setup
It is not designed for advanced multi-mic routing (like mixing four wireless mics simultaneously for a band) or for outboard processing chains (like routing through a full SSL compressor). If those are your needs, you've outgrown this mic, and that's a good sign of growth.
Your Next Step: Buy, Set Up, Ship
Confidence starts with a repeatable setup that sounds good without editing wizardry. The Maono PD200W removes excuses. You get the gain knob in your hands, direct monitoring so you hear the truth, and a cardioid capsule that respects your room's boundaries.
Here's what to do:
- Order the mic: $99.99 (or $129.99 regularly) includes the shock mount, desk stand, and all connectivity you need
- Grab one accessory: A basic pop filter ($10-15) and a boom arm if you don't have one ($20-40). Total entry cost: under $160
- Set gain at mid, position at fist-width, enable monitoring: This takes five minutes
- Record your first episode this week: Don't wait for the "perfect" day; consistency beats perfection
- Listen back without editing: Hear what the mic captured raw. If it sounds broadcast-ready, you've won. If it needs work, that tells you exactly what to fix (usually just gain or angle)
Small, repeatable wins turn scary red lights into green. Your first episode doesn't need to be flawless; it needs to be yours, and it needs to prove that you can do this reliably. The Maono PD200W handles the audio. You handle the story.
Start recording this week.
Related Articles