Strained Voice? Gentle Recording Microphone Guide
By Nora Adeyemi • 11th Feb
Let's talk about that tightness in your throat when you hit record. You're not imagining it. Certain microphone setups can actually worsen strain if they force you to shout or over-enunciate. The good news? Gentle voice recording isn't about fancy gear; it is a repeatable setup that respects your tired vocal cords. I've seen first-time hosts wilt under bright studio lights, voices cracking after 10 minutes. Then we tweaked their mic technique, and suddenly, shoulders dropped, breaths deepened, the story finally breathed. That's the power of working with your voice, not against it. Here's how to make your mic your ally when your throat says stop.
Why Does Recording Feel So Hard on My Voice?
When your vocal cords are strained, every recording session becomes a battle. You instinctively push louder to "cut through" room echo or compensate for a distant mic, exactly what worsens fatigue. Common culprits:
- Unforgiving mic placement: A mic too close exaggerates plosives (hard "p"/"b" sounds), making you tense up.
- Poor gain staging: Low input levels force you to yell; high levels cause clipping that stresses your voice to "perform quietly."
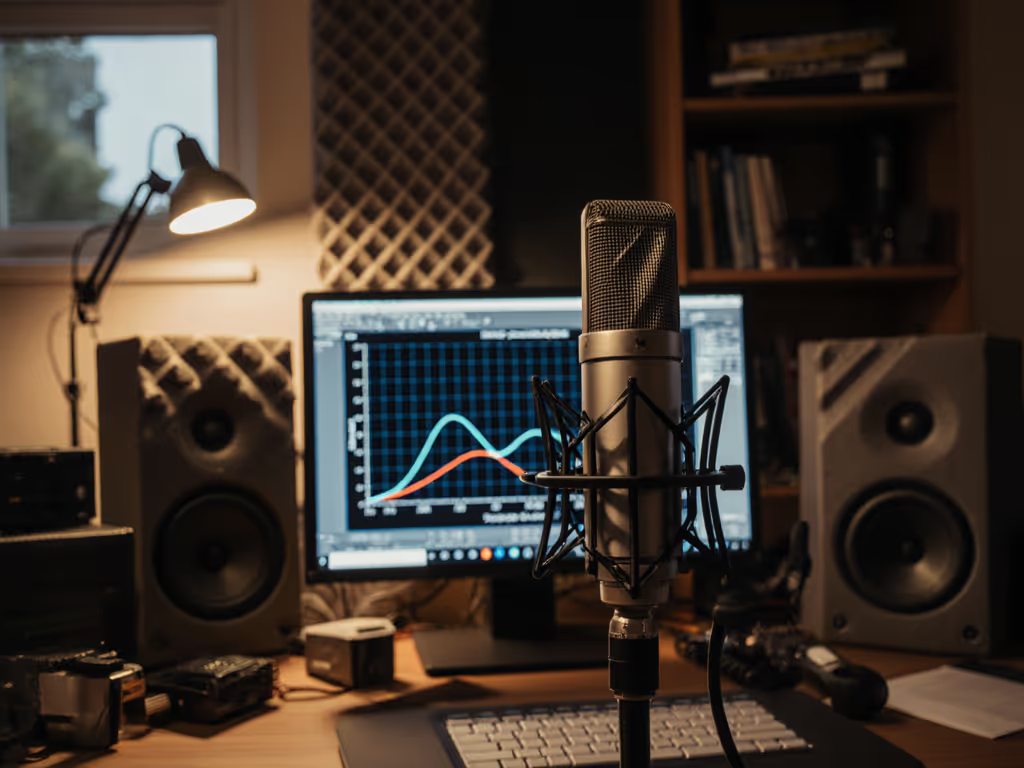
- Latency anxiety: Hearing your voice delayed via software monitoring makes you rush or shout to compensate. If latency is throwing you off, follow our DAW latency and setup guide to eliminate delay in your monitoring.
Small, repeatable wins turn scary red lights into green.
This isn't about "fixing" your voice, it is about engineering a calm, supportive capture environment. Your goal? Strained voice capture that feels like chatting with a friend.
Gentle Technique: Your 4-Point Comfort Checklist
Forget complex setups. These tweaks work now with any USB mic (yes, even your $99 starter):
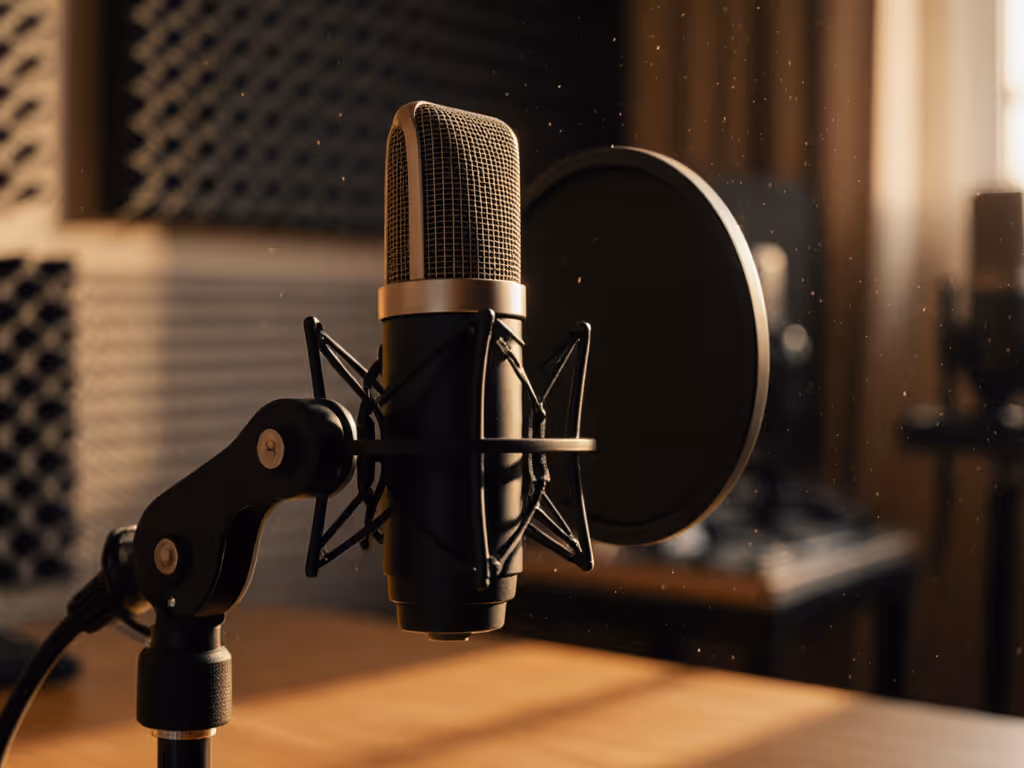
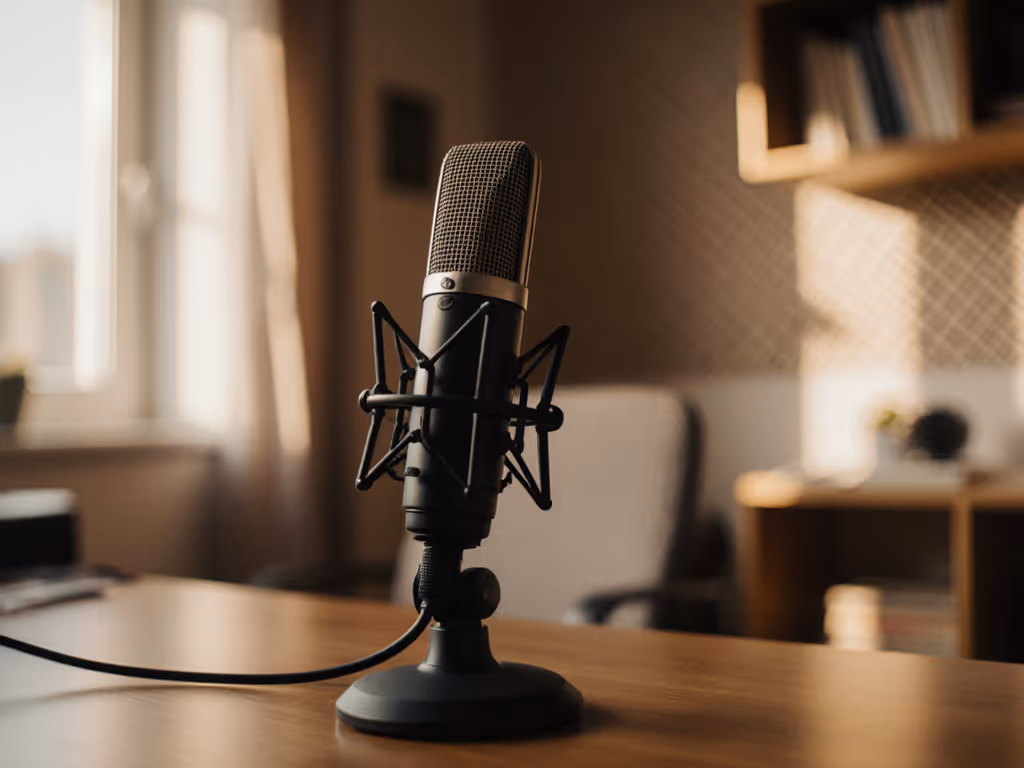
1. Position for Zero Tension (The "Fist-Width" Rule)
Stand naturally (no craning or hunching). Close your fist and place it flat against your chin. Your mic diaphragm should sit just above your fist (nose-height). For detailed angles and distance tips, see our mic positioning guide. Angle it down 15 degrees toward your mouth. This:
- Reduces harsh breath noise hitting the mic dead-on
- Minimizes popping from plosives ("p," "t," "k")
- Lets you speak at conversational volume
Why it works: Your voice projects upward from the vocal cords. Angling the mic captures richer tone without you straining to "aim."
2. Master the Gain Knob (Your Fatigue Shield)
Vocal fatigue reduction starts here. Set gain so your loudest laugh or emphasis hits -6dB (not 0dB!). Too low? You'll unconsciously shout. Too high? You'll tense up to avoid clipping. Dial in perfect headroom with our podcast gain staging walkthrough. Do this:
- Hum steadily at your most comfortable pitch
- Adjust gain until humming shows -12dB
- Say "Let's get started!" naturally, peaks should stay under -6dB
Enable direct monitoring (bypassing software). Hearing your voice instantly via headphones stops you from over-projecting. This is non-negotiable for strained voices.
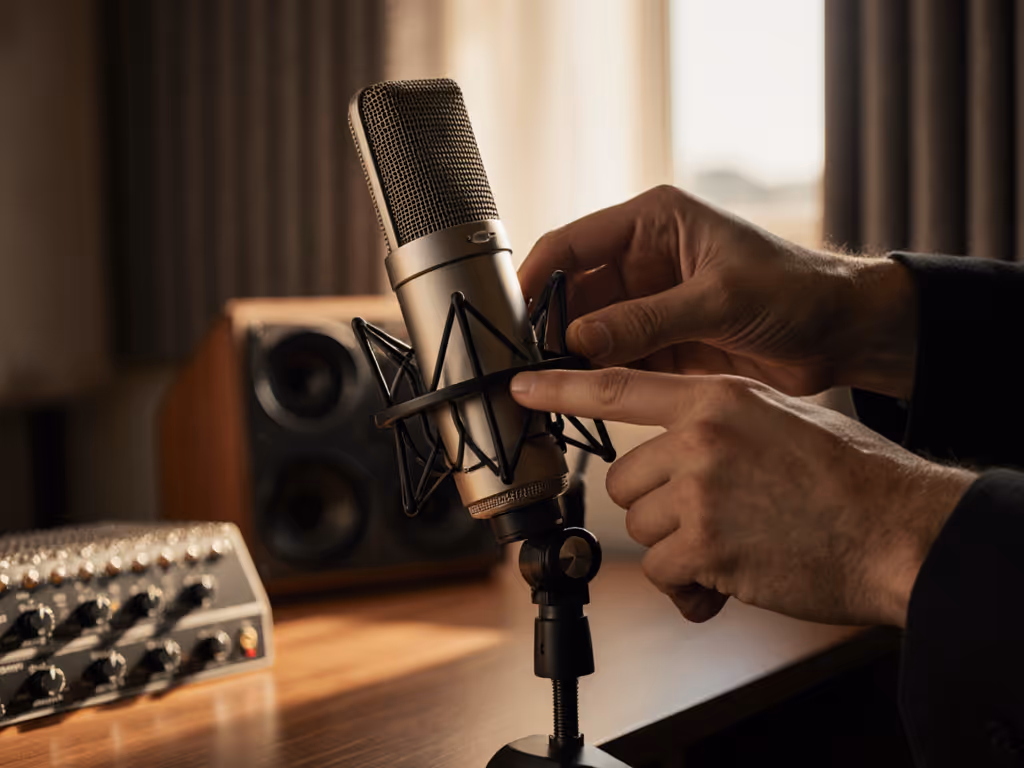
3. Pop Filter = Tension Diffuser
That $10 mesh pop filter isn't just for "p" sounds. It creates a physical reminder to relax your jaw and lips. Place it 2 inches from your mouth. If you feel your lips brushing it, you're over-enunciating. Back off. Soft voice amplification happens through mic technique, not mush-mouthed speech.
4. Room Choice: Steal the "Closet Method"
Recording in a bare room? Hard surfaces bounce sound back into the mic, forcing you to compete with echo. Get quick, low-cost fixes in our room acoustics guide. Don't record inside a closet (boxy sound). Instead:
- Open a clothes-filled closet across from you
- Face the hanging clothes (they absorb reflections)
- Keep 6+ feet between you and the closet door
This cuts distracting room noise by 30-50% (per Sonarworks' 2025 room analysis), so you don't subconsciously push harder to "beat the reverb."
Critical Mistakes That Worsen Strain
❌ The "Headphone Volume Trap"
Cranking headphones to hear yourself? Instant vocal strain. Set volume at 60% of max, and you'll speak softer to match perceived loudness. Quieter headphones = calmer voice.
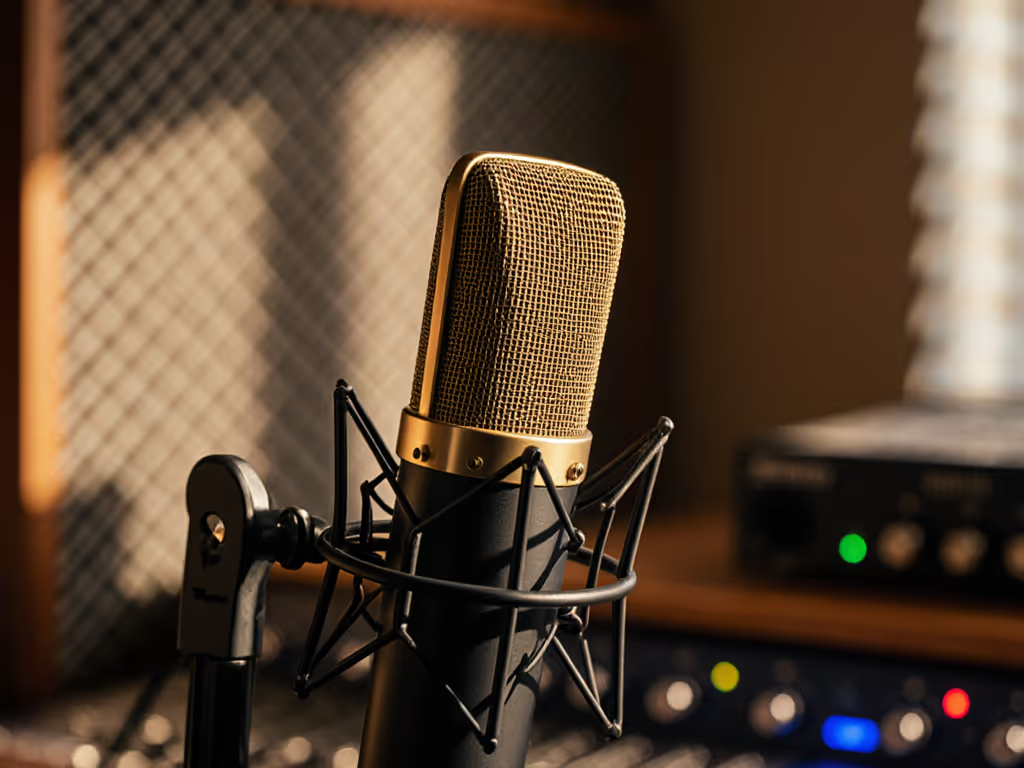
❌ "Dynamic Mic or Condenser?" Paralysis
Stop overthinking. Start with our plain-English dynamic vs condenser guide to choose what suits your space and voice. For speech that requires nuance (soft consonants, breathy tones):
- Dynamic mics (like Shure MV7) naturally tame harsh "s" sounds
- Condenser mics (with USB) offer warmth but require the off-axis trick below
Off-axis magic: If "s" sounds hiss, rotate the mic 20 degrees away from your mouth. Your voice stays clear, but sibilance drops naturally (no de-esser needed).
❌ Ignoring Microphone Height During Long Sessions
Your posture sags over time. A mic that starts at nose-height ends up below your mouth, making you crane your neck. Reset height every 20 minutes. A sticky note at eye-level on your monitor is a $0 fix.
Your Action Plan: Start Today
- Reset your gain using the hum/test-phrase method above
- Angle your mic down (use your fist as a height guide)
- Enable direct monitoring (no latency, no strain)
- Open a closet behind your recording spot (no gear required)
This isn't about perfection. It is about building a zero-post workflow where your raw audio sounds human, not processed or strained. I've watched hosts go from clutching mics like ice cream cones to relaxed, confident storytellers with these steps. Small adjustments, huge relief. Green lights, not perfect waves. That's how you protect your voice long-term.
Next step: Record a 60-second test right now. Read this aloud using the fist-width trick and off-axis angle. Listen back: Did you feel tension? Adjust once more. That's your new baseline. Repeat it. Own it.
Related Articles