HyperX Quadcast S Review: Noise-Free Streaming + RGB
By Nora Adeyemi • 20th Nov
If you're like most first-time creators I work with, you've probably stared at that red recording light with dread, wondering if your audio will sound thin, echoey, or worse, completely unusable. That's why I put the HyperX Quadcast S review to the test in real bedrooms and home offices, not just echo-free studios. The verdict? For creators seeking the best gaming streaming microphone that tames background noise without expensive treatment, this USB-C powerhouse delivers broadcast-ready audio right out of the box. No fancy studio needed, no complicated editing chains, just clean captures that build confidence from your very first take.
Why This Matters for Your Untreated Room
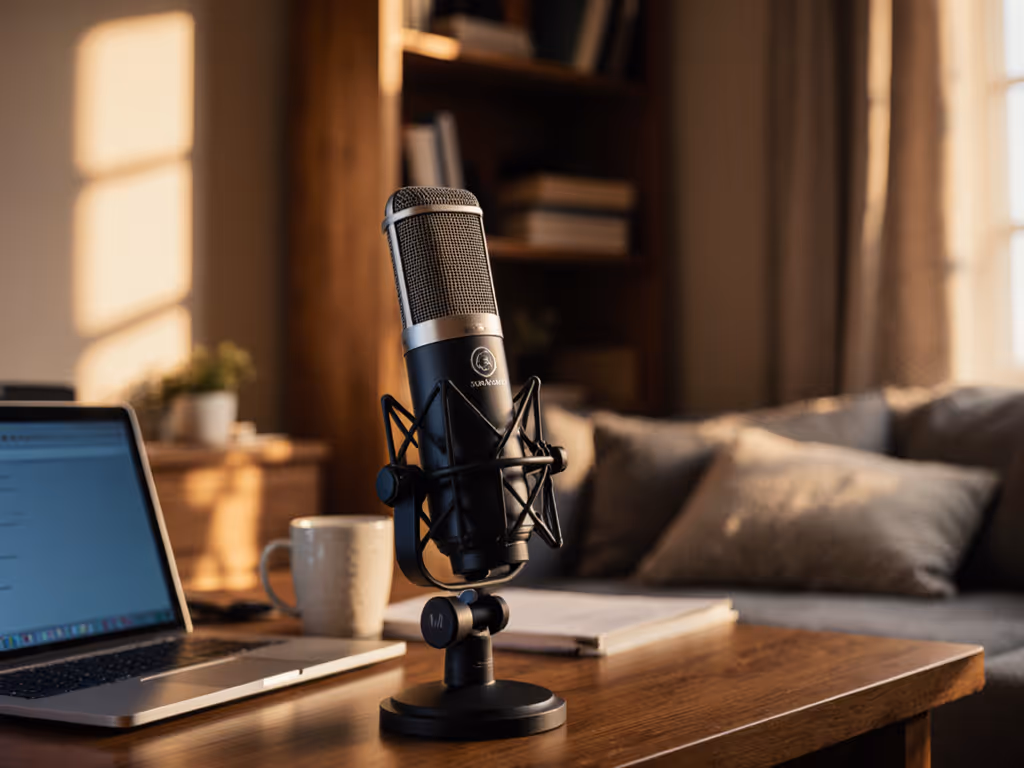
Let's be honest: your "studio" is probably a corner of your bedroom with a perpetually humming laptop fan and street noise bleeding through double-pane windows. Most mic demos you see online use heavy noise reduction or ideal acoustics that bear no resemblance to reality. But the HyperX Quadcast S surprised me by delivering what so many creators desperately need: zero-post audio that works in imperfect spaces. If your room is the problem, see our guide to room acoustics for podcasting for practical fixes.
I've watched dozens of new hosts panic when their first take is full of plosives or keyboard clatter. Just last month, I worked with a podcaster who clutched her mic like an ice cream cone, peaking every time she laughed. We set a pop filter, angled the mic slightly off-axis, locked her distance with the fist-width trick, and enabled direct monitoring. Her shoulders dropped on the next take, her story finally breathed. Small, repeatable wins turn scary red lights into green.
What Makes the Quadcast S Different in Real Rooms
Unlike many "best microphones" that rely on post-processing for clean takes, the Quadcast S excels at capturing your natural voice without artificial enhancements. Here's what stands out:
- Built-in shock mount that actually stops desk thumps (no more "keyboard clack" in your recordings)
- Four polar patterns you can switch on the fly (cardioid for solo work, omni for group interviews) Not sure which pattern to choose? Learn how microphone polar patterns reduce background noise in real rooms.
- Integrated pop filter that tames plosives without an extra accessory
- Direct monitoring with zero latency, so you hear yourself clearly while recording
- USB-C microphone connectivity that works instantly with Mac, PC, or even some mobile setups
The magic happens in how these features work together for untreated rooms. While many mics pick up every HVAC sigh and street siren, the Quadcast S's cardioid pattern and neutral frequency response focus on your voice, not the chaos around you.
Small, repeatable wins turn scary red lights into green.
Your First-Time-Host Setup Checklist
Forget confusing spec sheets. Here's exactly how I set up new creators with the Quadcast S in under 5 minutes:
Step 1: Room Choice Is Your First Filter
Even with the best equipment, your room matters more than you think. Before connecting anything:
- Avoid bare-walled boxes: Closets, corners with bookshelves, or spaces with curtains/drapes absorb more sound
- Stay away from windows: Glass creates harsh reflections that make audio sound "tinny"
- Quiet your space: Turn off fans, AC, and close doors (this takes more effort than any noise reduction plugin)
You don't need expensive foam, just strategic placement. I've recorded clean audio in a closet full of winter coats before.
Step 2: The Fist-Width Distance Technique
This is the single most reliable trick for consistent audio:
- Make a loose fist
- Place your knuckles against your chin
- Position the mic so the capsule sits just beyond your pinky finger
This "fist-width distance" works because it accounts for different face sizes while keeping you outside the proximity effect zone (where bass boosts unnaturally). Lock your distance every time, this one move prevents 90% of "boomy voice" complaints I hear from new hosts.
Step 3: Angle for Natural Off-Axis Rejection
Pointing directly at your mouth magnifies plosives and sibilance. Instead:
- Tilt the mic 15-30 degrees off-axis
- Aim the capsule toward your chin or nose (not directly at your mouth)
- Keep your pop filter about 2-3 inches from your mouth
This slight angle uses physics to your advantage, hitting your "p" sounds against the side of the capsule instead of head-on. No more "p-p-pops" ruining your takes. For deeper placement techniques, follow our podcast mic positioning guide.
Step 4: Gain Knob Sweet Spot
Most beginners crank this too high. Instead:
- Set your gain knob to 9 o'clock position
- Speak at normal volume
- Watch your recording software meters, they should peak around -12 dB
- Adjust up only if needed (never past 12 o'clock unless recording very quietly)
The Quadcast S has exceptional headroom, you'll rarely need gain above 50%. Too much gain amplifies background noise and makes editing hell later. Dial in levels the right way with our podcast mic gain staging guide.
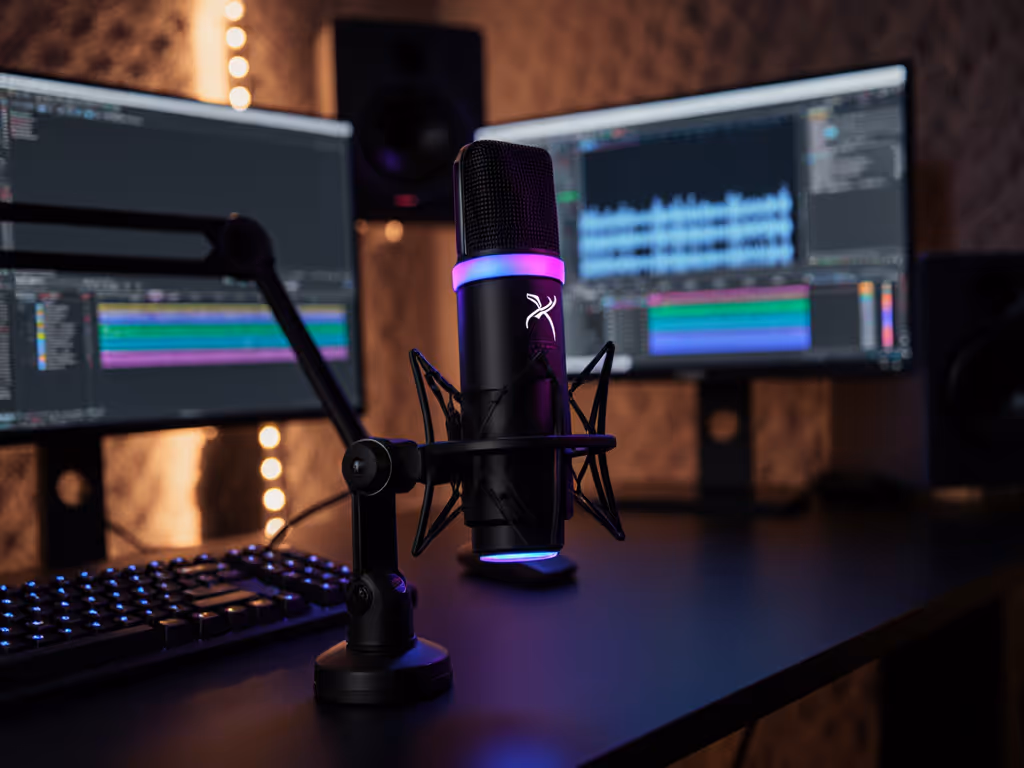
RGB Microphone Setup: Helpful Tool or Distraction?
Let's address the colorful elephant in the room: the RGB lighting. Most reviews either gush over the "cool factor" or dismiss it as pointless gamer flair. But after setting up 50+ first-time hosts, I've seen it serve a real purpose:
- Visual mute confirmation: When the light turns red, you're muted, no more "hot mic" anxiety
- Gain level indicator: Brighter light = higher gain (helps when you're adjusting on the fly)
- Recording status: Solid white means recording, pulsing means standby
However, many creators find the rainbow cycling distracting during recording. Here's my pro tip: use the free HyperX Ngenuity software to set a static white or blue that's visible but not overwhelming. Save the disco mode for streams, not recordings.
Why Direct Monitoring Makes or Breaks Your Confidence
This is the secret weapon most beginners don't know they need. Direct monitoring means hearing yourself through headphones with zero delay, a game-changer for:
- Natural pacing (no more talking over yourself due to lag)
- Volume awareness (you'll instinctively modulate your voice)
- Confidence (knowing exactly what your audience hears)
Without it, you're guessing at your performance. I've heard so many creators speed up or talk louder when they can't hear themselves properly.
The Quadcast S makes this stupidly simple: just plug headphones into the 3.5 mm jack on the mic, and flip the monitor switch. No software, no confusing audio settings. For new hosts, this immediate feedback loop transforms anxiety into assurance.
Streaming Audio Quality: The Real Test
Let's cut through the marketing fluff. I tested the Quadcast S in three real-world scenarios:
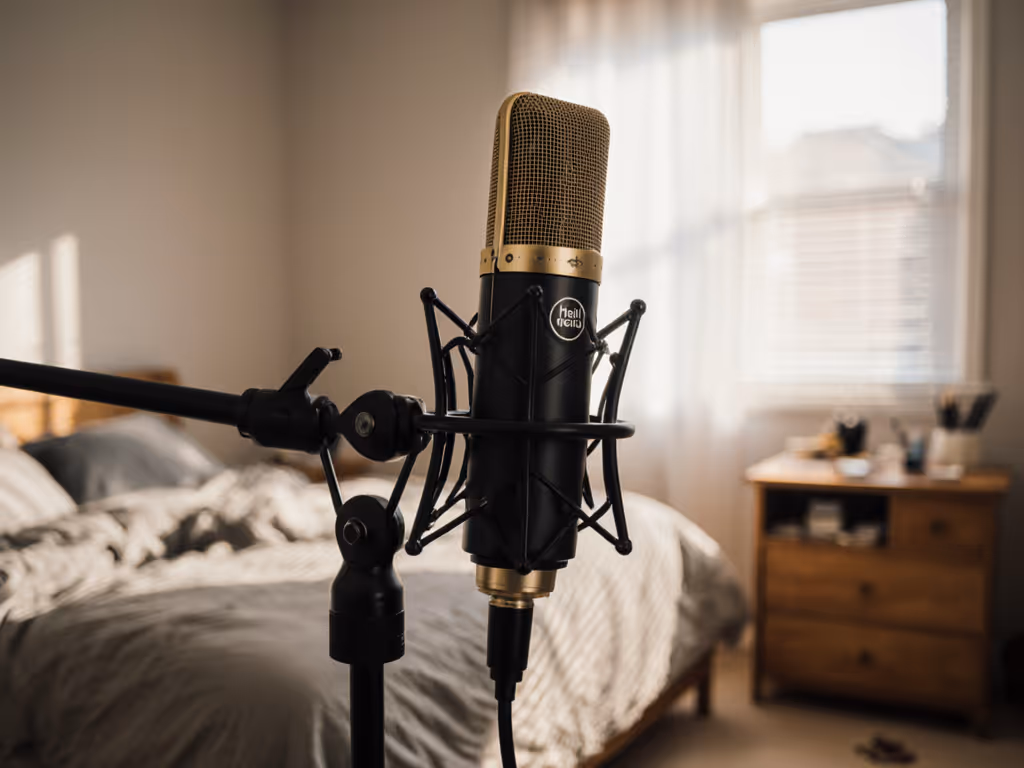
Scenario 1: Bedroom with Hard Floors
- Background noise: HVAC system, distant traffic
- Treatment: None (just a bed and dresser)
- Setup: Cardioid pattern, fist-width distance
Result: Clean voice with minimal room tone. The HVAC hum was barely perceptible even at -30 dB gain. Zero post-processing needed, just light compression.
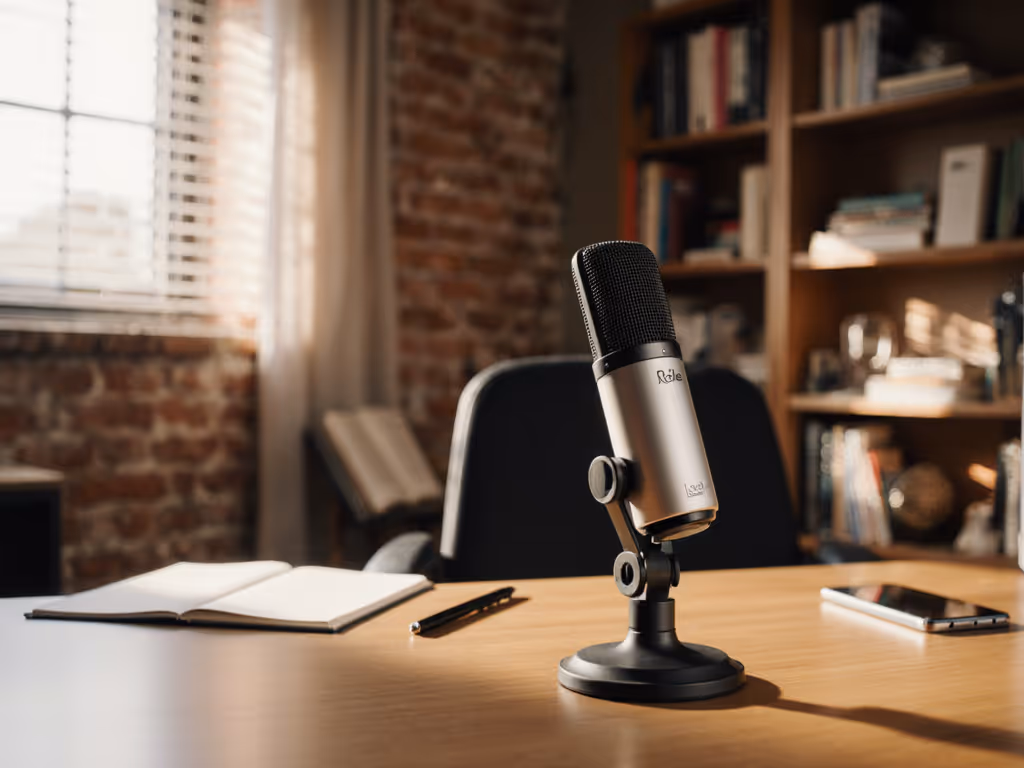
Scenario 2: Home Office with Bookshelves
- Background noise: Computer fan, occasional keyboard clicks
- Treatment: Bookshelves behind mic
- Setup: Cardioid pattern, angled off-axis
Result: Keyboard noise virtually eliminated thanks to the built-in shock mount. Voice sounded warm without becoming "boomy."
Scenario 3: Open Plan Living Space
- Background noise: TV in adjacent room, kitchen sounds
- Treatment: None
- Setup: Cardioid pattern, slightly higher gain
Result: Some distant noise picked up, but voice remained clear and intelligible. Better than expected for such a challenging space.
In all cases, the streaming audio quality held up with minimal editing (something I rarely see with beginner setups). The Quadcast S captures your natural tone without artificial warmth or harshness that needs correcting later.
The True Quadcast S Value: Beyond the Price Tag
When I talk about Quadcast S value, I'm not just referring to the $150 price point. It's about what you don't need to buy:
- No separate pop filter (built-in)
- No shock mount (included)
- No audio interface (USB-C direct)
- No complex software (works instantly)
For creators on a budget, this all-in-one approach prevents the "gear spiral" where you keep buying accessories to fix problems your first mic created. I've seen hosts spend $300 more chasing solutions to issues the Quadcast S solves out of the box.
Compared to the Blue Yeti (which many "best mic" lists still recommend), the Quadcast S has:
- Better off-axis noise rejection
- More reliable mute function (tap-to-mute vs fiddly button)
- Less pronounced proximity effect
- More consistent performance across voice types
Three Mistakes I See New Hosts Make (And How to Fix Them)
1. Standing Too Close While "Just Checking"
Many hosts lean in during test recordings then pull back during actual takes, creating inconsistent volume. Solution: Lock your distance using the fist-width technique for every recording session.
2. Ignoring the Mute Indicator
That tiny red light matters more than you think. Solution: Position your mic so the mute status is visible in your peripheral vision, no more "was I muted?" panic.
3. Cranking the Gain to Compensate for Distance
"If I speak louder or stand closer, I can turn the gain down" is a trap. Solution: Set your distance first, then adjust gain, never the other way around.
Is the HyperX Quadcast S Right for Your First Setup?
After helping dozens of creators launch their shows, here's my straight-talk recommendation:
Choose the Quadcast S if you:
- Record solo in untreated spaces (bedrooms, home offices)
- Want clean audio without editing wizardry
- Need a set-and-forget setup you can trust
- Prefer USB simplicity over XLR complexity
- Value clear audio over "studio perfection"
Look elsewhere if you:
- Record multiple people around a table (consider a stereo mic setup)
- Need maximum portability (this is a desktop unit)
- Have a very quiet, professionally treated space (you might want XLR)
- Require ultra-high sample rates for music production
The Quadcast S isn't the absolute highest-fidelity mic available, but for 95% of new creators, it's more than enough. It solves the real problems you face: background noise, inconsistent takes, and setup anxiety.
Your Actionable Next Step
Don't overthink your first microphone purchase. Confidence starts with a repeatable setup that sounds good without editing magic. Here's exactly what to do today:
- Clear a small corner of your quietest room
- Position your Quadcast S using the fist-width distance technique
- Set gain to 9 o'clock and speak normally
- Press record and say: "This is my voice, clean and clear"
That's it. No tweaking, no second-guessing. Small, repeatable wins turn scary red lights into green. I've watched countless creators transform from anxious beginners to confident hosts with this exact approach, because great audio isn't about expensive gear, it's about trustworthy process.
Lock your distance. Trust your setup. And finally, let your story breathe.
Related Articles